The directions below show you how to create an automation in Kit (formerly ConvertKit) to avoid duplicate email sequences.
Step 1: Log in and Start Creating the Automation
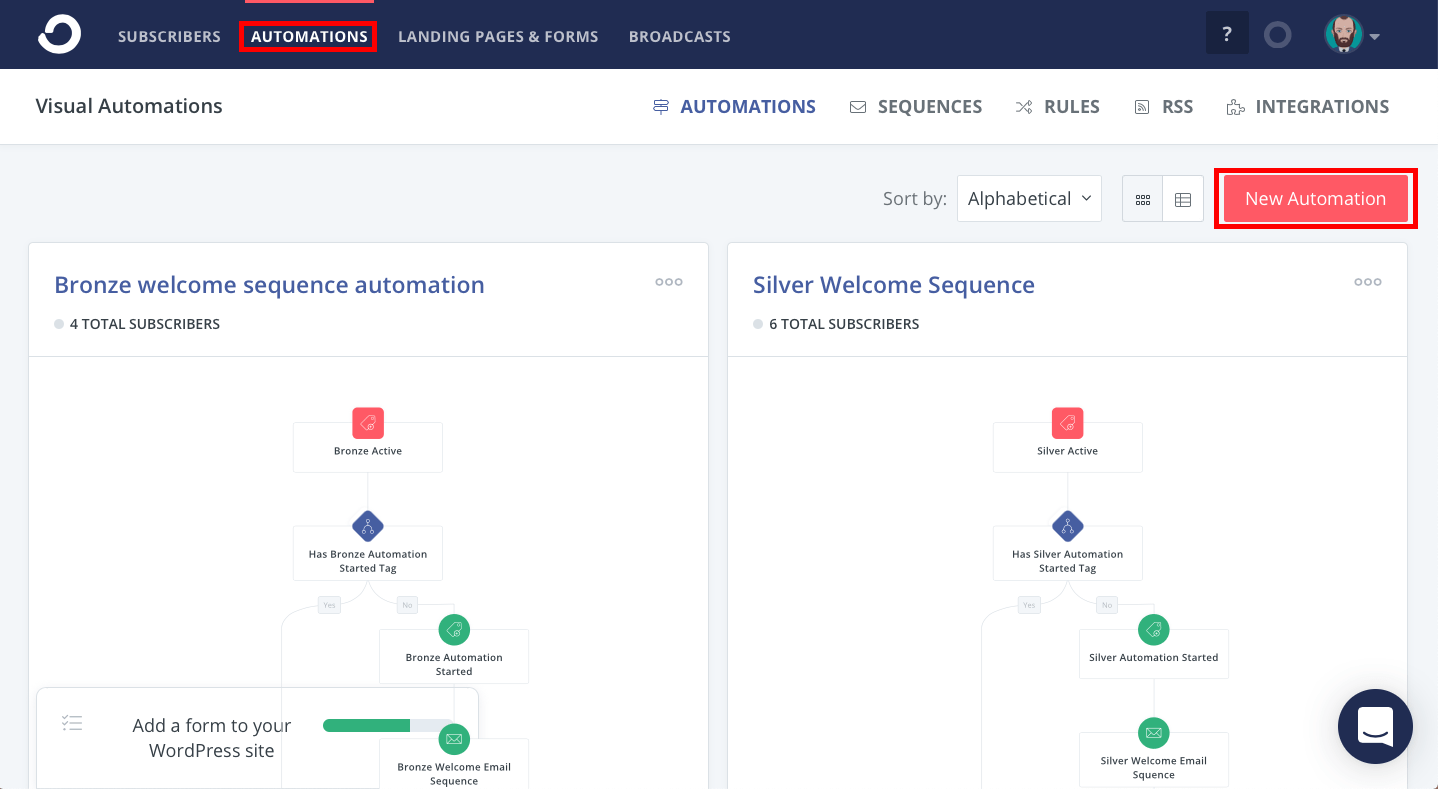
To begin, log in to your Kit account, go to Automations, and click New Automation.
Step 2: Naming the Automation
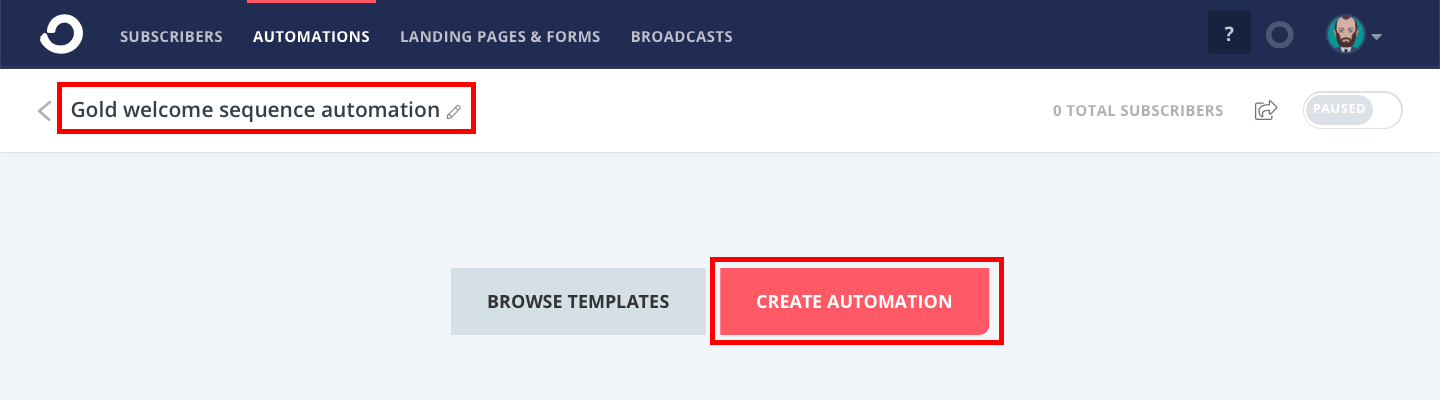
Rename the automation and click Create Automation.
Step 3: Adding an Event Trigger
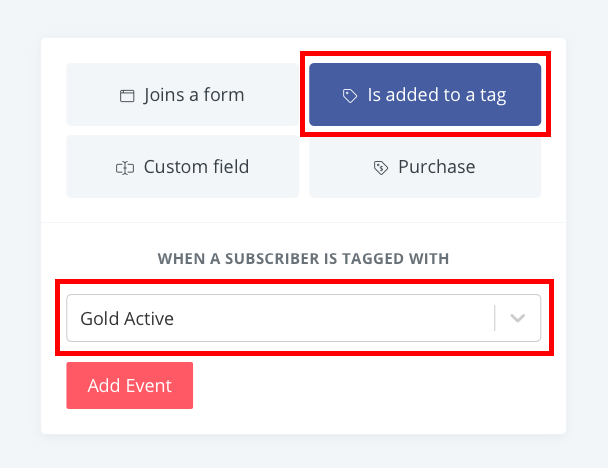
Select Is added to a tag, choose the appropriate active tag from the When A Subscriber Is Tagged With dropdown list, and click Add Event.
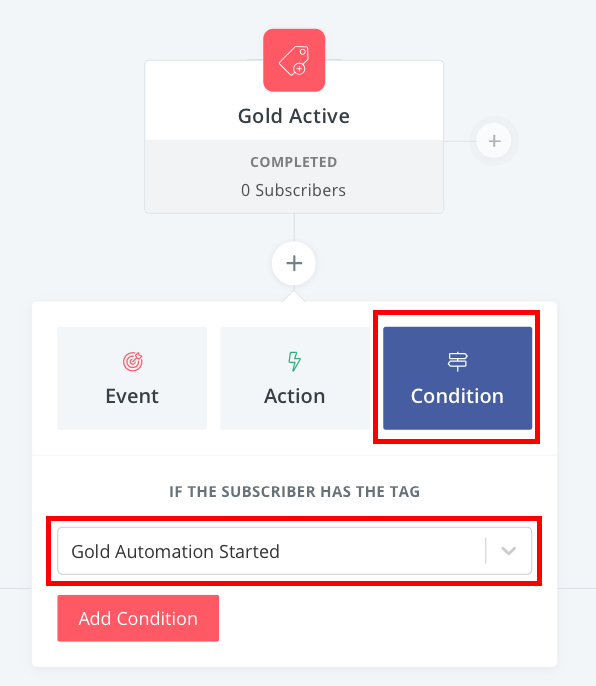
Step 4: Adding a Condition Trigger
Select Condition, choose (or create) the appropriate tag from the If the Subscriber Has The Tag dropdown list, and click Add Condition. In the example below, the tag we created (the Gold Automation Started tag) is just a random tag we use to track whether the subscriber has already been through this automation. If the subscriber already has this tag, it means they've already been through the automation, and they won't go through it again.
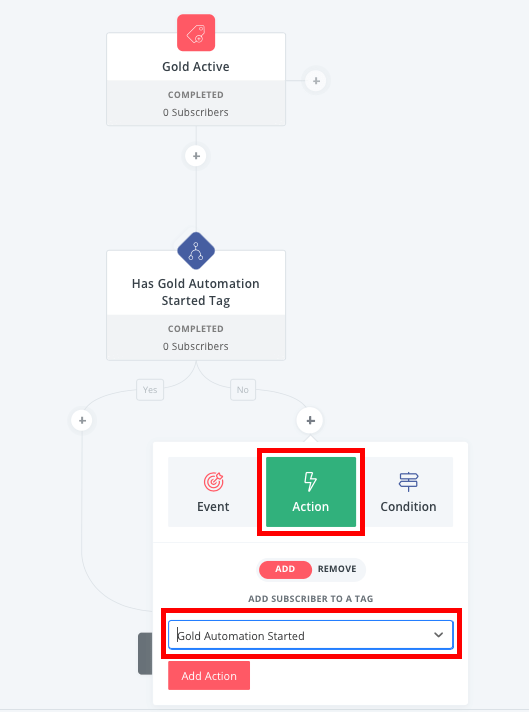
Step 5: Adding an Action Trigger
Select Action, choose (or create) the appropriate tag from the Add Subscriber To a Tag dropdown list, and add click Add Action.
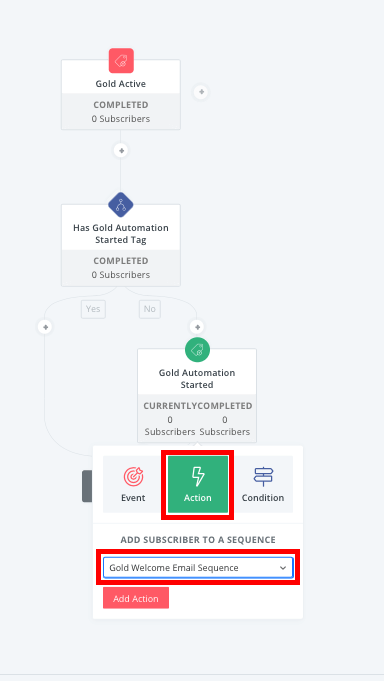
Step 6: Creating a Welcome Email Sequence
Select Action, choose (or create) the appropriate tag from the Add Subscriber To a Tag dropdown list, and click Add Action.
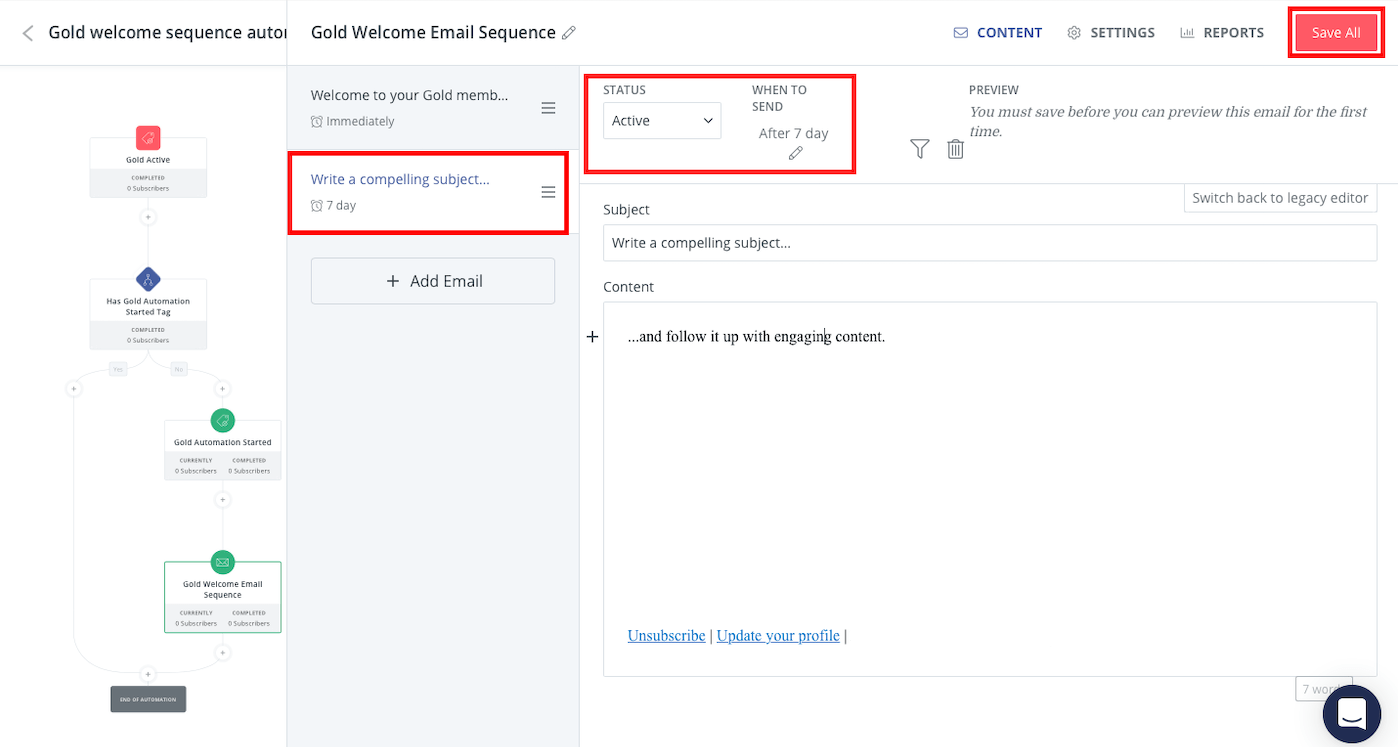
Step 7: Editing Default Welcome Email Template
First, edit the default welcome email template subject and content. Next, set the status to active, choose when to send, and click on Save All. If you're unable to set the email status to Active, make sure you enter the information about your business on your Kit account first.
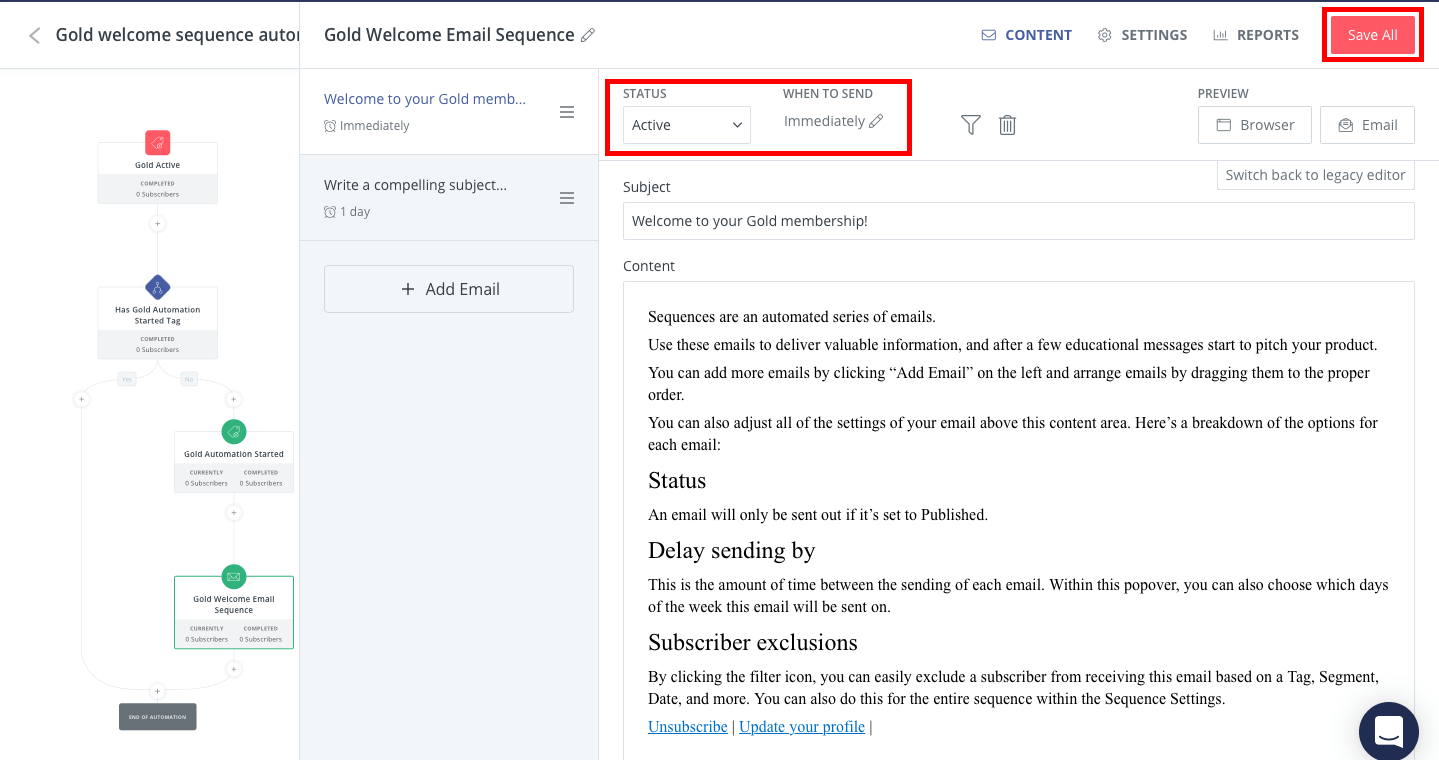
You can create multiple emails within one email sequence. For example, say you want to create an email that sends immediately after a member subscribes, and another email that sends every 7 days for a month. To do this, instead of setting it to Send Immediately under the When To Send option, set it to send after 7 days.
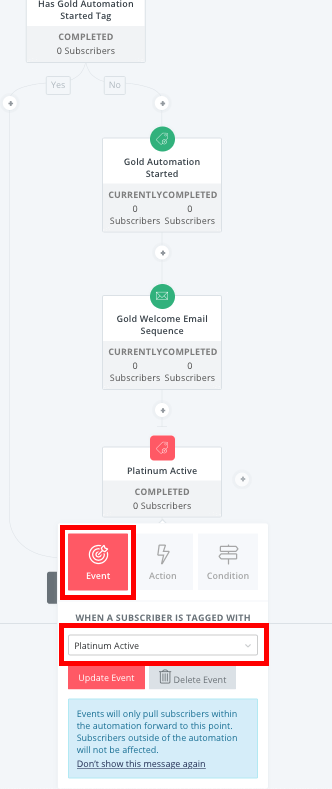
Step 8: Assigning Subscribers to a Different Email Sequence
If a member decides to switch to a different membership, you'll want to make sure they stop receiving emails from the previous email sequence and begin to receive the emails from the current email sequence. Do do this, create an event, choose (or create) the appropriate active tag from the When A Subscriber Is Tagged With dropdown list, and click Add Event.