If you’ve been a MemberPress user for a while, you probably know that MemberPress integrates with all the major email marketing platforms out there.
And that’s a great thing! After all, you’ve absolutely got to have a system in place to segment your customers and engage with your audience to sell and upgrade plans.
In this post, we’ll show you can integrate ActiveCampaign with WordPress using MemberPress Plus and Pro to automate emails, engage with customers, increase your clickthrough rate (CTR), and drive more sales.
What Is ActiveCampaign?
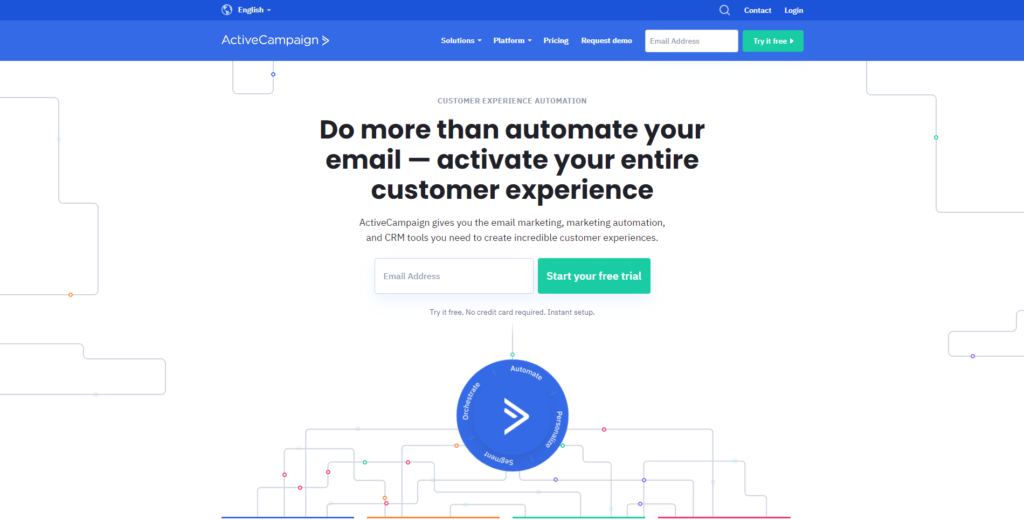
ActiveCampaign is a robust email marketing automation and CRM platform that allows you to build substantial email workflows. Using this tool, you can precisely target, segment, and provide maximum value to your email subscribers.
Are you a current ActiveCampaign user or interested in getting started? Luckily for you, MemberPress has an ActiveCampaign add-on that you can take advantage of with your purchase of the Plus or Pro edition of MemberPress.
How Does ActiveCampaign Help You Manage Your Online Business?
Using ActiveCampaign, you can add automation to your business. Based on the activity of your website visitors, you can quickly and automatically segment your email lists without having to add users to your email lists one-by-one.
As a result, you can target and engage with customers, no matter what stage of the buyer’s journey they’re in.
How to Add ActiveCampaign to Your WordPress Membership Site
1. Install MemberPress Plus or Pro
If you haven’t already, be sure to install and activate MemberPress on your WordPress dashboard.
Once you’ve purchased and downloaded the MemberPress membership plugin to your website, go to MemberPress > Settings to activate your license key.
Once the plugin is activated, you’ll be able to configure all your settings, including preferred payment methods (Stripe, PayPal, Authorize.net, and even offline payments), your membership page slugs, taxes, and more.
2. Install and enable The ActiveCampaign add-on
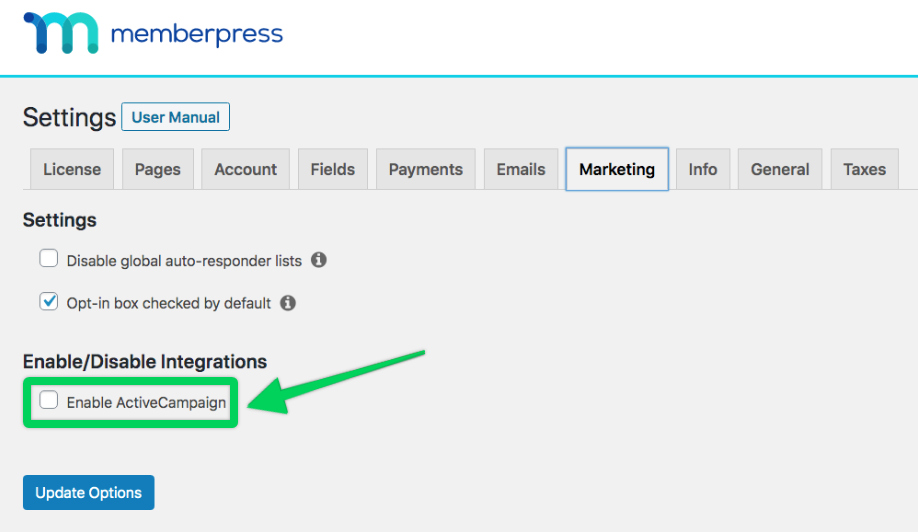
In your WordPress dashboard, go to MemberPress > Add-ons, and install the ActiveCampaign add-on. Once the add-on is installed, you can scroll over to the Marketing tab in your settings and click Enable ActiveCampaign.
3. Find your ActiveCampaign Account ID and API Key
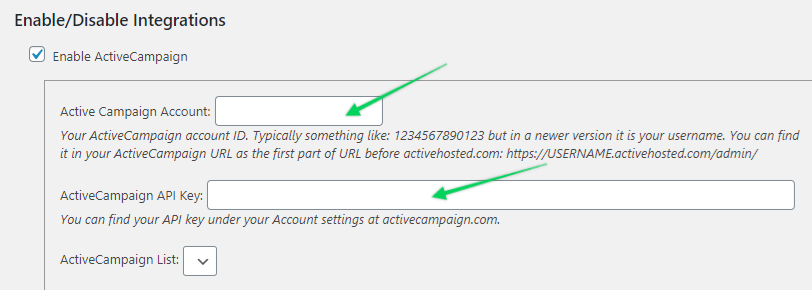
When you click Enable ActiveCampaign, another box will appear underneath. Now, it’s time to find your ActiveCampaign account ID and API key so you can connect your account to your website.
Go to activecampaign.com and log into your account to find your account ID and API key, then paste them into their respective boxes.
4. Choose your list
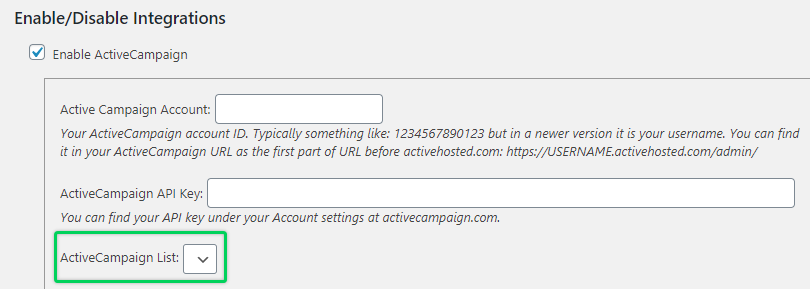
Once you’ve connected ActiveCampaign to your MemberPress site, you can choose the list you want your users to be added to when they sign up for your emails. All users will be added to this list.
5. Decide Which Version Of ActiveCampaign You’d Like To Use
There are two versions of the ActiveCampaign add-on:
- Lists Version: This version will segment email subscribers having broad, but similar interest in your business. For example, you can create a list for all of your membership site’s customers, potential customers, and past subscribers.
- Tags Version: You can use this option to further specify the segmentation of your email subscribers. For example, you can define your customer email list by the membership level they are in, or you can specify past customers by how long it’s been since they were a member on your website.
There’s no right or wrong way to go. It really just depends on your preferences and what works best for your business. What you’ll do next will depend on which version you choose.
ActiveCampaign Lists Version – Next Steps
If you’ve chosen to go with ActiveCampaign Lists, you’ll have the option to create Pre-Membership lists. To do this, go to MemberPress > Membership tab and click Edit on your membership.
Then, go to the Membership Options > Advanced tab and click the checkbox for the Active Campaign list for this Product. You will then be able to select the list you want from the drop-down in your ActiveCampaign account.
ActiveCampaign Tags Version – Next Steps
If you choose ActiveCampaign Tags, you have three options:
- You can create double opt-ins for your ActiveCampaign form.
- You can create global tags so you can add the tag(s) you want all users who sign up for your website to get, whether they are members or not.
- You can create per-membership tags to further segment your members for more effective target marketing.
For more information on these options, be sure to check out support docs on ActiveCampaign Lists and Tags.
Final Thoughts
MemberPress is a powerful tool to have in your arsenal when creating an online business on your WordPress site, but what makes it even more powerful are the add-ons available to you with your MemberPress subscription.
With tools like ActiveCampaign to help manage your business emails, you’ll be able to more effectively sign up users and engage with subscribers. You’ll also be able to generate more sales!
Interested in learning more about email marketing? Be sure to check out these resources:
- How your business can run a successful email campaign
- Why small business owners should segment their email lists
- How to keep your marketing emails from winding up in spam
If you liked this article, be sure to subscribe in the box up to the right!



I’ve activated my memberpress plus subscription and the activecampaign add-on, but the check box on the marketing tab under Enable/Disable Integrations is still not showing up.
Hey Lori, shoot us an email from the https://memberpress.com/support/ page and one of our techs will help you out with this, thanks!
Excellent walkthrough on integrating ActiveCampaign with MemberPress!