How do meal planning memberships work?
There are 2 principles we see in successful meal planning memberships.
First, you have to help people to help themselves. If you want to scale to 100, 1000, or even 10,000 members you can’t do everything yourself.
Second, you have to provide ongoing value. Unlike with a one-off purchase, members have the option to unsubscribe. So they need to feel like it’s worth staying with you.
So, to (1) help people to help themselves and (2) provide ongoing value, the cornerstone of your meal planning membership needs to be:
- A recipe catalog – a selection of recipes for people to browse, cook from, and create meal plans. Updated regularly to keep it fresh.
- Weekly or seasonal meal plans that people can customize to suit their own needs – or the ability to create their own from scratch.
- Grocery lists – to make it easy for people to go shopping. Ideally, these will automatically update when people make changes to their meal plans (e.g. adjusting servings).
- Community – optional but recommended. This way people can share recommendations, ask questions, and interact with each other, without relying solely on you.
- Tools to share this content and allow people to customize everything themselves.
How much should you charge?
In our experience, a typical price can range from $5 to $20 per month (USD) per subscriber, along with discounts for longer commitments (e.g. 20% off a 12-month plan).
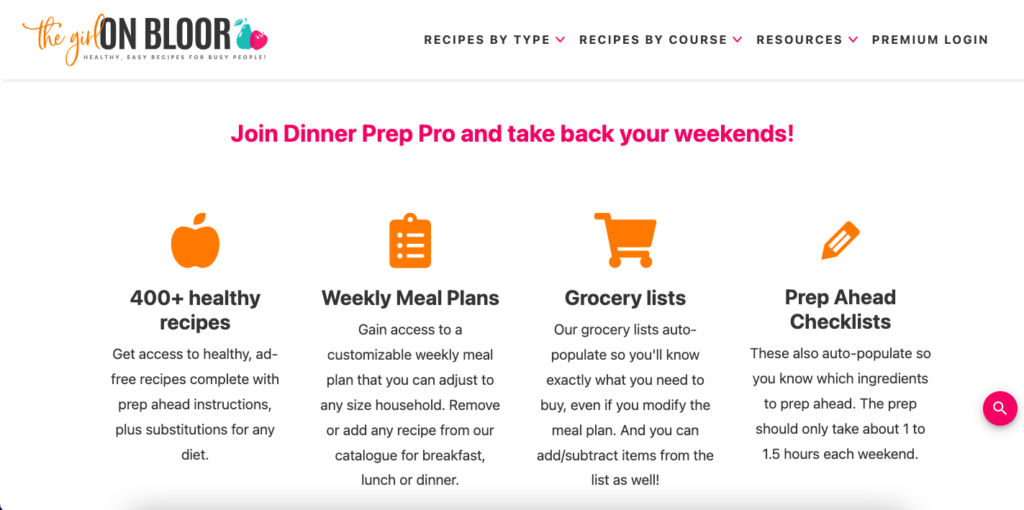
As an example, food blogger The Girl On Bloor launched their meal planning membership at $8 per month and grew to over 300 members in 6 weeks – that’s about $2400 in recurring revenue.
Tools you’ll need
- WordPress to create your marketing website.
- MemberPress to set up your subscriptions and manage user access.
- MealPro App to create your own-branded meal planner app, host your recipes and meal plans, and allow people to customize them.
- Zapier to connect everything together and automate workflows.
- Facebook (Group). To host your private community. If you want an alternative, MemberPress has a community forum feature.
How to start a meal planning membership with WordPress in 6 steps
Now that you know how meal planning memberships work and the tools you need, we’ll dive into the steps you can take to create your own.
Step 1) Set up WordPress and install MemberPress
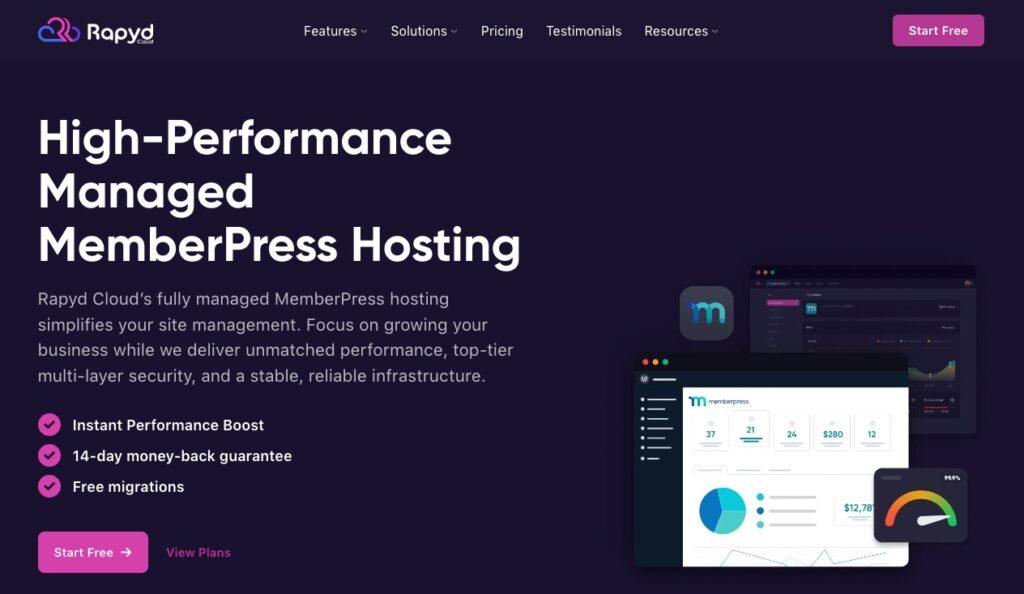
You can download WordPress directly from their website. However, we recommend using a web host that handles the setup for you.
Here are a few options we recommend:
Once WordPress is set up, you can install MemberPress. Here’s a great video tutorial for that:
Option B: Leave it to the Experts
Building a membership site with WordPress and MemberPress is straightforward and empowering.
But we understand that time and tech know-how can be obstacles, especially for busy entrepreneurs launching something new.
That’s where our affordable Done For You services come in.
Let our MemberPress Pros handle the heavy lifting, so you can focus on growing your business with the world’s leading membership platform.
Step 2) Set up your meal planning app
You could hire a developer to build something custom, but the costs can quickly add up – not to mention the stress levels.
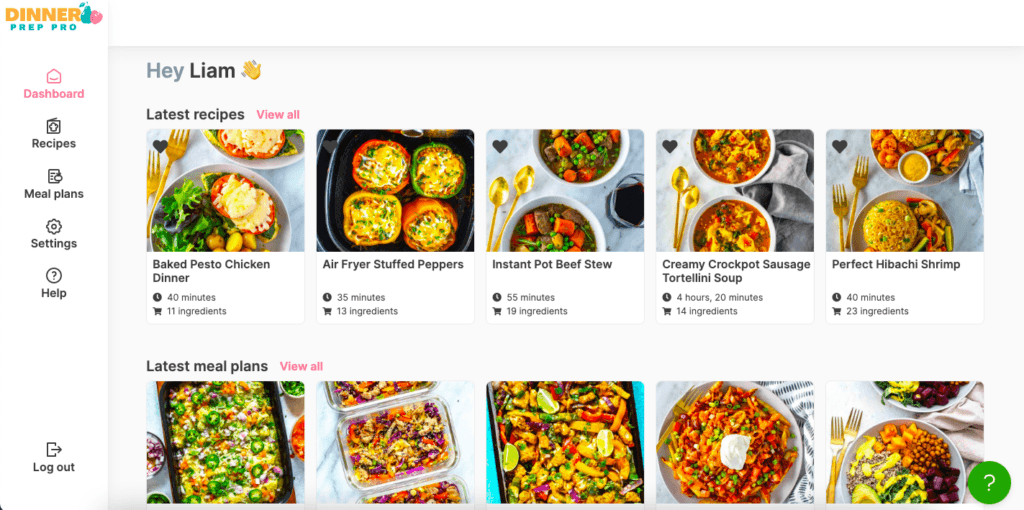
Your best approach is to use a white label software like MealPro App, which allows you to create your own-branded, interactive meal planning app without any coding.
Step 3) Add your recipes and meal plans
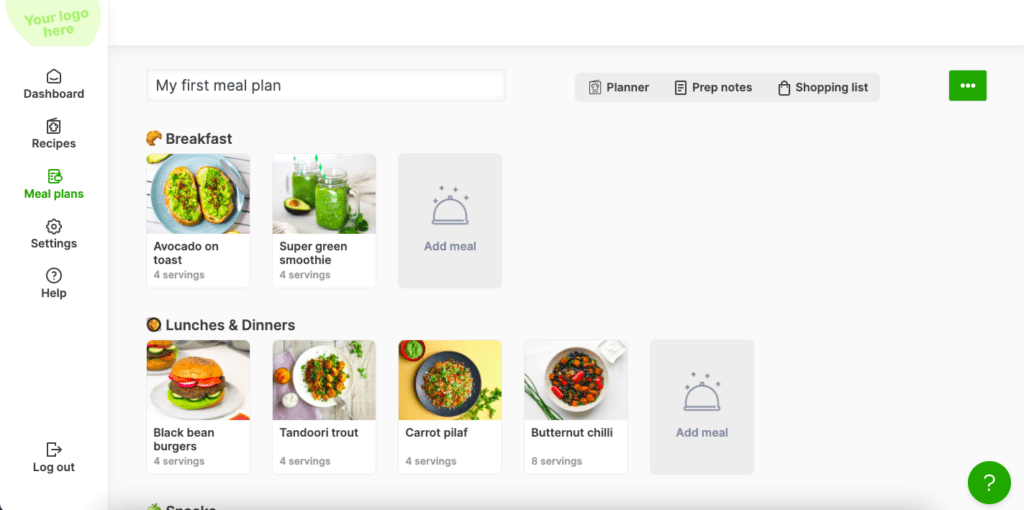
Next, you need to add your recipes and meal plans for people to use.
Top Tip: you don’t need hundreds of recipes to launch your membership. We know people who launched with just 25 recipes and one meal plan, and added more each week.
If you already have a blog with recipes, you can import them using MealPro App’s import from URL feature. You can also add recipes by manually entering the details.
There’s a bulk import option too – some WordPress recipe plugins like WP Recipe Maker allow you to export your recipes for easy importing.
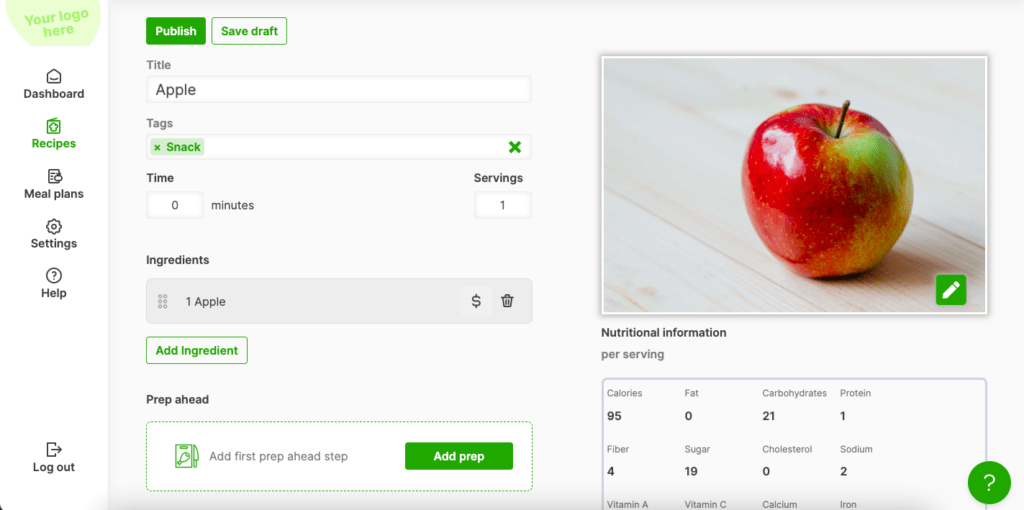
Next, create at least one meal plan so your members have something to customize when they first login. Your members can also create their own plans using your recipes.
Step 4) Set up your community
An optional but recommended step is to create a private community for your subscribers. That is, if you don’t already have one.
A community allows people to share their recommendations, ask questions, and interact with one another, without relying solely on you. It’s also a valuable source of feedback for you.
A popular option is to create a group on Facebook.
MemberPress also allows you to create a premium (gated) community forum on your WordPress site using bbPress or BuddyBoss, as shown in the video below:
Step 5) Set up your subscription tiers with MemberPress
There’s a common model we see with meal planning memberships:
One membership that includes all available content, with various duration options (e.g. 1 month, 3 months, 12 months), all set to recurring billing.
When first starting out, you might want to consider offering a discount in return for a testimonial and detailed feedback. In our experience, this is a great way to build up testimonials and user-generated content (UGC) – and kick start your sales.
Here’s how to set up your membership in MemberPress:
Top Tip: Enabling ReadyLaunch™ in MemberPress will speed up the time it takes you to create branded, mobile-optimized sign-up and account pages to help sell your membership.
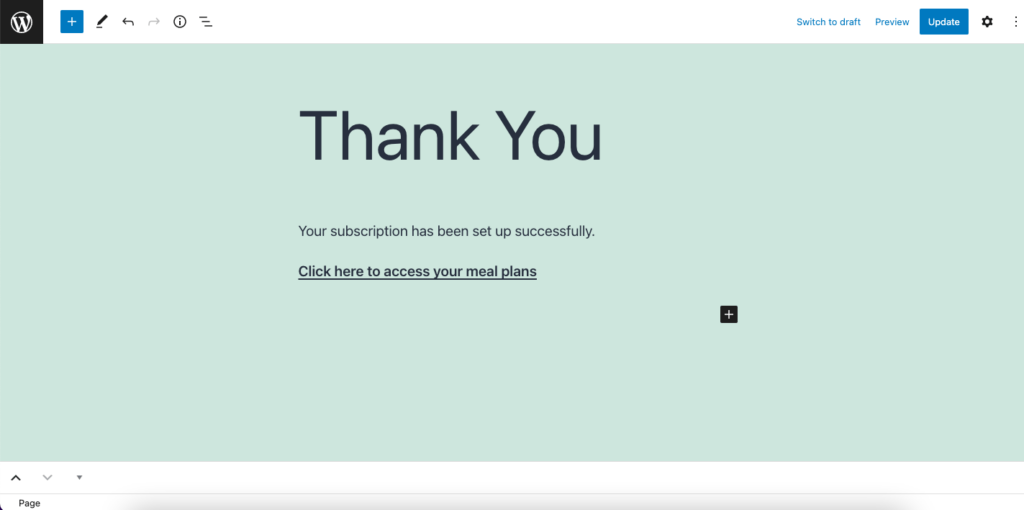
Remember to add links to your meal planner app on your thank you page, account pages, and any welcome emails. That way people know how to access your recipes and plans.
Step 6) Connect it together with Zapier (optional)
Would you like to automatically add people to your MealPro App when they sign up with MemberPress, and remove them if they cancel? Just use Zapier.
Note: You’ll need MemberPress Plus or Pro to use the Zapier integration, as it requires the Developer Tools add-on.
Here’s how to use Zapier with MemberPress:
Once you’ve enabled the Zapier integration in MemberPress and MealPro App, you can create Zaps (i.e. connections) in your Zapier account.
Conclusion
Meal planning memberships are a great way to help people integrate your recipes and advice into their daily lives. And an awesome way for you to earn reliable, recurring income in the process.
The problem is, most nutrition platforms aren’t built for scale. They also rely on you to do most of the work, and hiring a developer to create a custom app can be stressful and expensive.
Fortunately, MemberPress and MealPro App make it easy. To recap, here are 6 steps to start a scalable meal planning membership of your own:
- Set up WordPress and install MemberPress
- Set up your meal planning app
- Add your recipes and meal plans
- Set up your community
- Set up your subscription tiers with MemberPress
- Connect it all together with Zapier (optional)

Start Your Nutrition Membership Business Today!
Get MemberPress, and start getting paid for the content you create.



Add a Comment