Video content is the most requested media consumers want to see from brands, and online courses are no exception. In the highly competitive world of e-learning, it could be the key ingredient to take your classes over the top. However, setting up a studio and recording equipment can be prohibitively expensive.
One solution might be to take the tried-and-true DIY approach and create your own studio using items and tools you already have. It's possible to set up an extremely workable recording area without blowing your budget.
In this article, we’ll explain why including video in your courses is a smart move. Then we’ll offer up five tips to help you get started while staying in budget. Let’s dig in!
Why You Should Include Video In Your Online Courses
There are a number of reasons why including video in your online course is a smart idea. First, this type of content makes classes feel more personable and engaging.
Rather than a simple list of assignments, students get a chance to “meet the teacher” and watch you walk them through lessons. This increase in engagement could boost completion rates and customer satisfaction, which may help turn your students into repeat customers.
Finally, there's the perception of value. Video can make your courses appear more high-end to purchasers. Customers are typically willing to pay more for a product they perceive as premium, and online classes are no exception.
Video can make your courses more attractive to potential buyers in general. Additionally, it may help you sell them for a higher price, driving more revenue.
How to Create a DIY Home Video Setup for Online Courses (5 Key Tips)
There's a chance you (or your instructors) actually have everything you need to record professional-looking videos already lying around at home. The following tips will help you make the most of them to produce quality content for your students.
1. Record with Your Smartphone
First up, try recording with your phone's camera. Most smartphones these days are capable of capturing excellent video, particularly iPhones and flagship Samsung Galaxy devices such as the Note. Since you probably have a smartphone already, using it instead of buying a new camera can save a lot of money.
When recording with your phone, make sure to do it in landscape (horizontal) orientation. Use the rear camera, not the selfie cam. This does mean you'll need to line up the shot beforehand, but the quality will be significantly better.
Your laptop's webcam can also work in a pinch, but the quality will likely be lower than a smartphone. That said, you can use your laptop to capture the audio portion of the recording, and then splice the video and audio together during editing.
This may yield higher-quality sound since you can position the microphone closer to you without having to worry about affecting the video recording.
2. Choose the Right Video Editing Software
Speaking of editing, the software you choose for this important task matters. However, you don't have to spend a fortune – there are some excellent and affordable apps on the market that can help you get your content just right. Some are even free.
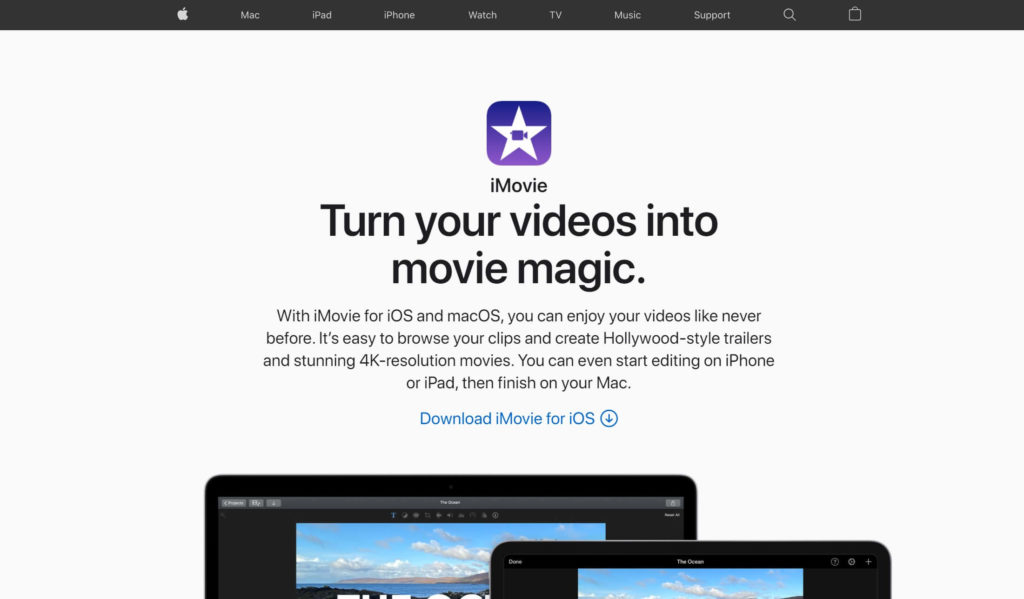
If you're on a Mac, Apple's own iMovie is free, easy to use, and works well:

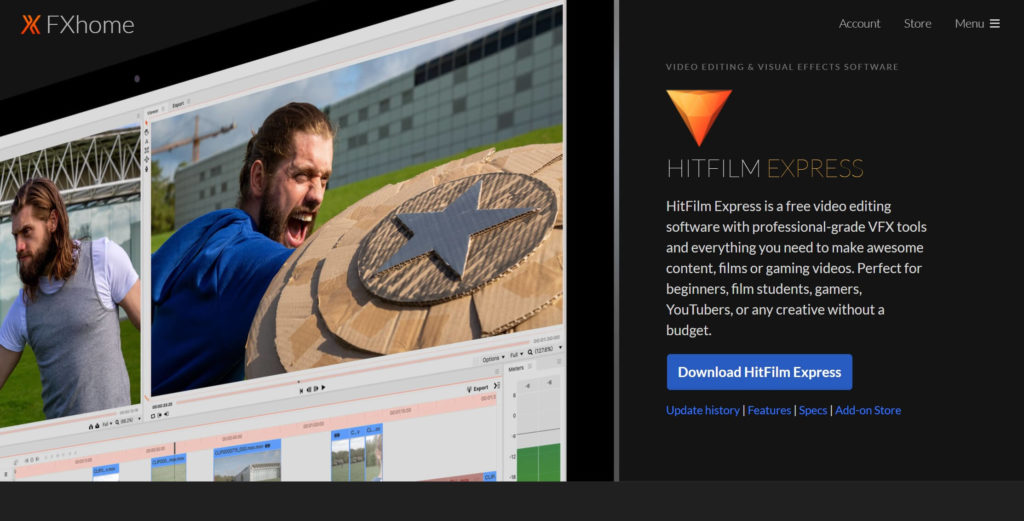
However, our top recommendation for free and powerful video editing software is HitFilm Express:

HitFilm Express is available for both PC and Mac. It offers full 2D and 3D compositing, over 400 effects, and allows for unlimited tracks. The company also provides excellent training videos to help you get the most out of the software.
3. Use Pillows and Other Soft Objects to Prevent Echoes
If you're going with the DIY approach, it's probably a safe bet you're filming in a room at home. For best results, choose a small space to get better sound quality. If it's carpeted, even better. The soft material will help absorb echoes and limit harshness of sound.
However, if that's not an option, you can place pillows and soft furniture around the room to achieve much the same effect. If you're doing a voiceover and can record your audio entirely separate from the video, laying down a rug or mat can also help.
4. Get Creative with Your Backdrop
Consider the background that'll be visible behind you in your videos. Ideally, you want something simple that won't distract from you and your content. A simple sheet or a blank wall can work wonders here.
If you want to spice things up a little, you can get creative and decorate a sheet or tarp, or even just a wall in the room, to provide a little visual flair. Strings of lights or even a whiteboard or chalkboard with some doodles or relevant information can add some interest to the scene without overwhelming it.
5. Use Natural Light for the Best Look
Artificial light, especially the kind standard household bulbs produce, is generally not the best for videos. It can make colors appear “off”, cast unnatural shadows, and probably won't be very flattering to the subject.
For better results, set up your studio in a room with ample natural light (i.e., windows). Try filming some samples at different times of the day and in different locations around the room to see what looks best.
That said, avoid filming with a window directly behind you. This will result in your face becoming backlit, making the video appear dark and difficult to see.
Finally, remember that the camera you use also impacts the colors you'll see. For example, Samsung phones tend to make colors pop more, but may look less natural.
Where to Invest If You Want to Upgrade Your Course Videos
While the above tips will get you off to a running start with recording, investing a little money can have a major impact on the quality of your video content.
If you decide you want to upgrade your recording setup, start by investing in a reliable microphone. The Blue Yeti is one of the most popular and reputable on the market, and it's the one we'd recommend for someone new to home recording.
The next thing we'd suggest looking into is some studio lighting or lightboxes. While natural light is wonderful, it limits when and where you can record. Picking up even some cheap clamp lights can open up a lot of possibilities.
Finally, if you really want to take your videos to the next level, a dedicated video camera is an expensive but worthwhile upgrade. Canon has some excellent options. Make sure to grab a tripod, too!
Conclusion
Including video in your courses can help take them to the next level. If you want to leverage this type of content but don’t want to spend an arm and a leg to do it, a DIY approach might be right up your alley.
These five tips should help you get started with your home recording setup:
- Use your smartphone for a cost-effective recording solution.
- Choose the right video editing software to make your workflow easier.
- Use soft objects such as pillows to minimize echoes and improve sound quality.
- Get creative with your backdrop to add a little flair to your videos.
- Use natural light for an excellent look without spending on expensive lighting.
Do you have any questions about setting up your recording studio? Let us know in the comments section below!


Add a Comment