When it comes to your online business, the images you use can have a huge effect on your online presence. In most cases, an image is the first thing visitors see when they arrive on your site.
High-quality pictures help represent the level of professionalism and skill that goes into your content. Whereas, blurry or distorted images may lead users to believe you are unfit to run a website.
Fortunately, there are several photo editing tools that can make any beginner look like an expert – with no professional photography skills required!
In this article, we'll quickly list 10 simple photo editing tricks that will have you creating outstanding images to increase brand awareness and improve the look of your site.
1. Download Free Presets or Actions for Quick Edits
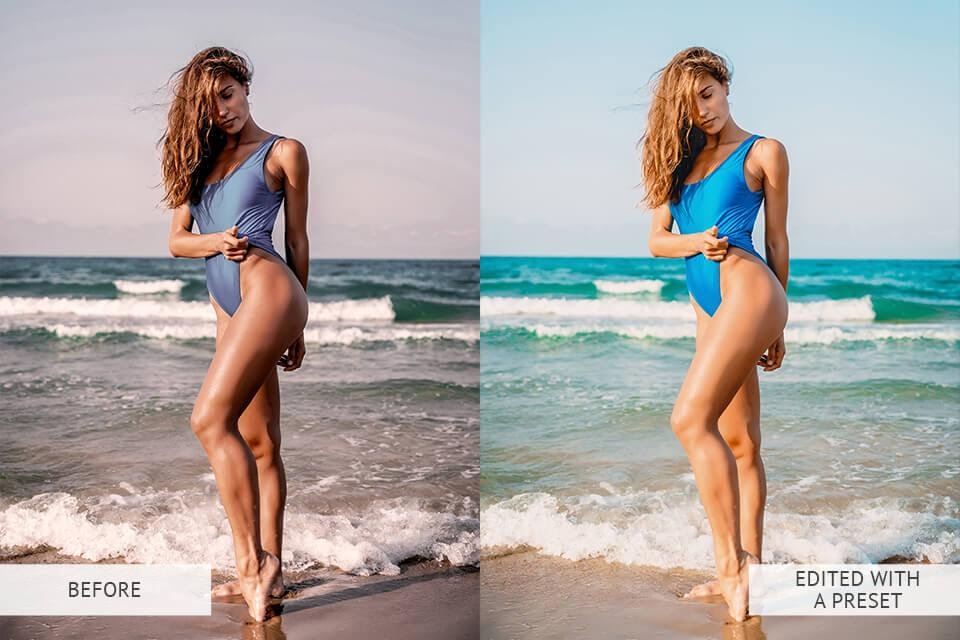
Editing an image from scratch isn’t a good idea, especially if you're a beginner. With an online tool like FixThePhoto, you can speed up your workflow considerably and get professional results quickly using Lightroompresets and Photoshop actions.
These filters help correct colors, and improve white balance, contrast, and skin tones. They come in handy if you need to tweak numerous shots. Rather than edit each image individually, you can apply a preset or action to multiple similar files.
2. Adjust the White Balance for Accurate Colors
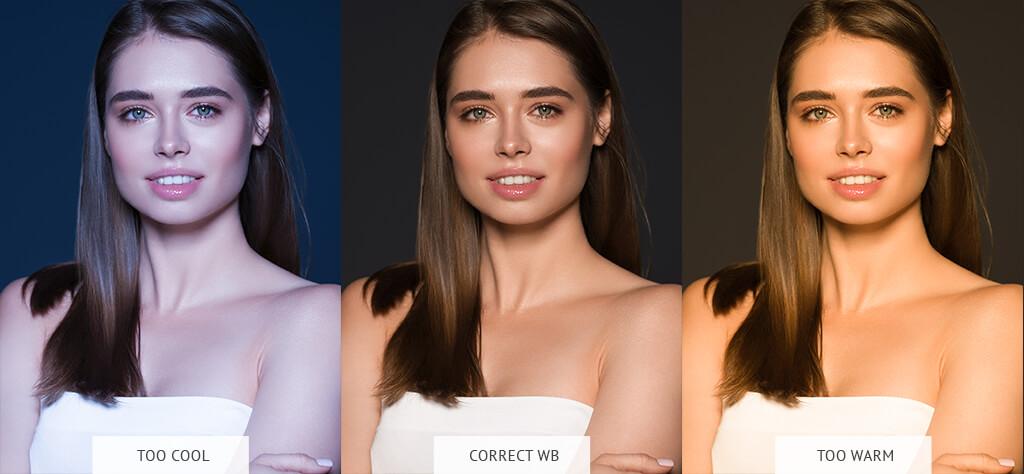
Adjusting an image's white balance is critical. Different light sources create a variety of color temperatures of “white light”. For example, a golden sunset produces warm colors, while photos taken on a cloudy day may appear cold and blue.
If you adjust the white balance incorrectly, skin tones will look unnatural. Also, white or gray spots may appear in the photo. The majority of photo editing software for beginners will allow you to choose pre-installed modes like “flash”, “daylight”, or “cloudy”.
Many programs also have “temperature” and “hue” sliders you can play with to tweak the lighting. Therefore, allowing you to get more accurate color calibration suitable for a particular lighting situation.
3. Crop the Image for Better Composition
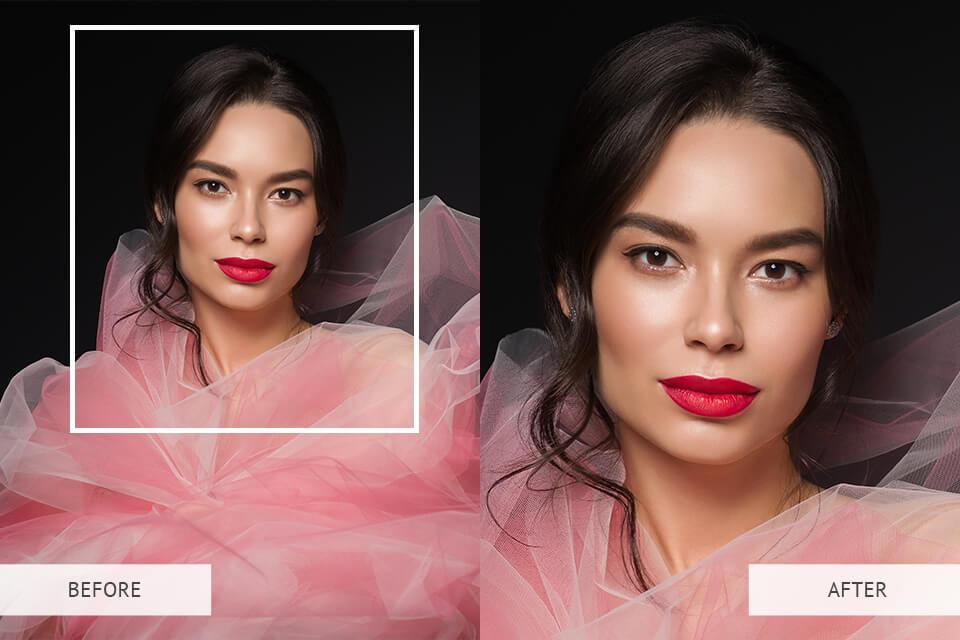
If you want to improve composition, eliminate unwanted elements, and highlight your subject, simple photo cropping will do the trick. Believe it or not, cropping can make an enormous difference in the overall look of the photos on your website. Quick tip: Remember to make the horizon line in your picture exactly straight.
4. Correct the Exposure
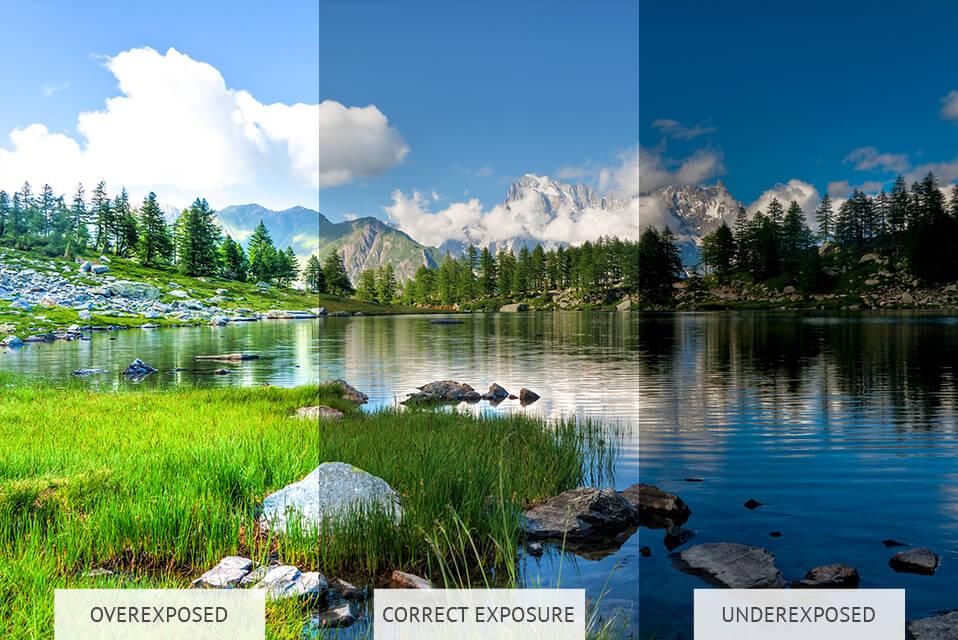
If your pictures are too bright or too dark, you can correct the exposure during the photo editing process. Experiment with different values to achieve the result you're looking for.
A brightness slider affects the overall exposure. A Highlights feature influences bright tones to make them brighter or darker. The Shadows option “is responsible” for dark hues.
5. Adjust the Contrast

One of the most useful photo editing tips for beginners is adjusting the contrast. If you want to make your pictures more dynamic, you need to raise the contrast value. The contrast refers to the relative lightness or darkness of a color.
When the value is too high, a picture appears extra sharp, regardless of predominant light or dark hues. If the contrast is too low, a photo becomes flat and lifeless, without any popping elements. Play with different contrast values to achieve the most optimal result.
6. Adjust the Colors' Vibrancy and Saturation
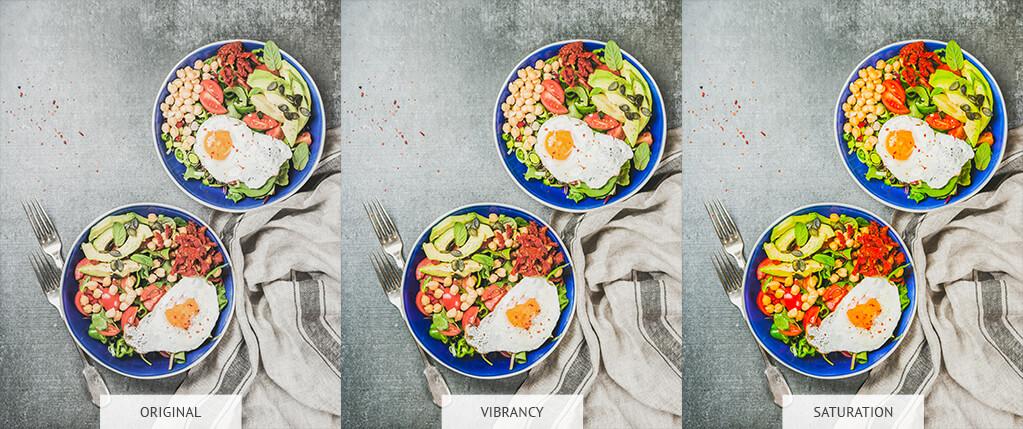
Tweaking color vibrancy and saturation is also important if you want to get a nice photo. Vibrancy only affects less saturated colors of an image and preserves the color intensity in brighter tones.
Saturation is the color's intensity, which contributes to its overall energy rather than its value. Once you properly adjust the vibrancy and saturation, you add a bit of drama to your photos.
7. Remove Distracting Elements
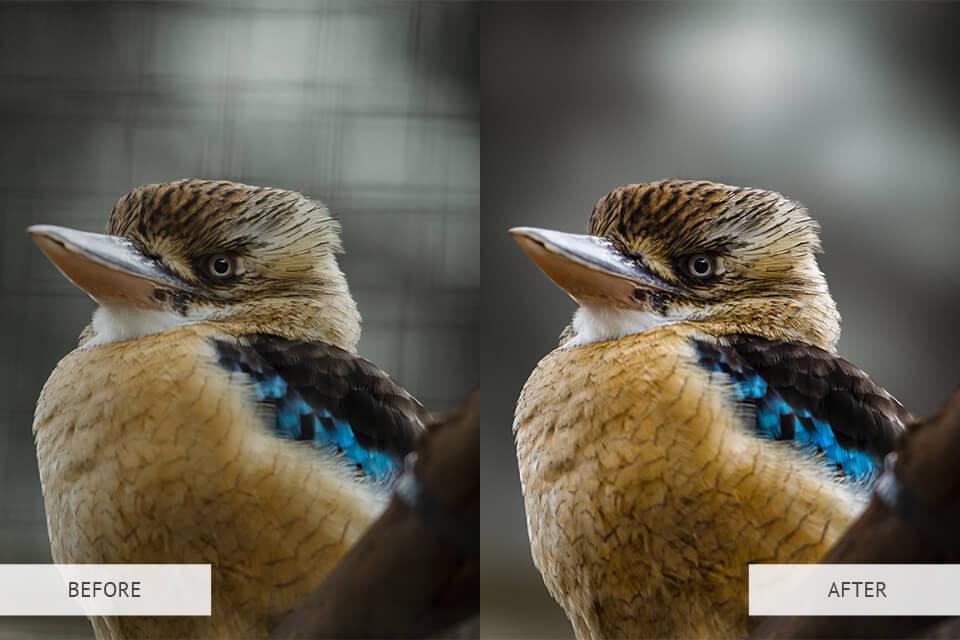
Examine your image for unwanted objects, distracting items, tiny imperfections, light flares, or random spots. Removing these distractions will give images a nicer, neater look. The majority of photo editing programs have a Spot Removal tool, also known as clone stamping or spot healing.
Use any instrument to change the view of a photo to accentuate the location of spots. Take time to tweak your picture to remove all unwanted objects.
8. Improve the Sharpness of the Details
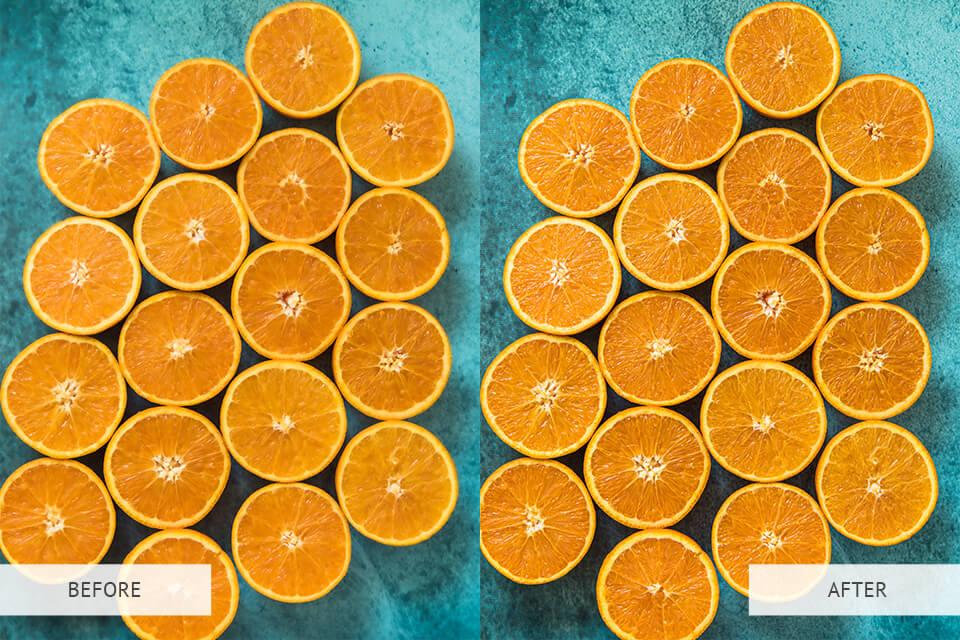
Editing images also involves boosting sharpness for a cleaner look. Start with setting the most appropriate sharpness value, from 0 to 100. Then you can adjust the average parameter, moving the level up or down to get the desired result.
You can also use other sharpening options available in your software. Some programs include a “clarity” or “structure” tool. This can accentuate the edges of objects while making a photo look sharper. It is advisable to adjust sharpness towards the end of editing a photo.
9. Optimize Photos for the Web

High-resolution images usually have a large size. Such photos look great when printed, however, uploading a larger image on a web platform may slow down your website. As such, this can also negatively affect your search engine rankings. That is why it is necessary to decrease the image size while preserving its quality.
The majority of users leave slow-loading web pages within several seconds. Fortunately, you can boost the performance of your website with image optimizers. They can reduce large photos to 1 MB and small graphics elements up to 300 KB with their initial visual properties preserved.
10. Outsource Your Photo Editing to Professionals

Finally, if you don’t have enough time to take a deep dive into image editing for beginners, you should approach an online photo retouching service. Experts can do things like perform photo color correction and skin retouching, and eliminate blemishes. The cost of these kinds of online services isn't usually too bad, either.
Conclusion
The perfect image can significantly boost your website's performance, as well as improve the overall user experience for the visitors on your site. With the help of simple photo editing tools and techniques, online business owners can enhance their visual content and get their website camera-ready.
If you liked this article, be sure to follow us on Facebook, Twitter, Instagram, and LinkedIn! And don't forget to subscribe to our newsletter.


Add a Comment