This documentation will show you how to install and use the Divi Content Protection Add-on for MemberPress, which is available on all MemberPress plans.
Installation
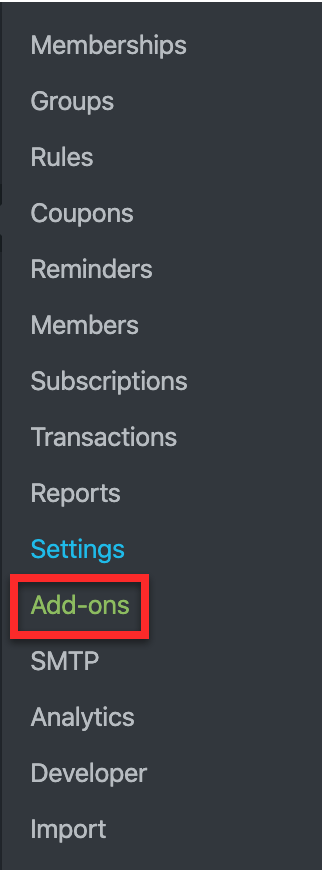
To install the Divi add-on, go to the MemberPress menu and click on the Add-ons link.

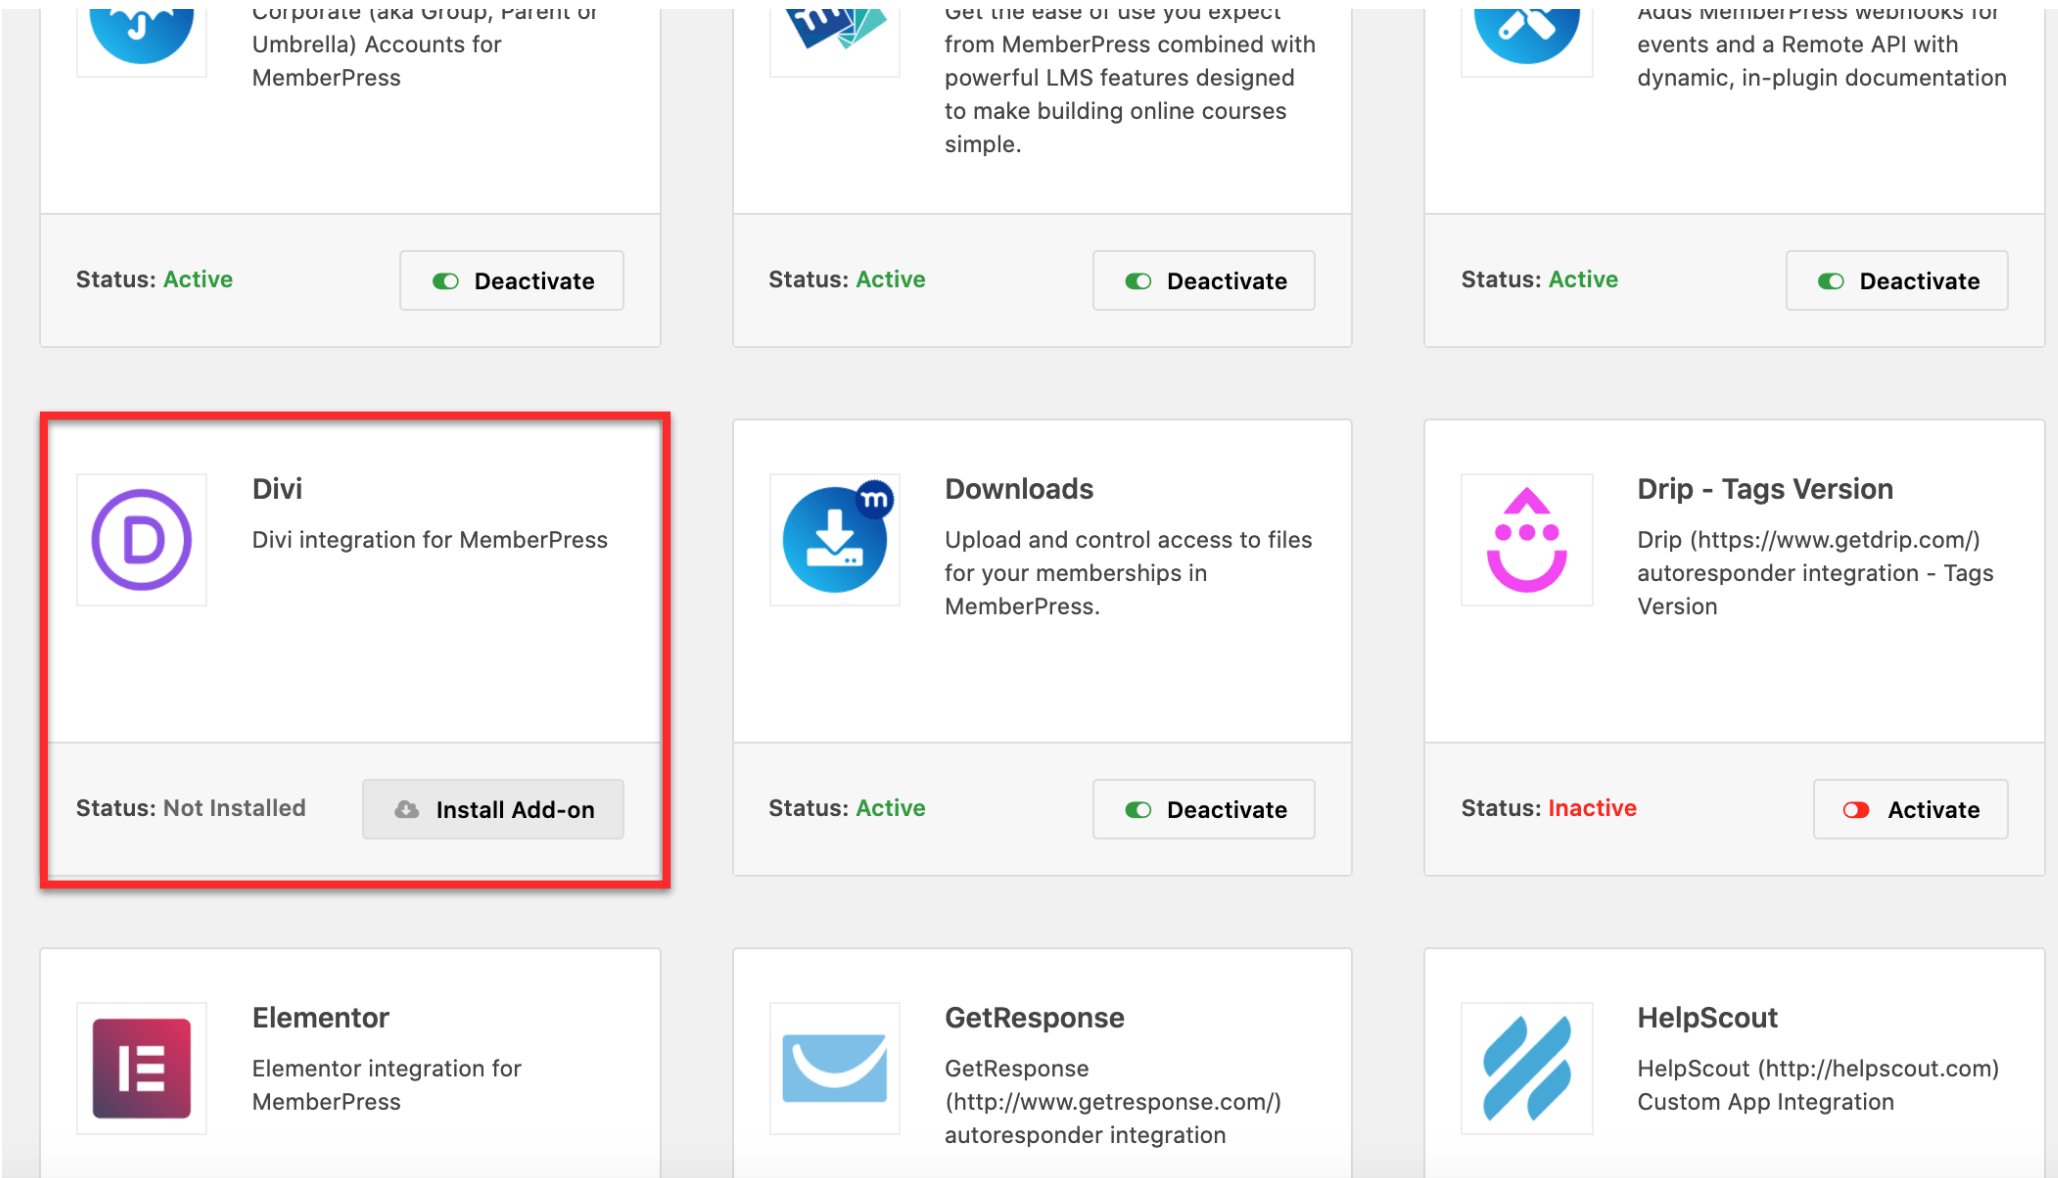
Next, scroll to find the Divi add-on. Then click on the Install Add-on button to automatically install and activate it.

Configuration
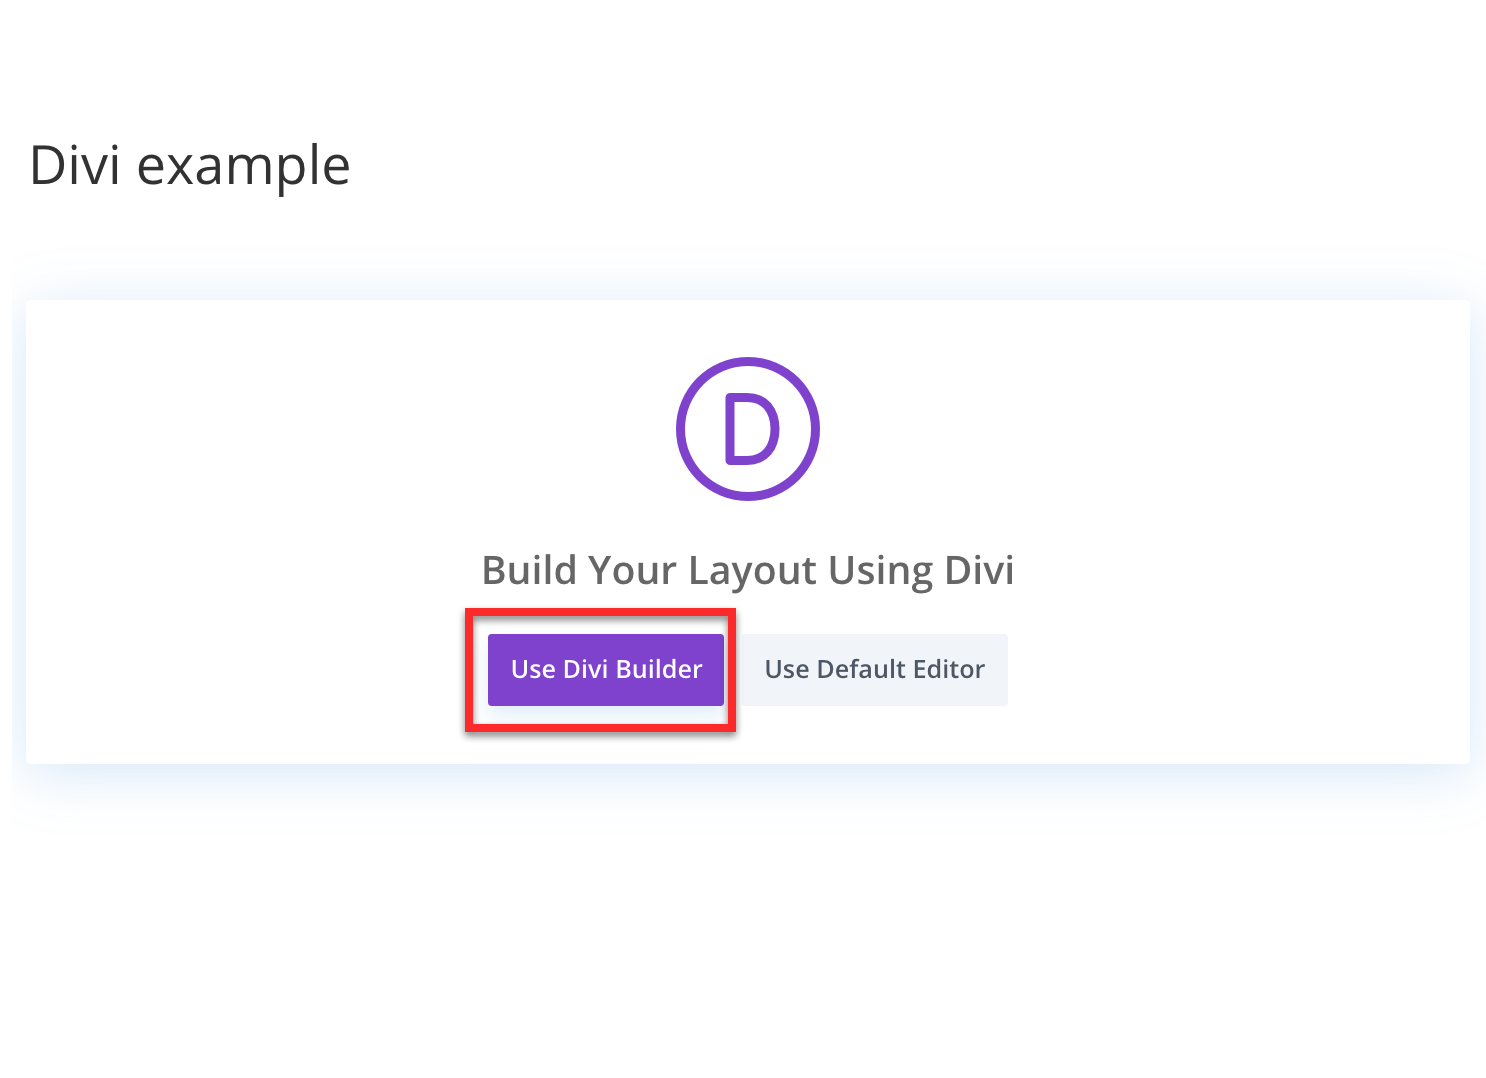
Make sure the MemberPress Divi Content Protection Add-on is installed and Divi is installed and activated as your theme. Then go to a page or post where you’d like to protect existing content (or create new content) and launch Divi:

Before you can protect your content, you’ll need to create a Rule in MemberPress, which you can do at MemberPress menu > Rules ( visit the Rules Overview documentation here).
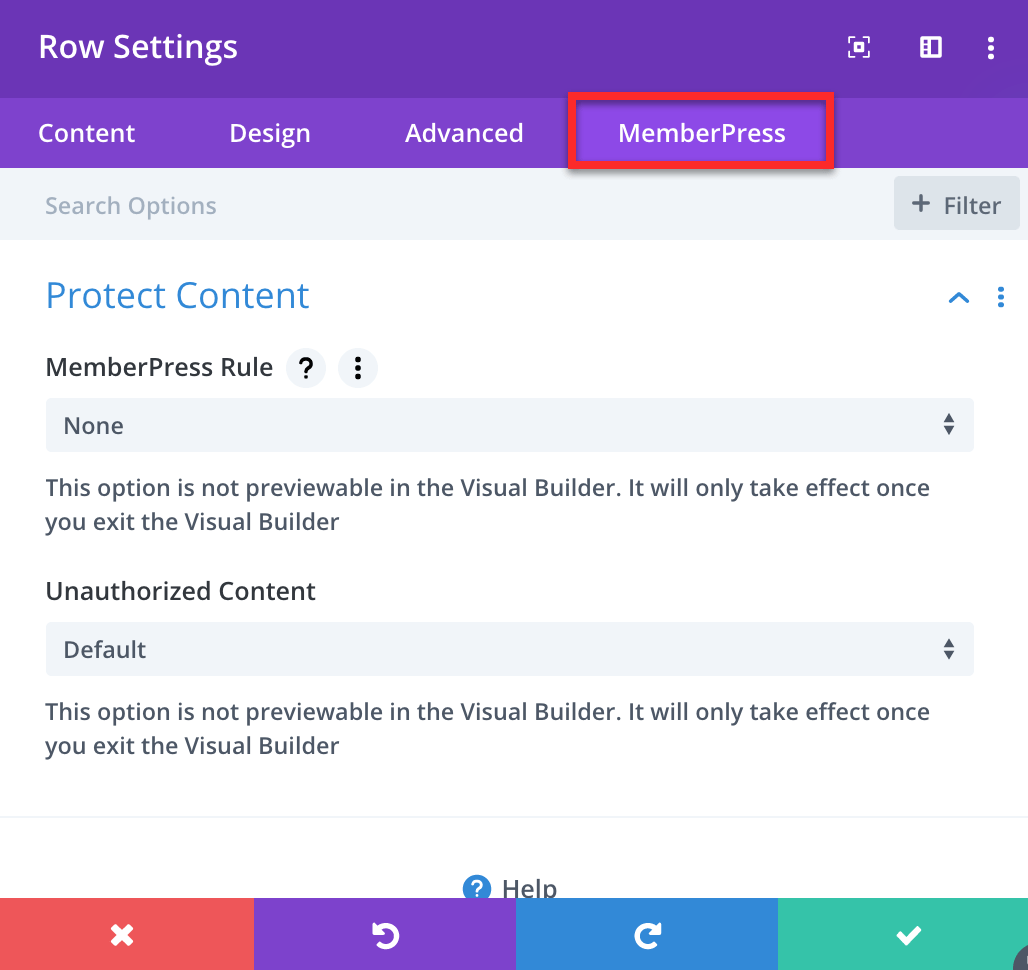
After creating a Rule, go back to the content, click the gear icon on a row, then click on the MemberPress tab:


Next you’ll need to set the MemberPress Rule to the rule you created earlier to protect the content. You’ll most likely want to use a Partial Rule so you can protect different parts of the page or post to create a paywall.
Once the Rule is selected, choose from the dropdown for the Unauthorized Content field. You can choose from Default, Hide, or Display Message.
Default: This option shows your default unauthorized message, which can also include the login page.
Hide: This option hides the content from unauthorized viewers.
Display Message: This option allows you to show unauthorized viewers a custom unauthorized message. Type your custom message in the Custom Message field below the Unauthorized Content field.
Click save, and your content should now be protected from unauthorized viewers.
Video Tutorial: How to Create a Custom Membership Registration Page in MemberPress with DIVI
The above video shows you how to customize membership registration pages with the DIVI page builder.


