There are a lot of ways to monetize a blog. However, few of them can be as lucrative as offering online courses. If you have the expertise to break down a topic people care about, the sky's the limit. All you have to do is figure out how to use your blog to sell those courses.
If you're using a WordPress membership site, there are plenty of easy solutions. For example, the MemberPress Courses add-on available on all MemberPress plans.
Using it, you can enable users to enroll for classes, process payments, and get your online academy off to a great start. If your courses are a hit, they may even bring in income passively.
In this article, we're going to talk about why online courses can be a better option than other monetization methods for your blog. Then we'll teach you how to offer those courses using WordPress. Class is in session!
Why It's Smart to Monetize Your Blog Using Online Courses
There are plenty of ways you can monetize a blog. However, online courses are one of your best options for several reasons, such as:
- There's no limit to how many students you can have.
- You can set up different membership levels for your courses.
- It can earn you a semi-passive income.
- The profit margins are significant.
With an online course, you also don't need to pay for shipping, procure products, or perform any of the tasks involved with running an online store.
Of course, creating an online course that people want to pay for isn't as easy as it sounds. There's a lot of free content available online, so in order to attract students, yours needs to be better. Moreover, you'll need a website that looks professional to reel in new students.
How to Monetize Your Blog by Offering Online Courses (In 3 Steps)
For this tutorial, we're going to break down the process of offering online courses into two parts and three steps. First, you'll need to tackle the planning and course preparation stage. Then it will be time to get your courses online. Let's walk through how this all works!
Step 1: Develop Your First Lesson
This step is highly personal. What your first course is about will depend primarily on two things:
- What subjects you're passionate about
- What subjects you know inside and out (enough to teach other people about them)
Ideally, you'll also want to focus your course on a subject for which there is demand, and that you can teach comfortably about.
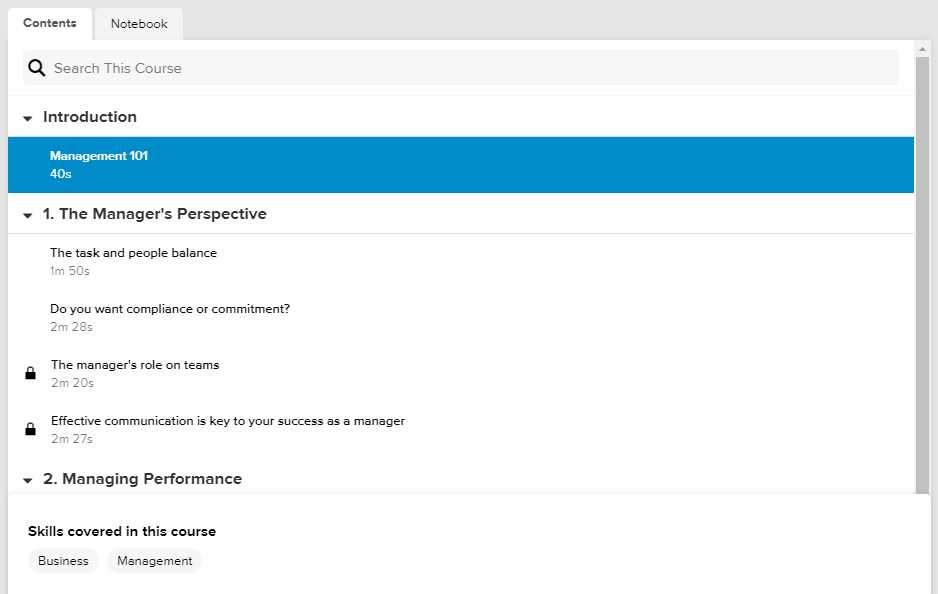
Once you have a general subject in mind, it's time to outline the contents of your course. The best online courses usually offer a mix of video and written materials. At this stage, we recommend that you check out platforms such as Coursera or Lynda, and look for courses that cover similar topics:

Knowing how others approach their courses will give you an idea for what content to include and in what order. You can also use this research to consider how your course will stand out from other options, such as by covering aspects that are often overlooked.
Since you'll be offering your course directly through a membership website, you have a unique advantage. You can provide highly-personalized support to your members, and develop any kind of lesson plan you want. Online courses on platforms such as Lynda tend to be very rigid, but with your own website you'll have full creative control.
Step 2: Install MemberPress & Activate Courses
Once your course materials are ready, you'll want to enable student enrollment on your website. To do that, you can use our own MemberPress plugin, which enables you build courses, create multiple subscription plans, process payments, and choose which content you want to be private.
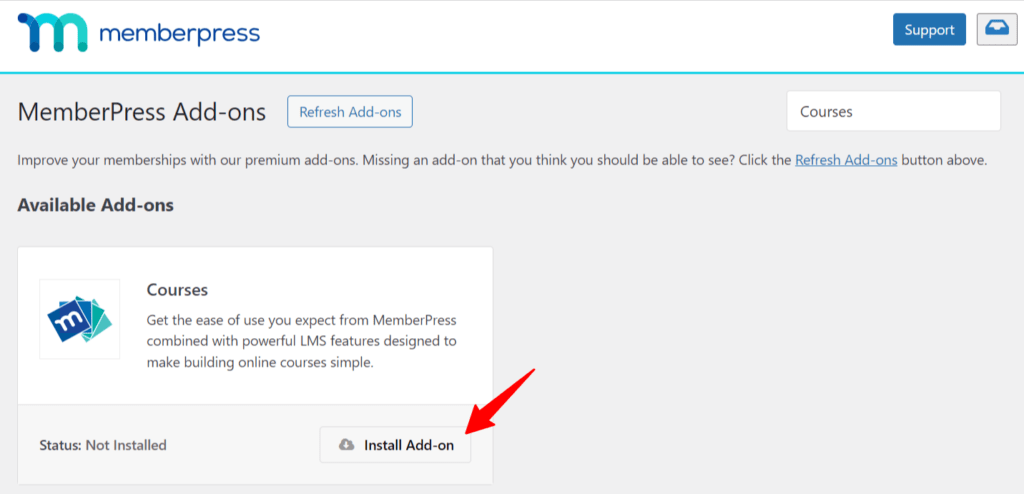
Once the plugin is installed and you've created your membership plans, go to MemberPress > Add-ons, and install the Courses add-on.

Once you've installed the add-on, a new MP Courses menu will appear in your WordPress Dashboard.
Step 3: Set Up Private Content for Your Students
MemberPress Courses is activated and you have your curriculum put together, so now it's time to start adding courses to your site!
From your WordPress dashboard navigate to MP Courses > Courses. At the top, you'll see three buttons: Add New, Categories, and Tags. Click Add New to add your first course.

Here, you'll give your course a title and include descriptive content below. Once that's done, click on the Curriculum tab to begin adding Sections and Lessons.

To add Lessons, simply expand a section.

Once a lesson is created, it'll show up in a list on the right side of the page. When you're done filling out your curriculum, you can set up protection rules.
To protect a single Course, go to the MemberPress > Rules > Add New page and choose the “Single Course” type from the drop-down menu. Then search for your Course by title and select it. Last, select which Membership(s) will provide access to the Course when purchased. Your Rule will look something like this:

Your course is now protected from unauthorized views by site visitors and members who don't have a Membership to one of the Memberships you selected in the Rule's Access Conditions.
Conclusion
Offering online courses takes a lot of work. You have to plan out lessons, create class materials, develop high-quality assets for your students, and more. Fortunately, if you're using WordPress, the technical side of offering online courses is a lot simpler.
With MemberPress, you can transform your blog into an online classroom in just three steps:
- Develop your first lesson.
- Install MemberPress and activate MP Courses.
- Set up private content for your students.
For more information and detailed instructions, check out our guide, Getting Started with MemberPress Courses.


Add a Comment