Creating a pay-per-view website with WordPress isn’t as difficult as you might think. If you choose the right tools, you can add pay-per-view functionality to your WordPress website relatively quickly.
In this guide, we’ll show you how to start a pay-per-view website with MemberPress, our powerful membership plugin for WordPress.
Whether you want to start a new pay-per-view site or add this feature to your existing WordPress membership website, this guide will provide you with everything you need to accomplish your mission.
But first, let’s quickly take a look at what pay-per-view is in the context of a membership site, and why you might want to use it.
What is Pay-Per-View and Why Use It?
You might be familiar with pay-per-view in relation to televised sporting events, where viewers pay a one-time fee to watch a specific event.
However, pay-per-view can be used in a wide range of situations, especially on websites where a visitor might want to access content for a short period of time, such as a live streaming event or a pre-recorded video.
One way to use the pay-per-view model is instead of charging your visitors a recurring subscription fee. Alternatively, you could offer pay-per-view access as an optional extra to your existing paid-up members in exchange for access to certain parts of your website.
Regardless of how you choose to implement pay-per-view pricing on your website, you’ll find that it’s an effective way to monetize your content.
Now that you know what pay-per-view is and why you might want to use it, let’s talk about how to create a WordPress pay-per-view website with MemberPress.
How to Start a Pay-Per-View Website with MemberPress
This guide will assume you have a WordPress website up and running, but if not, this article will walk you through the process of launching your new site.
Once you’ve logged in to your WordPress website, you can follow this video guide to install the MemberPress plugin if you haven’t done so already. This plugin will enable you to add pay-per-view functionality to your site.
Set up MemberPress for Pay-per-View Monetization
With MemberPress running on your WordPress website, the first step is to configure the plugin the right way. So to get started, from your WordPress dashboard, go to the MemberPress Options page and then click on the Payments tab.
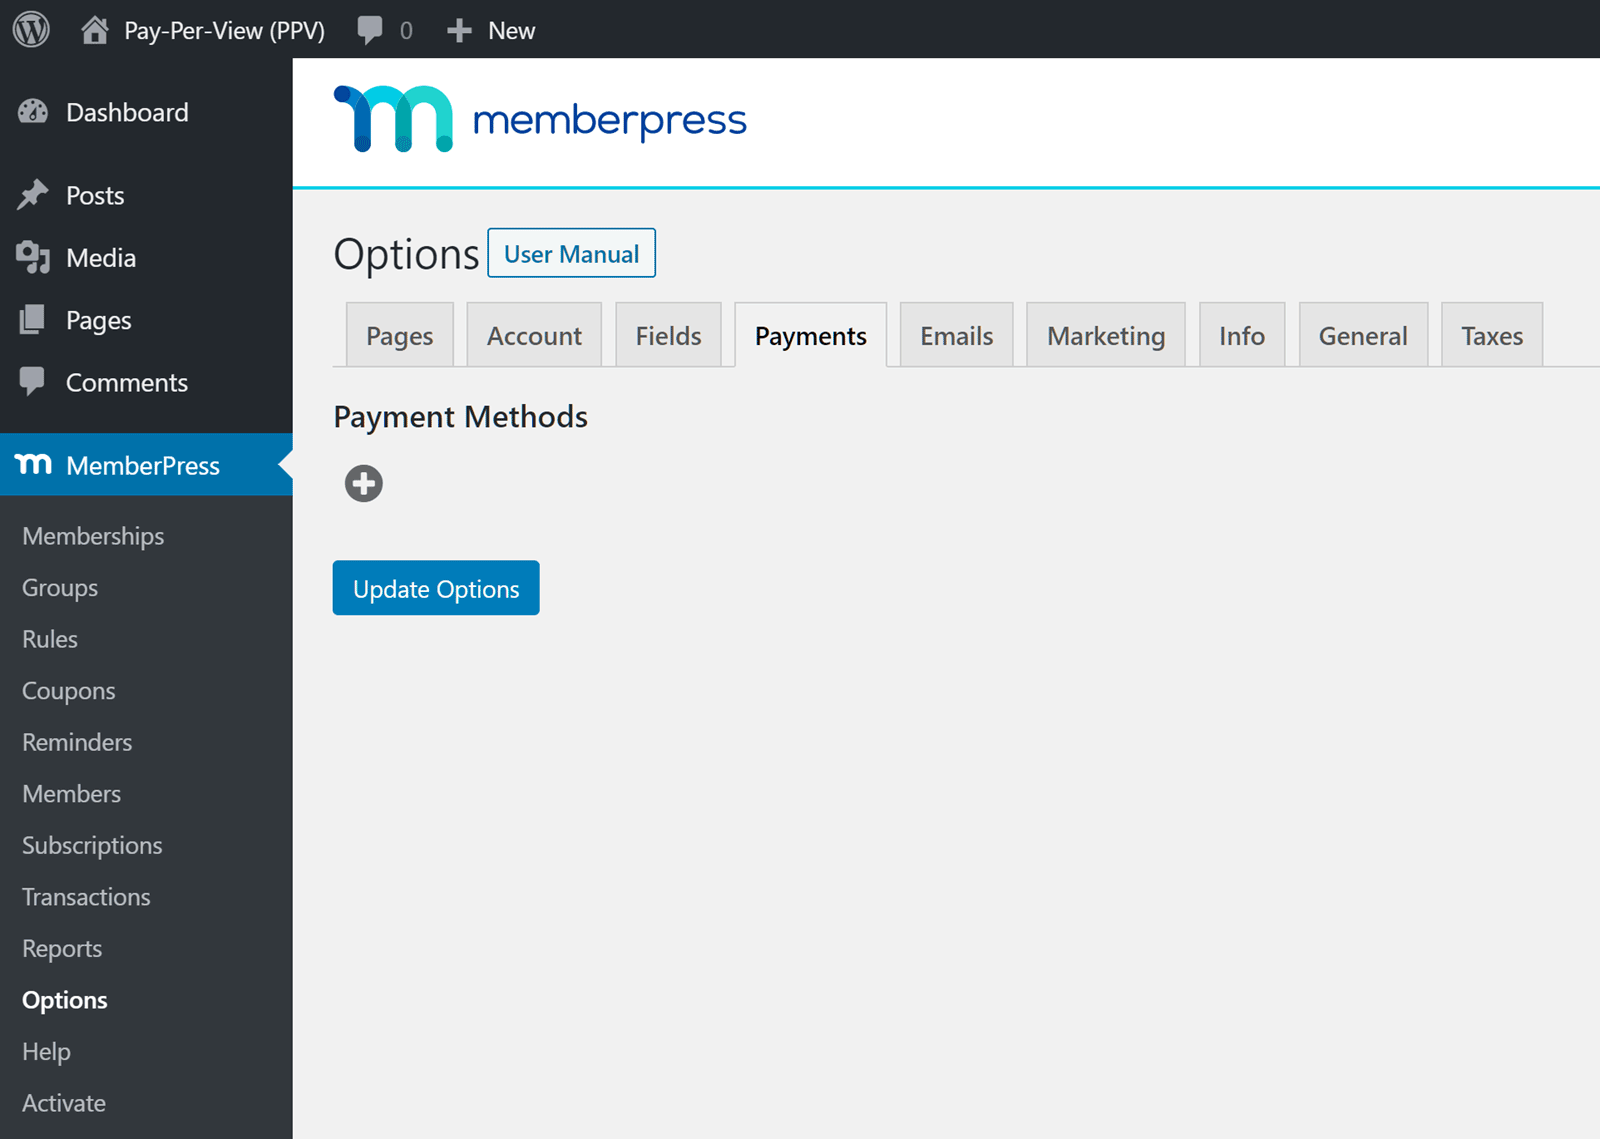
Clicking on the plus (+) symbol gives you the ability to add a payment method to your website. This will allow you to collect money from visitors in exchange for access to your pay-per-view content.
Out of the box, MemberPress supports the PayPal, Stripe, and Authorize.net payment gateways, and you can enable multiple gateways on your site.
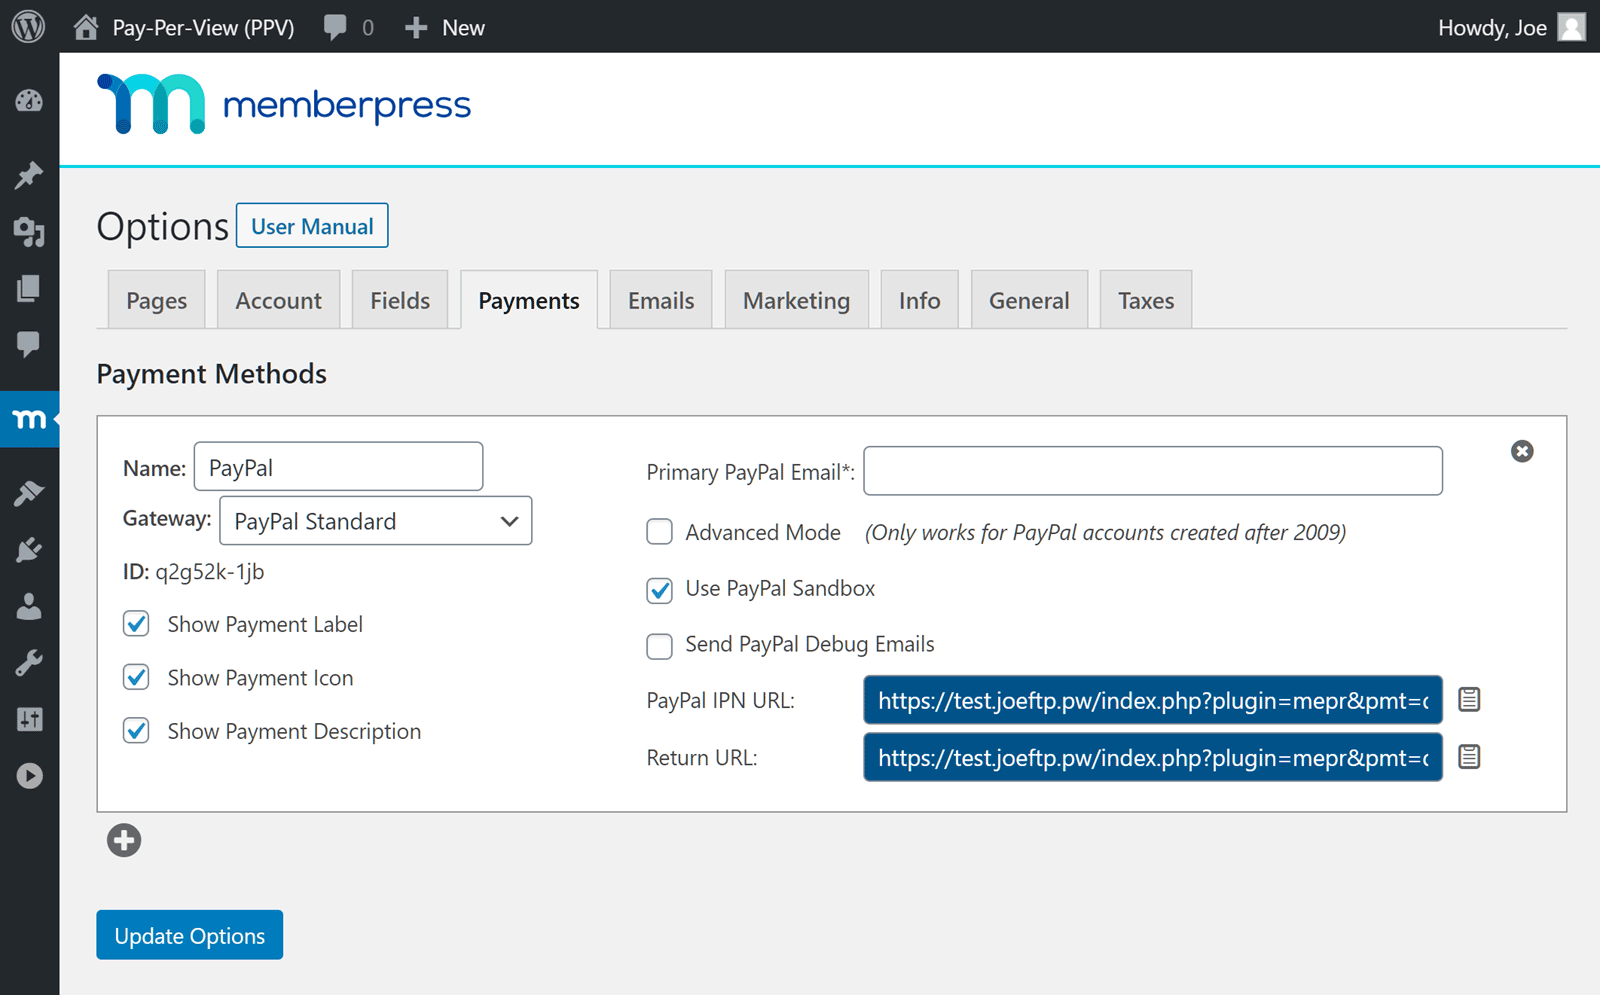
If you’re unsure which one(s) to choose, you can find out about the payment options and how to configure them on this page of the MemberPress online documentation.
Once you’ve made your choices, press the Update Options button to save your preferences.
Create the Pay-Per-View Membership Option
Because MemberPress is a flexible plugin, you can create a wide range of membership options on your site, including adding a pay-per-view option. To do this, visit the Membership page of the MemberPress plugin settings.
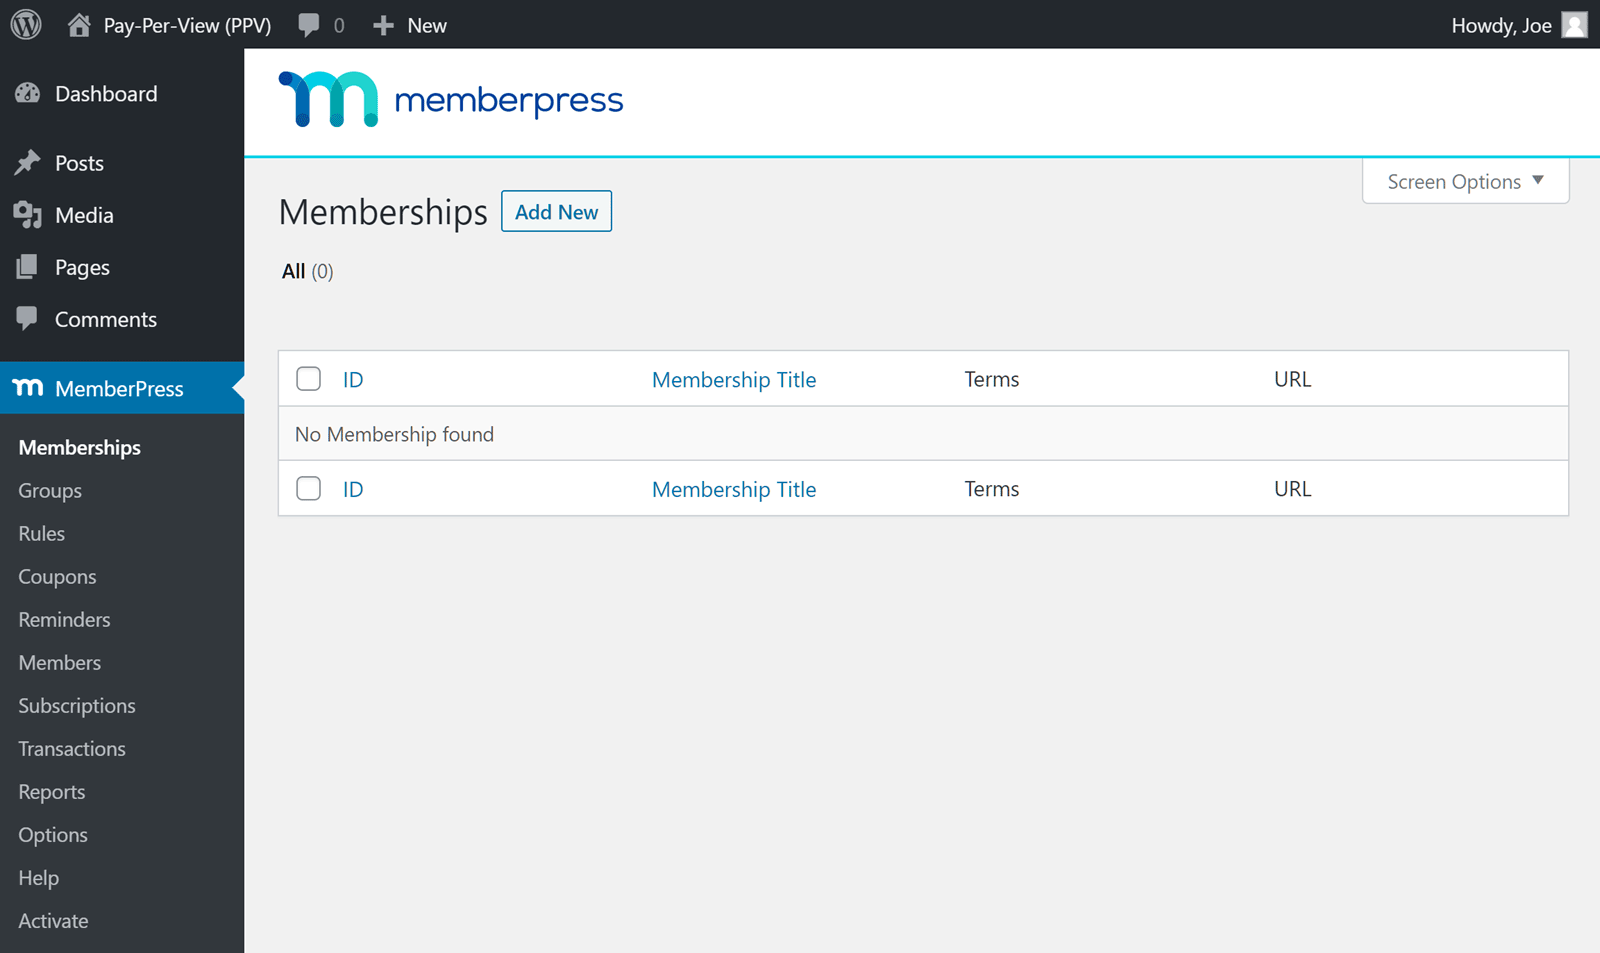
From this page, you can create a new membership for your site to use as the pay-per-view option. To do so, click on the Add New button, then give the membership a title your members will understand.
You can also add a description to provide more information about this membership option.
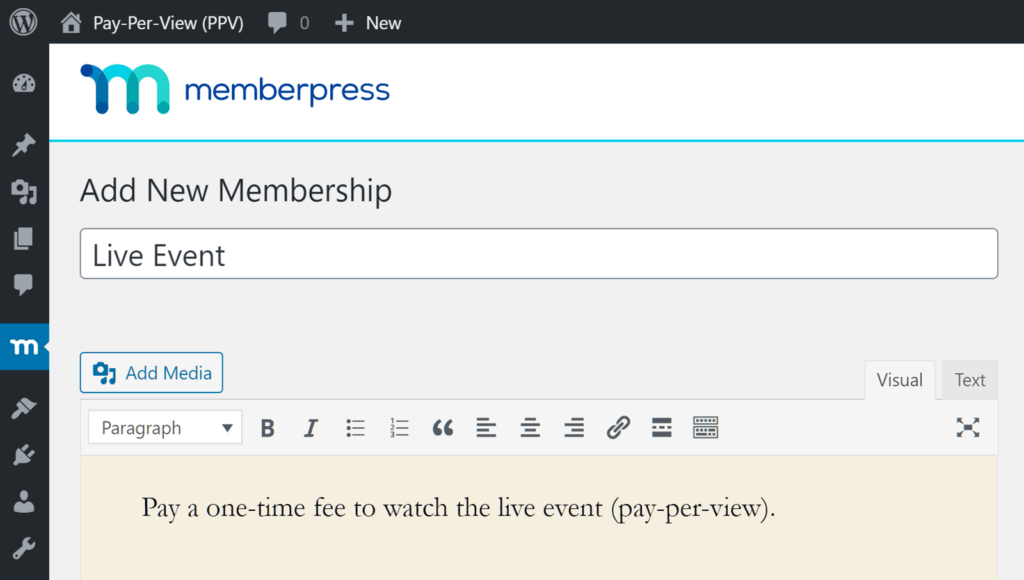
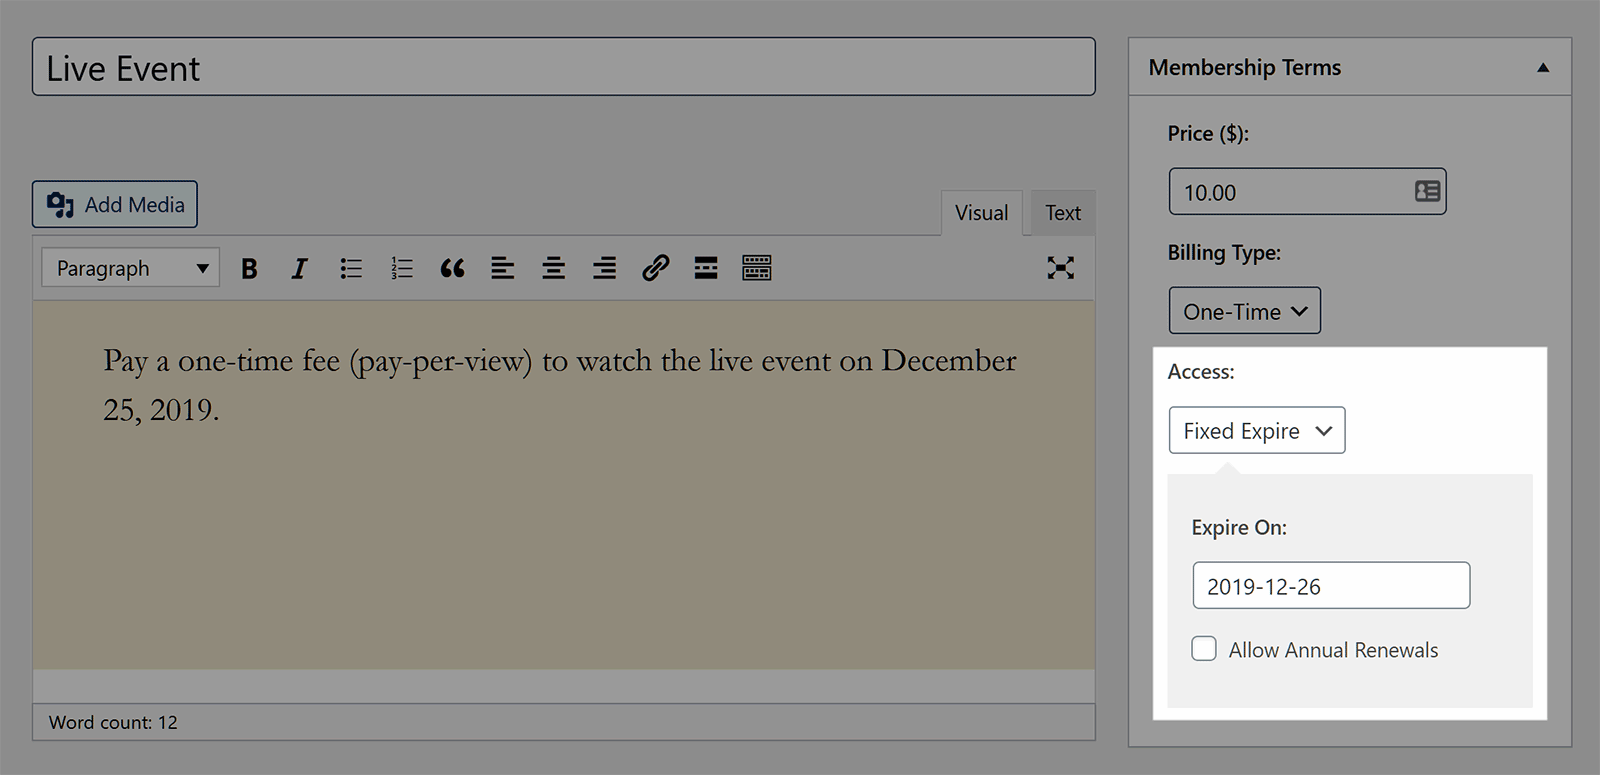
From this page, you can also set the price of the pay-per-view membership and the expiration date or length of access it provides. Setting the expiration date or length of the membership will depend on what type of pay-per-view content you’re publishing.
If the pay-per-view content is for a live event, you can set the access option to Fixed Expire. This allows you to enter a date after the live event when access will be revoked.
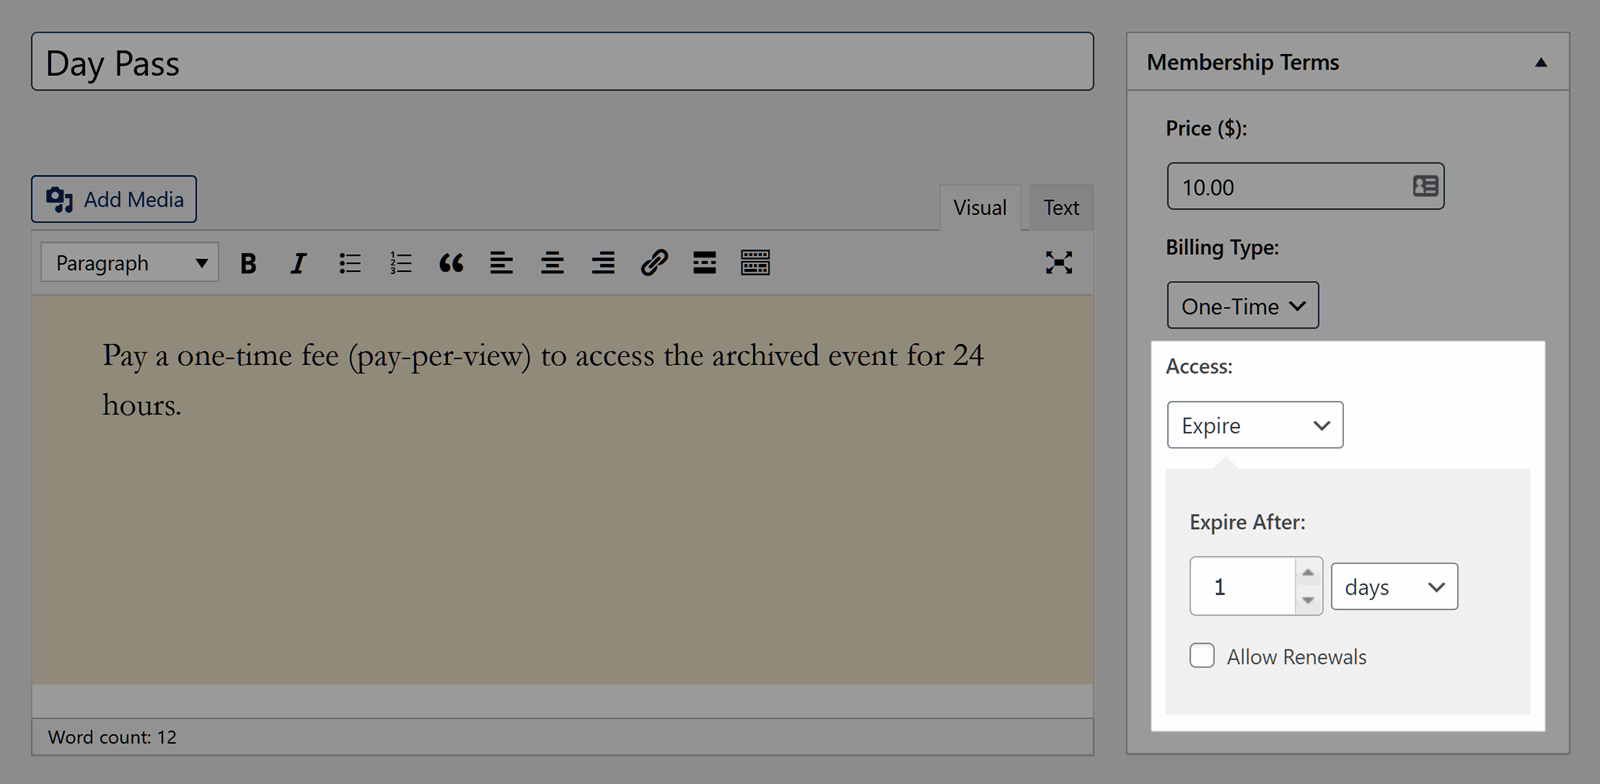
However, you might want to give your members the ability to access a piece of content on your site for a short period, such as a single day. In that case, you could create a day pass type membership.
To do so, choose Expire from the Access dropdown menu. Once you’ve done that, you can set the access to expire after a specific number of days, weeks, months, or years.
You also have the option of allowing renewals to enable your members to sign up for another set period.
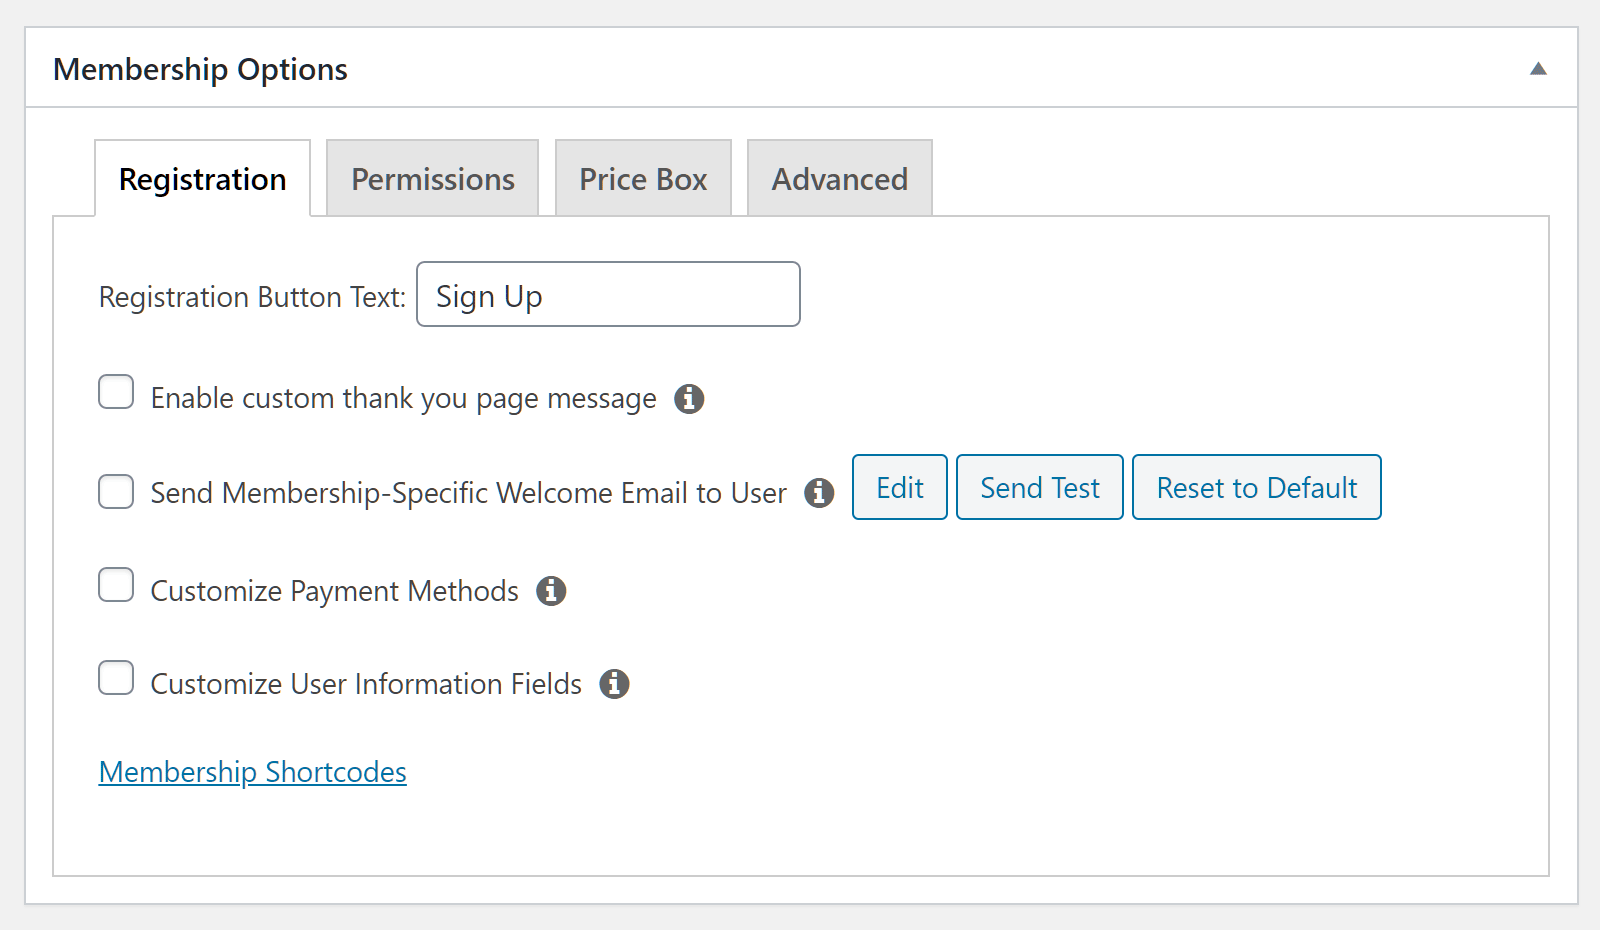
After you’ve set the price and the access expiration details, scroll down the page to the Membership Options box.
From this set of options, you can choose which of the payment options you enabled earlier will be available for this membership. You can also take care of a few other settings.
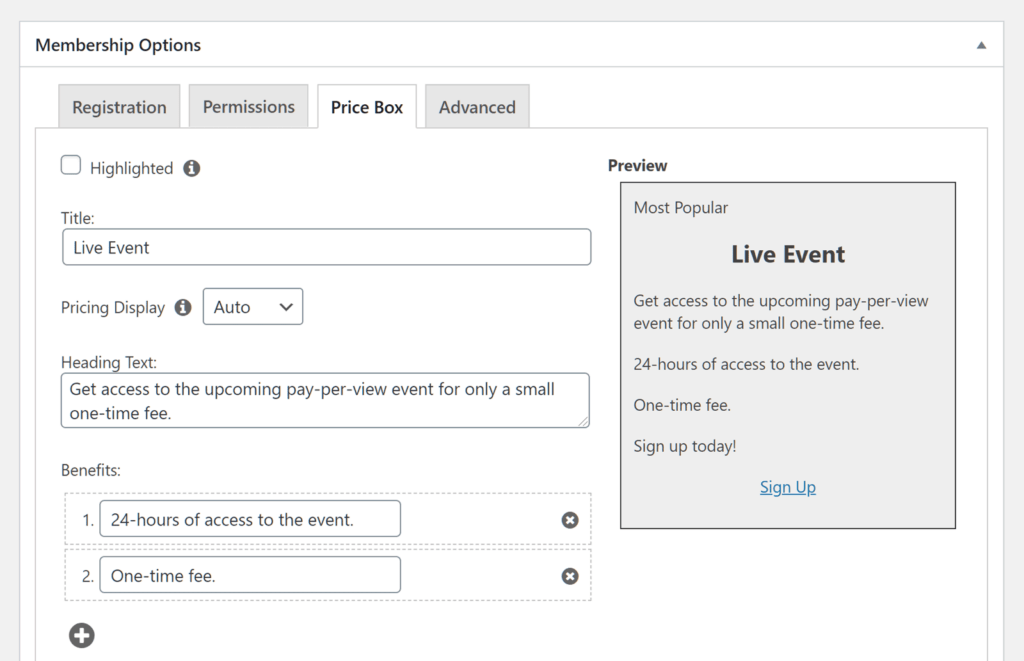
MemberPress makes it very easy to publish your membership options on your website so that your visitors can see what’s available.
From the Price Box tab, you can enter some information to be included in the signup module that will be displayed to your visitors.
If needed, you can create multiple membership plans and options to go alongside your pay-per-view option.
Restrict Access to the Pay-Per-View Content.
Once you’ve published the pay-per-view content on your website, such as on a post or a page on your site, you need to restrict access to it. This is to ensure that only those who’ve signed up to the pay-per-view membership option can view it.
MemberPress gives you lots of options for restricting access to content, including choosing specific pages that only members can access or selecting all posts in a certain category. You can carry out these restrictions on the Rules page of MemberPress.
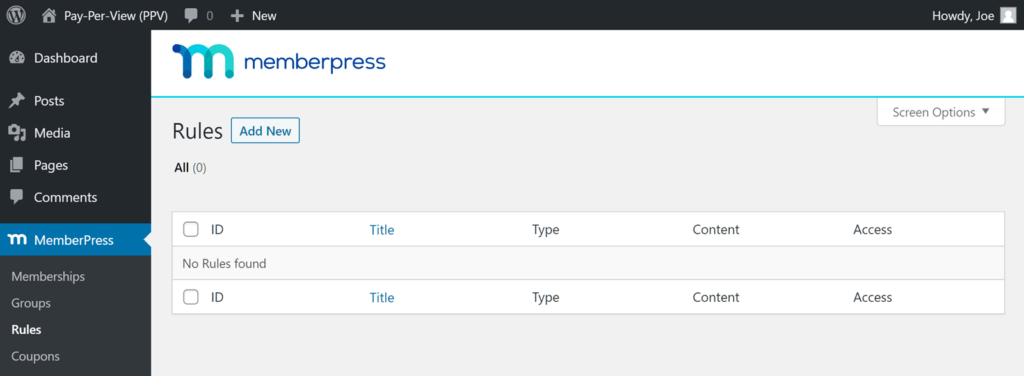
From the Rules page, click on the Add New button.
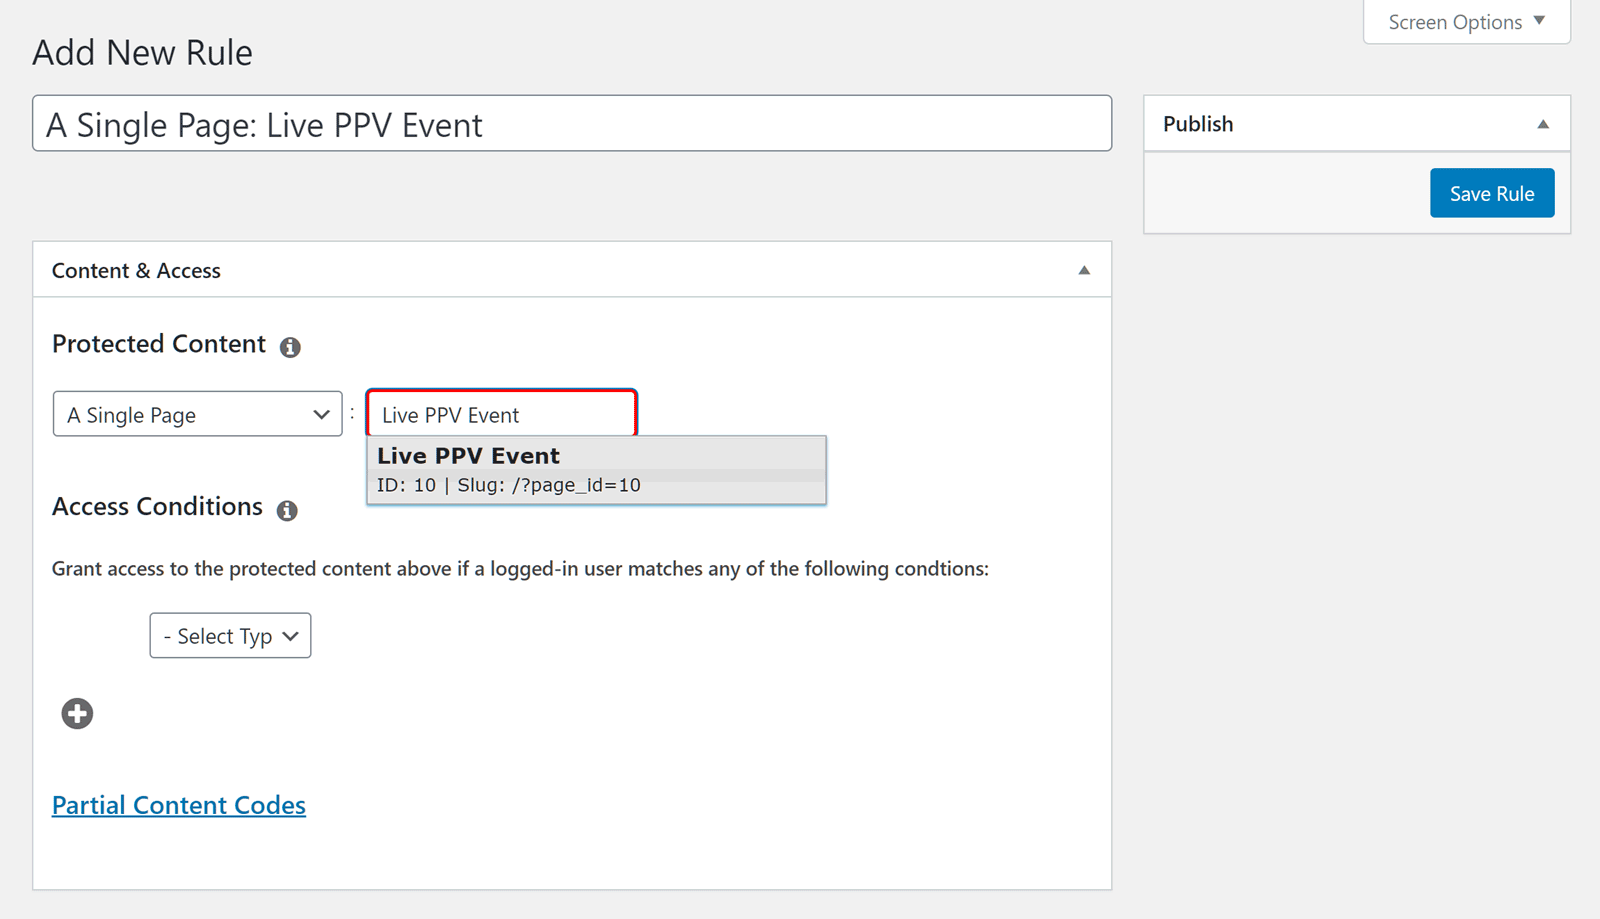
If you want to publish the content for your pay-per-view event on a single page, you can choose A Single Page from the Protected Content dropdown menu, then enter the title of that page.
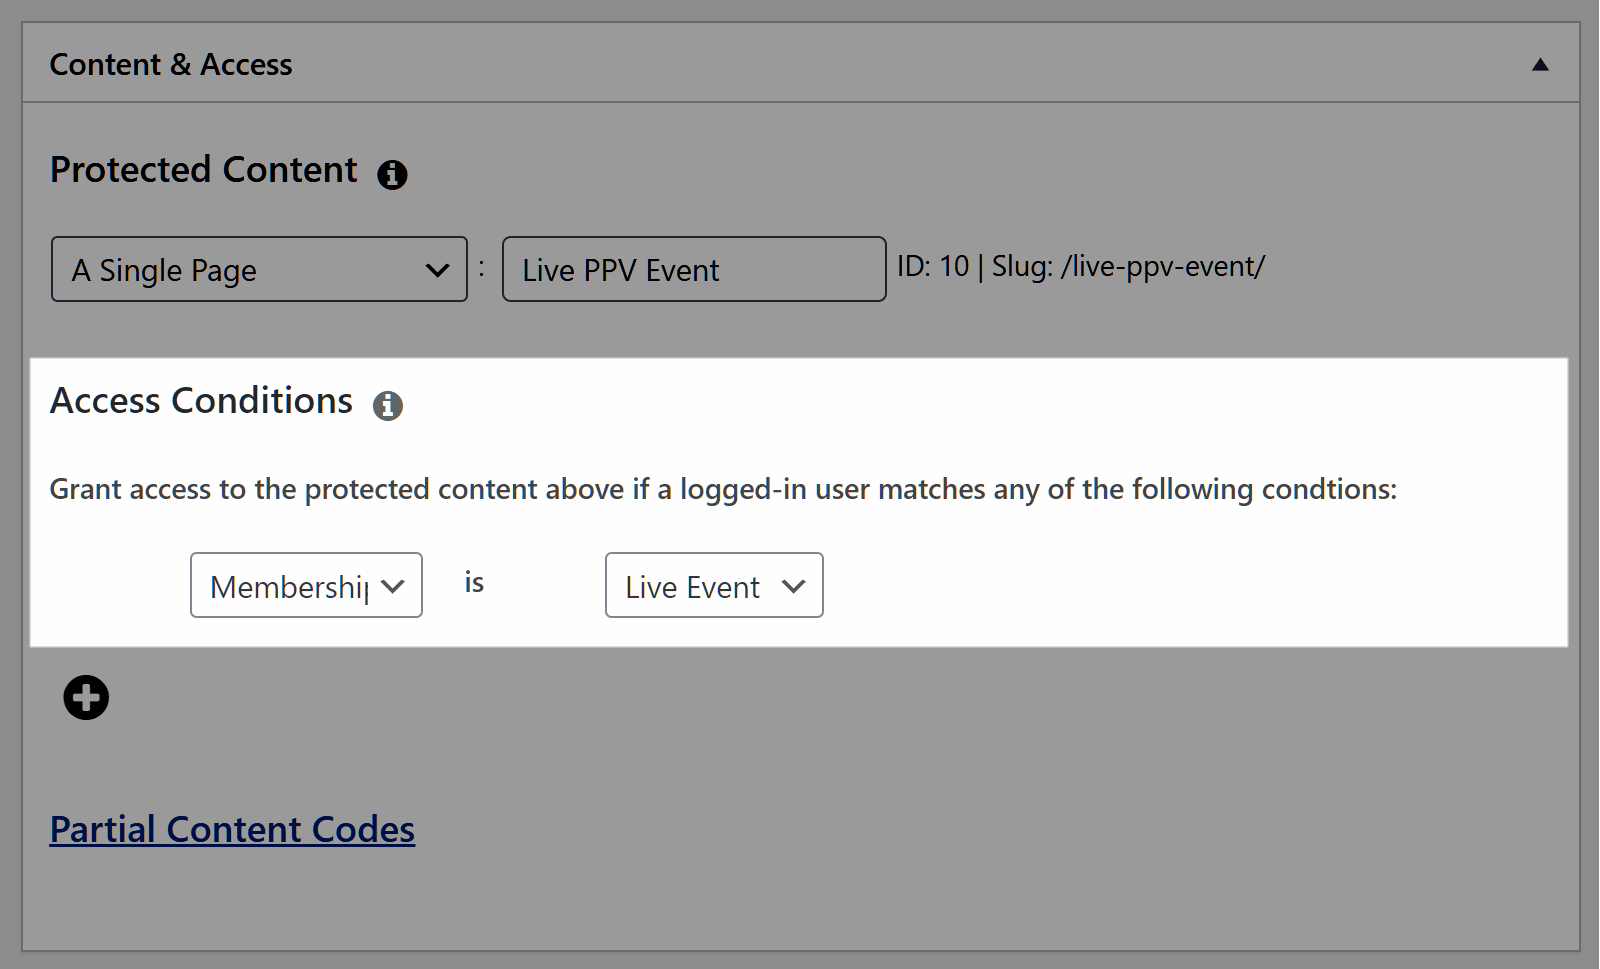
Next, from the Access Conditions section, choose Membership from the first dropdown menu. Then select the membership option you created earlier from the second dropdown menu.
Alternatively, restricting access to all of your content – or somewhere in-between all content and a single page – might be the right choice for your site. Because MemberPress is flexible, it can facilitate all of these content restriction scenarios.
After you’ve hit the Save Rule button, visitors won’t be able to access the content you just protected unless they’ve signed up for the appropriate membership option.
Displaying the Sign Up Form on the Pay-Per-View Pages
By default, MemberPress will simply display the login form to non-members who try to access the protected pages. This is fine for members who just need to sign in. But in most cases it’s a better idea to display the signup form so that non-members can get access to the protected pay-per-view content.
The first step in achieving this is to navigate back to the Memberships page of the MemberPress plugin.
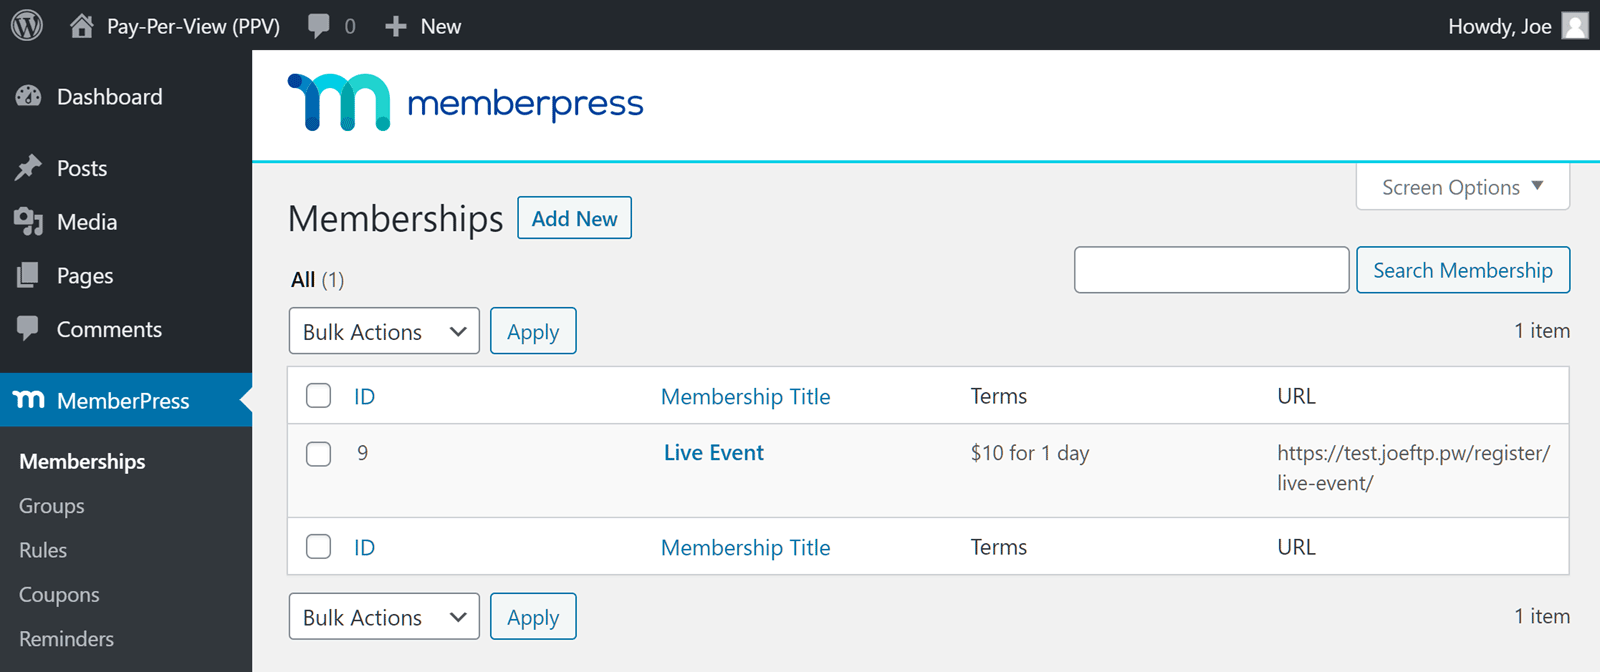
From here, you can copy the address or URL of the registration page for the pay-per-view membership you created earlier.
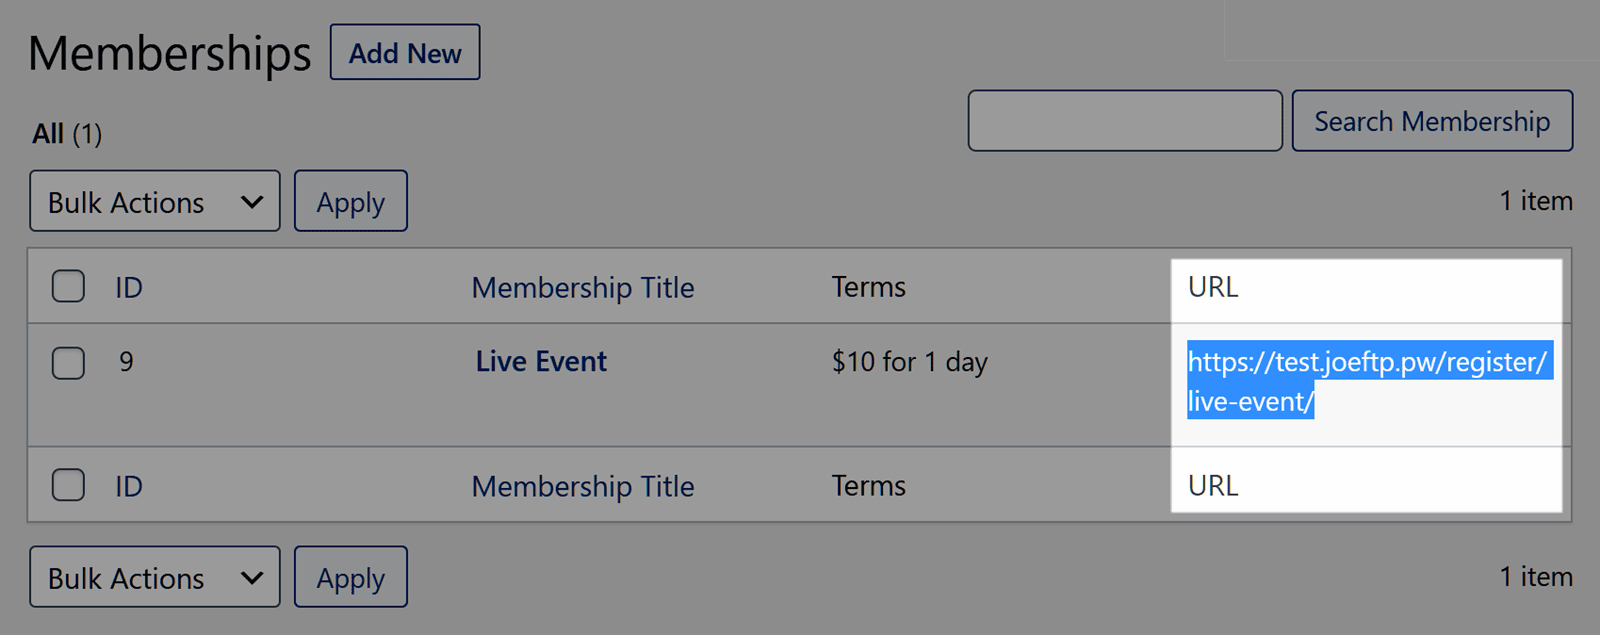
Once you’ve copied that URL, go to the Options page of the MemberPress plugin.
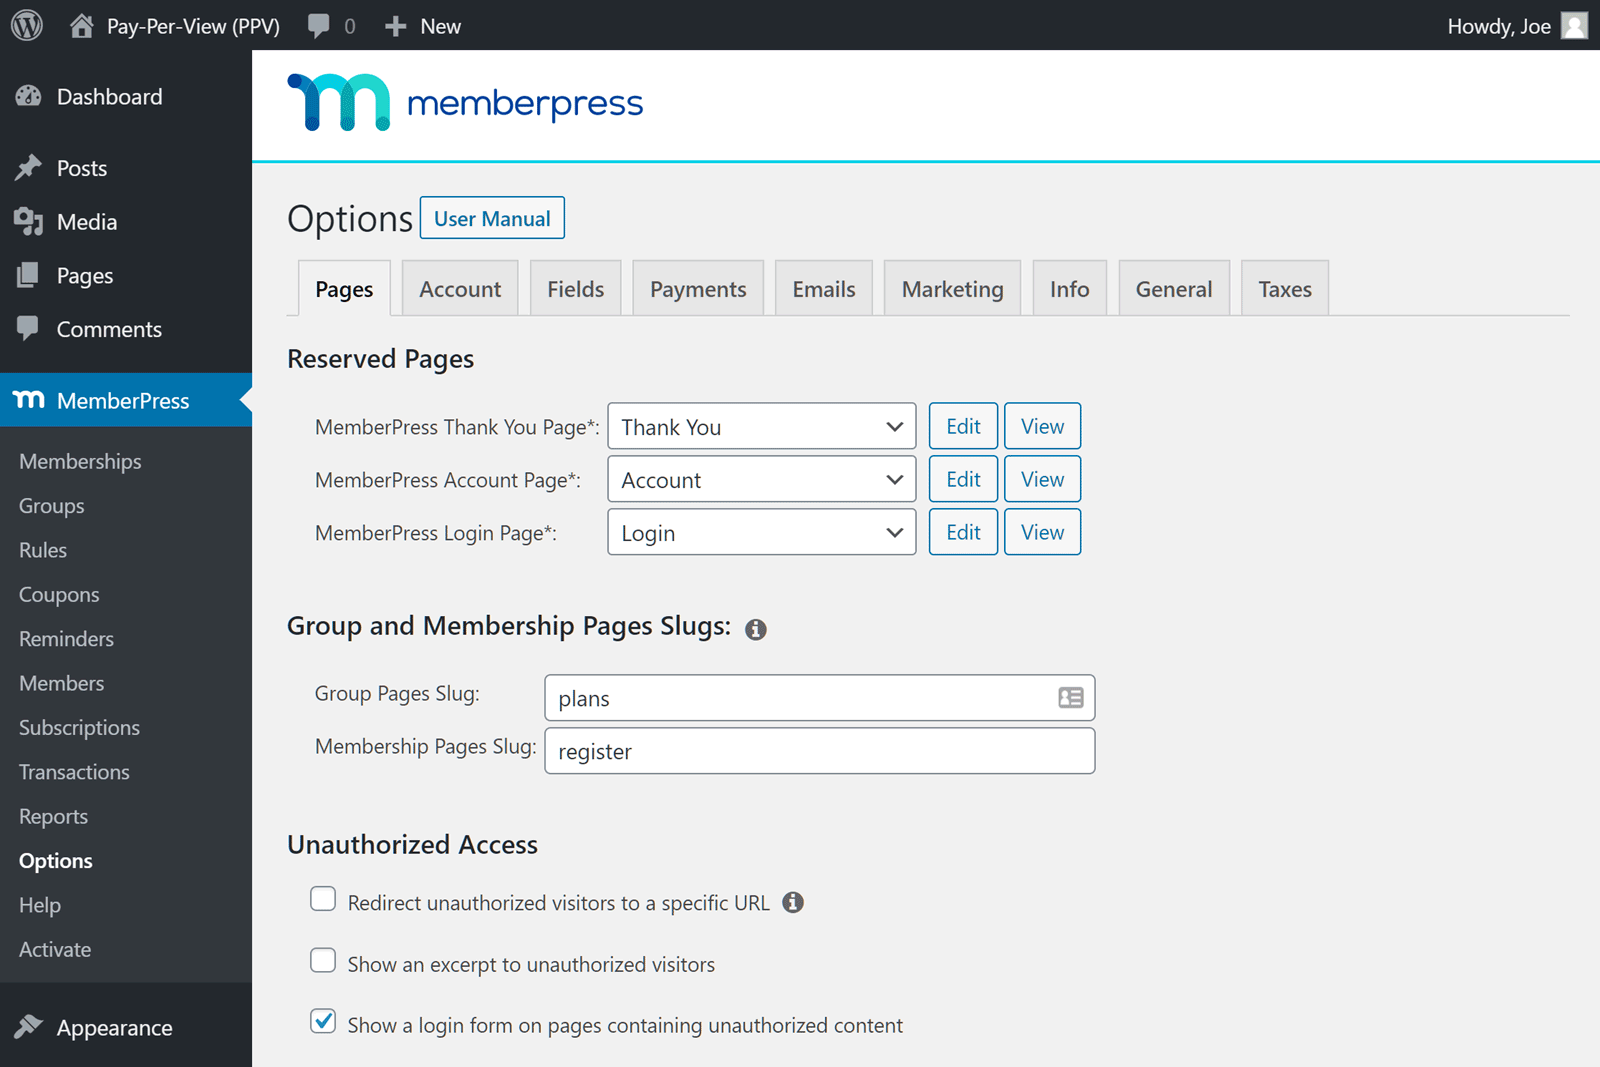
Under the Pages tab, scroll down to the Unauthorized Access section and check the box next to Redirect unauthorized visitors to a specific URL. Doing so will display the URL to direct unauthorized visitors to: field. Paste the URL you copied earlier into this field.
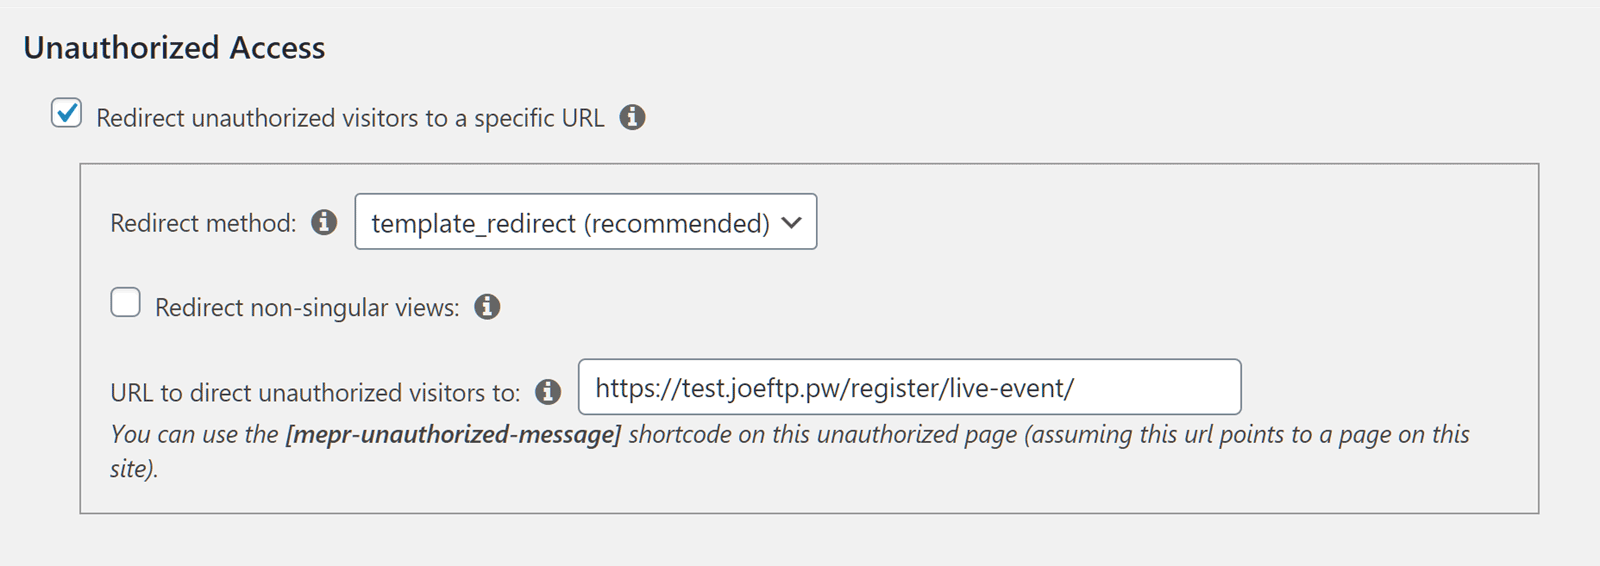
Next, scroll down the page and click on the Update Options button to save your changes.
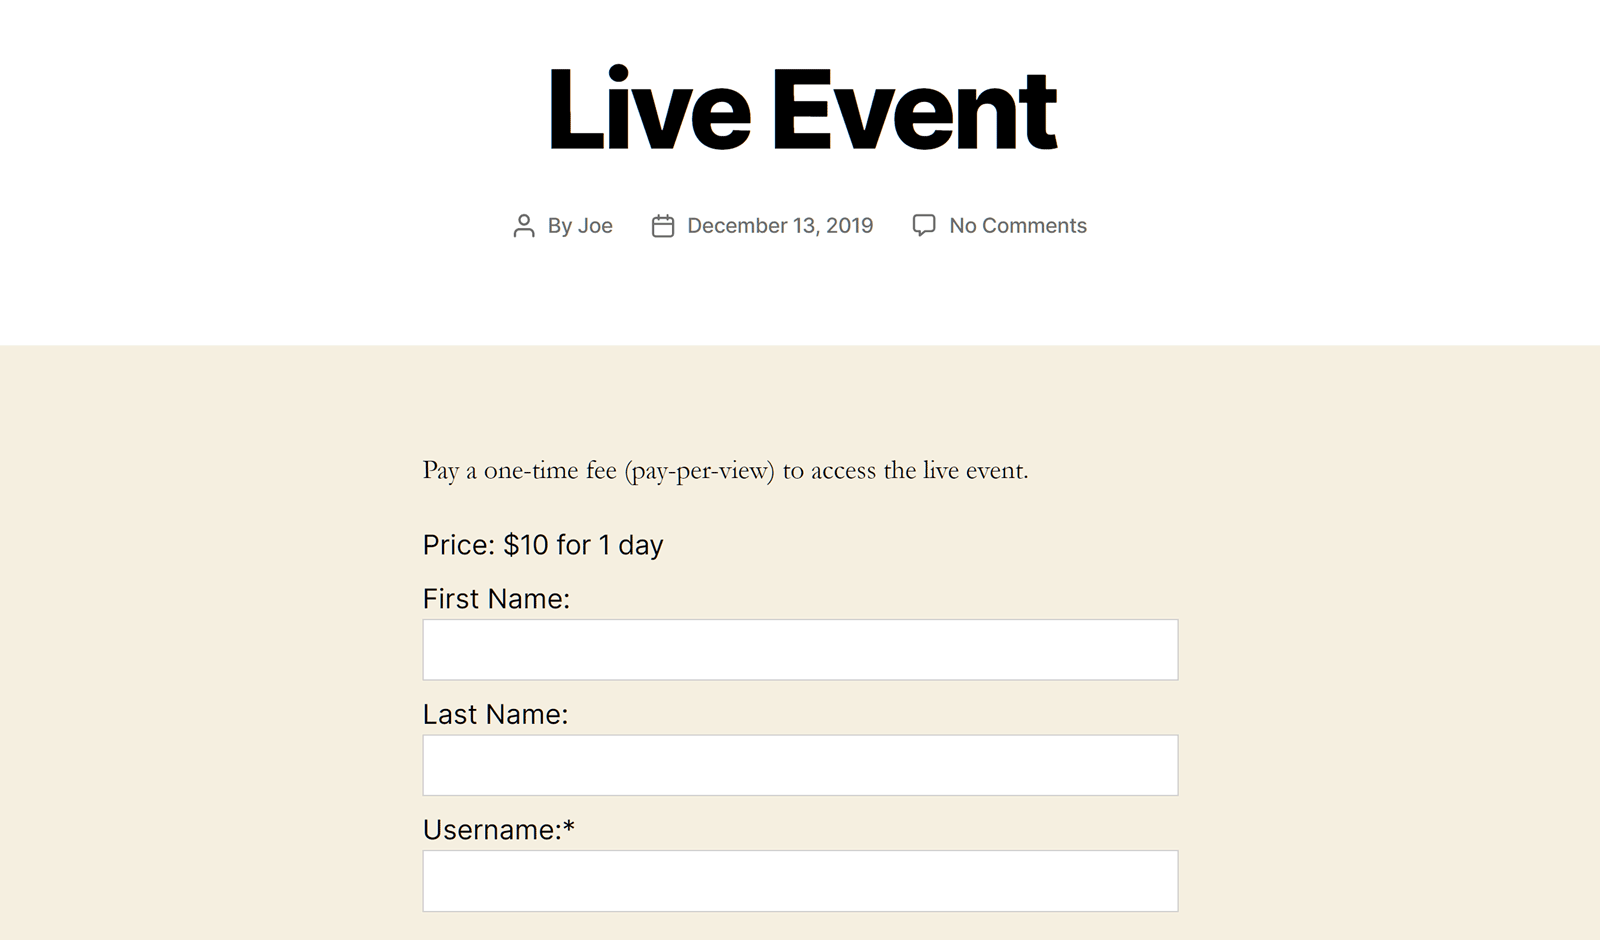
Now when a non-member or someone without the right level of access visits the protected page, they’ll see the form that allows them to sign up and pay for access to the pay-per-view content on your WordPress website.
You might want to display a comparison table of your different membership plans and pay-per-view options instead of the signup form. If so, this page of the MemberPress user manual explains how to do so.
A Note on Managing Larger-Scale Sites
The solution above will work great for sites operating at around 100 or so paid posts. For larger scale businesses, we recommend working with MemberFix to develop a customization.

Final Thoughts
As you can see, WordPress and MemberPress make it very easy to start a pay-per-view website.
You may want to use the pay-per-view pricing model to restrict access to a single piece of content on your site, a range of pages, or your entire website. In any case, MemberPress gives you full control over how your membership website will work.
Do you have any questions about how to start a pay-per-view website with MemberPress? If so, please leave a comment below.
If you liked this article, be sure to follow us on Facebook, Twitter, Instagram, and LinkedIn! And don’t forget to subscribe in the box below.


Is it possible to only allow members with a subscription the ability to purchase a video? I only want my paying members to have the ability to purchase my premium videos.
If you’re selling your videos through WooCommerce, then you could use our Rules to protect WooCommerce Products from non-members.
Must I create a separate membership level for each pay per view I am setting up or will it be just one membership level handling all the pay per view posts?
Secondly, on memberships as different from pay per view, is it possible to hide contents published before a member joined from them so that they can purchase past contents only per post or buy individual past posts they have interest in?
Lastly, is it possible to make a post available both for people with a membership and also those who want to purchase a pay per view only; that is the two offers running side by side.
Kind regards.
Hi Rotimi,
Thanks so much for reaching out. This blog post should be helpful for answering your questions: How to Start a Pay-Per-View Website with MemberPress. All the best!
Syble
This is a great way to collect payment, but there is no mention of how to actually show the content to the customer once signed up, is there another blog post that outlines how Memberpress handle that.