The ReadyLaunch™ Login template is available with MemberPress since 1.10.0, and is enabled by default.

Customize the ReadyLaunch™ Login Template
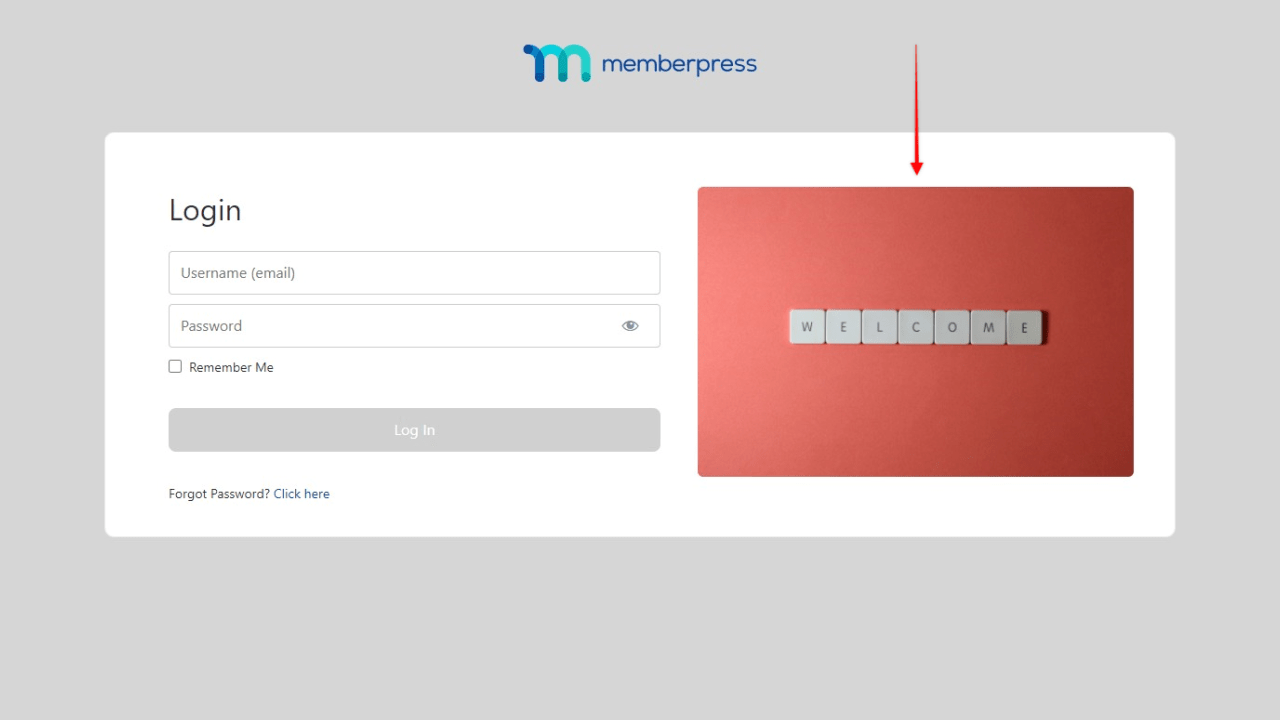
The template background will follow the ReadyLaunch™ Global Design Settings. So, it will apply your set brand color to the entire page background, with the login form on top. The logo you set in ReadyLaunch™ will be displayed above the form.
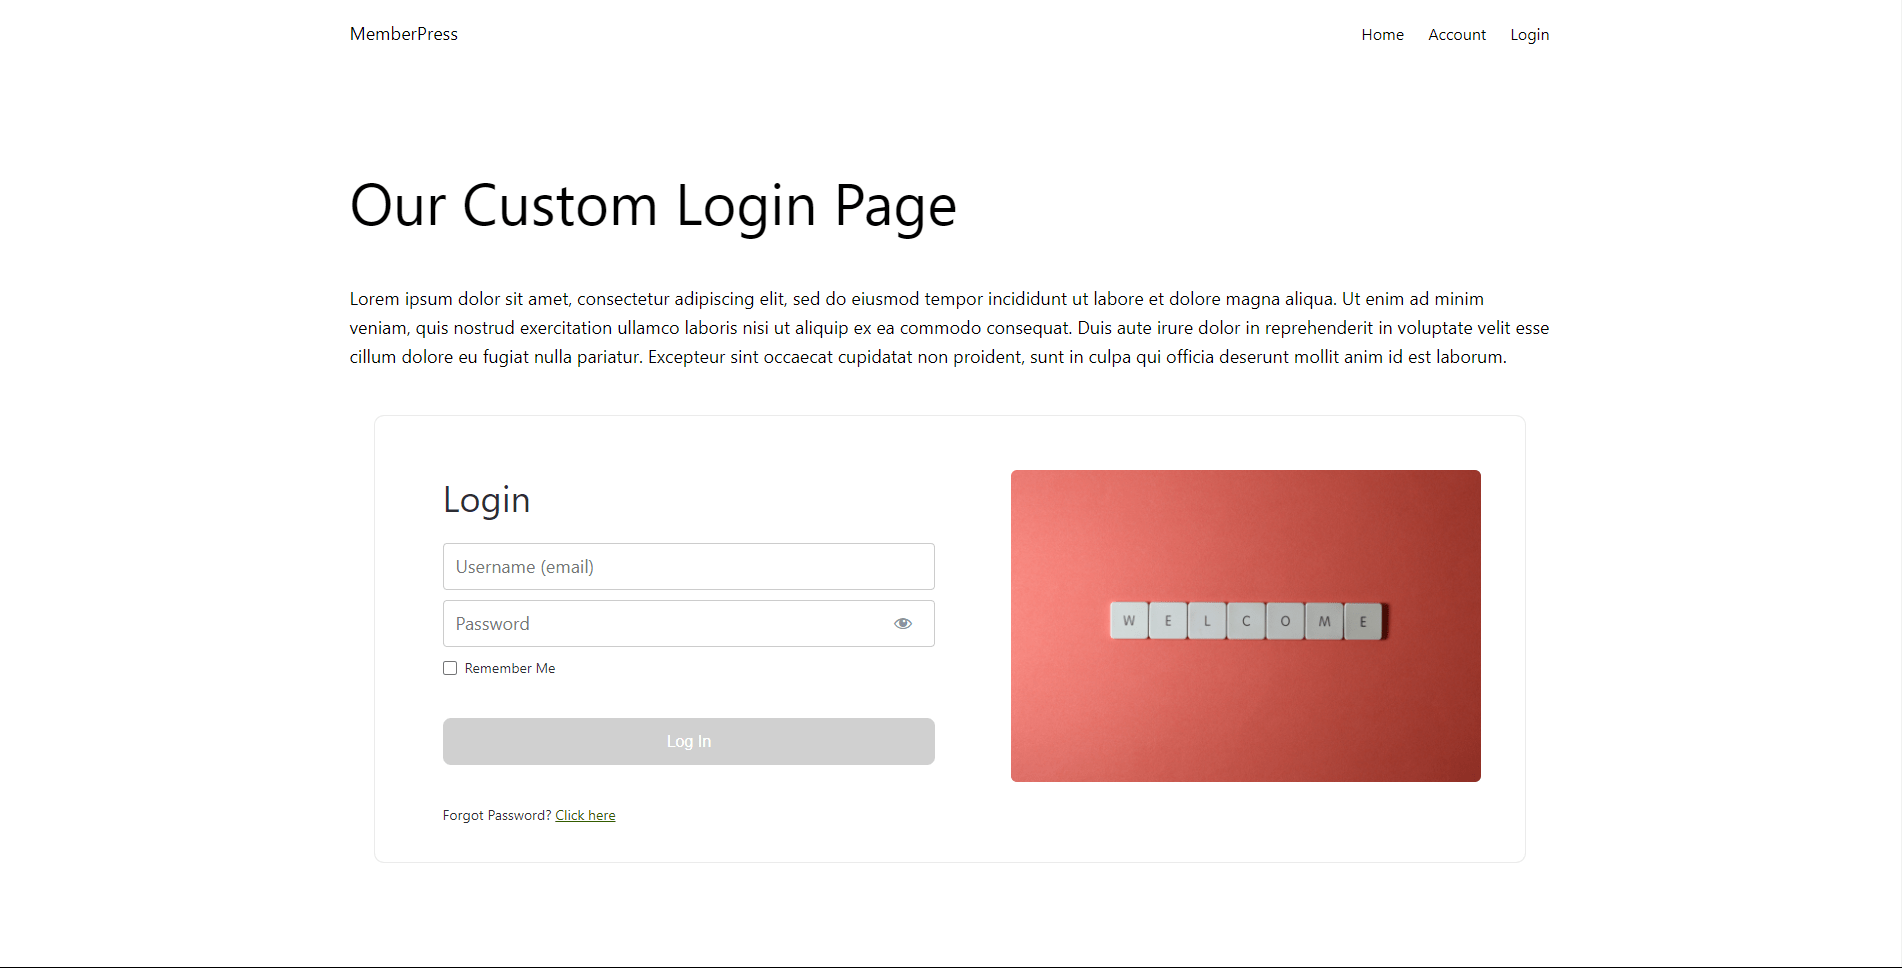
You can also add a welcome image to the Login template. This image can be anything you want – a logo, photo, illustration, etc.
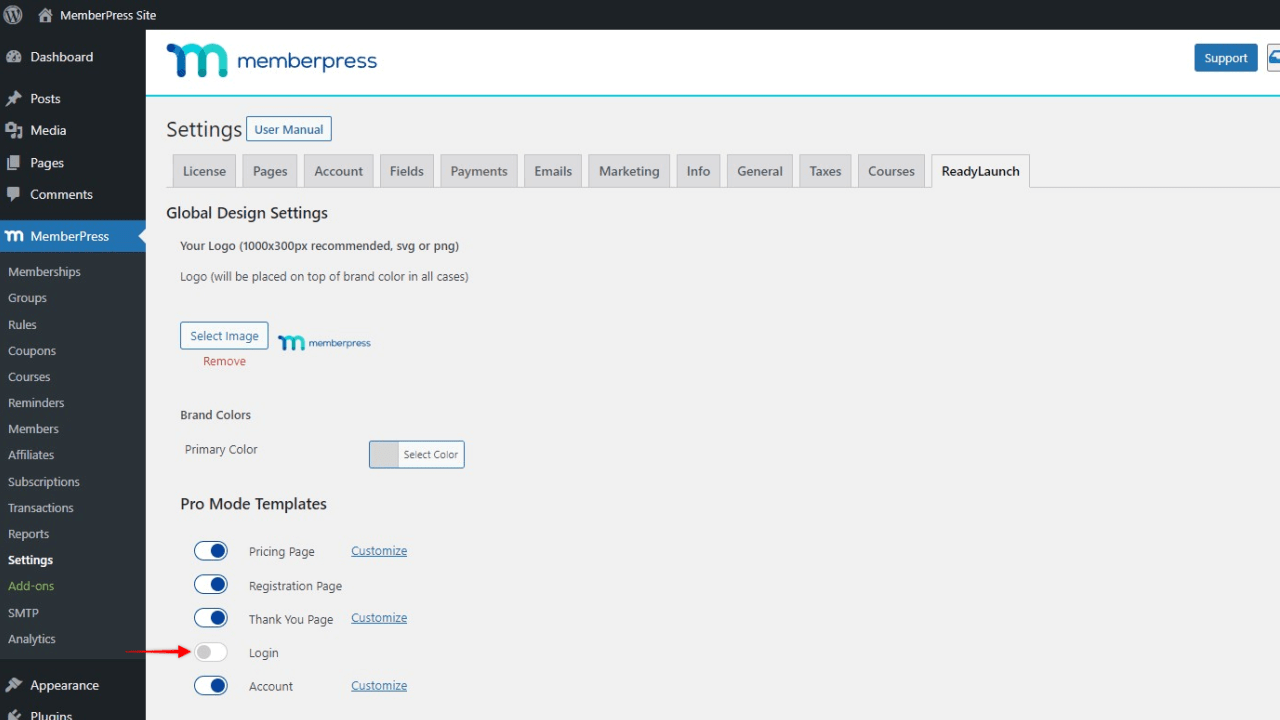
- Log in to your site admin area, and navigate to Dashboard > MemberPress > Settings
- Click the ReadyLauch™ tab
Next to the Login option, click on the Customize link

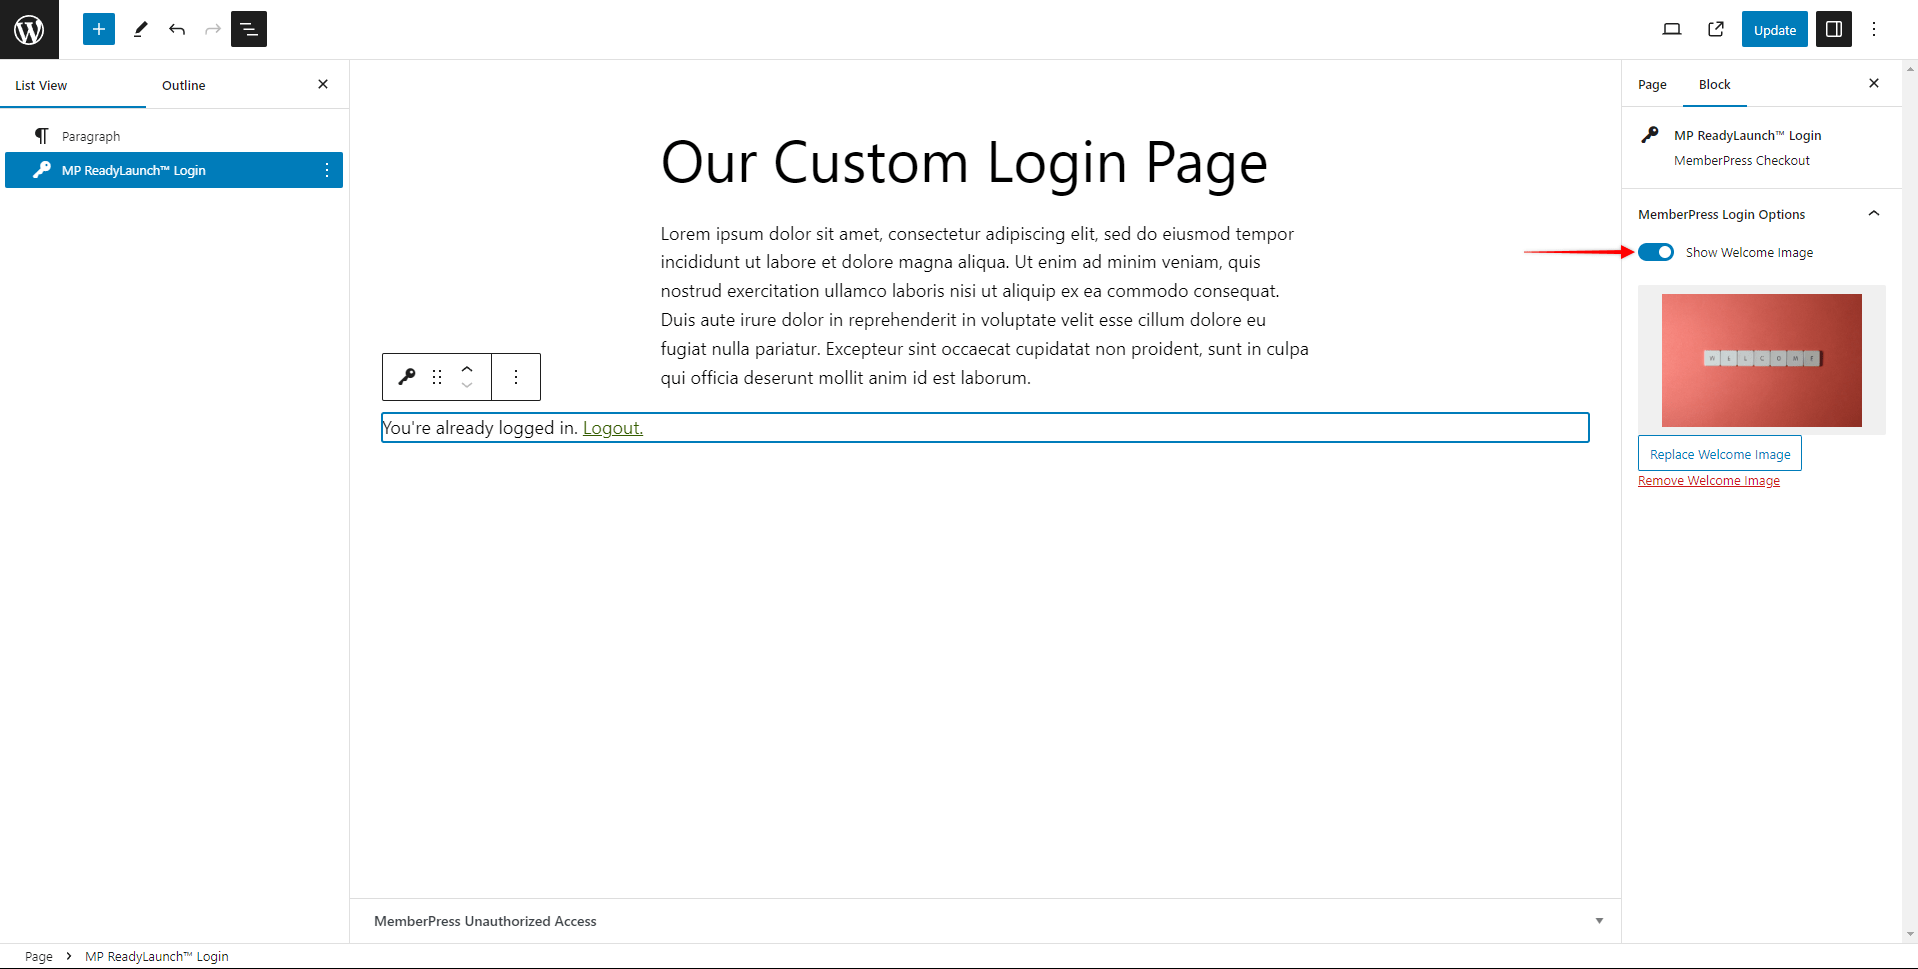
- This will open a popup. Toggle on the Show Welcome Image option and click on the Select Image button

- Choose your welcome image, and click Update to apply this to your login page
On the front end, your user will now see the welcome image included in the login form of your Login page.
Deactivate ReadyLaunch™ Login Template
If you'd like to use the classic MemberPress login page, you can deactivate the ReadyLaunch™ Login template by following these steps:
- Navigate to Dashboard > MemberPress > Settings
- Click on the ReadyLauch™ tab
- Toggle the Login option off
Adding the Login Template to Custom Pages
You can add the ReadyLaunch™ Login template to any page or post on your WordPress site. To do this, you would need to design that page or post with the default Block editor and add the ReadyLaunch™ Login block:
- Start the Block editor on the post you wish to edit;
- Click the “+” icon to open the block inserter;
- Search or browse down the block list to find the ReadyLaunch™ Login block;
- Click on the block to add it;
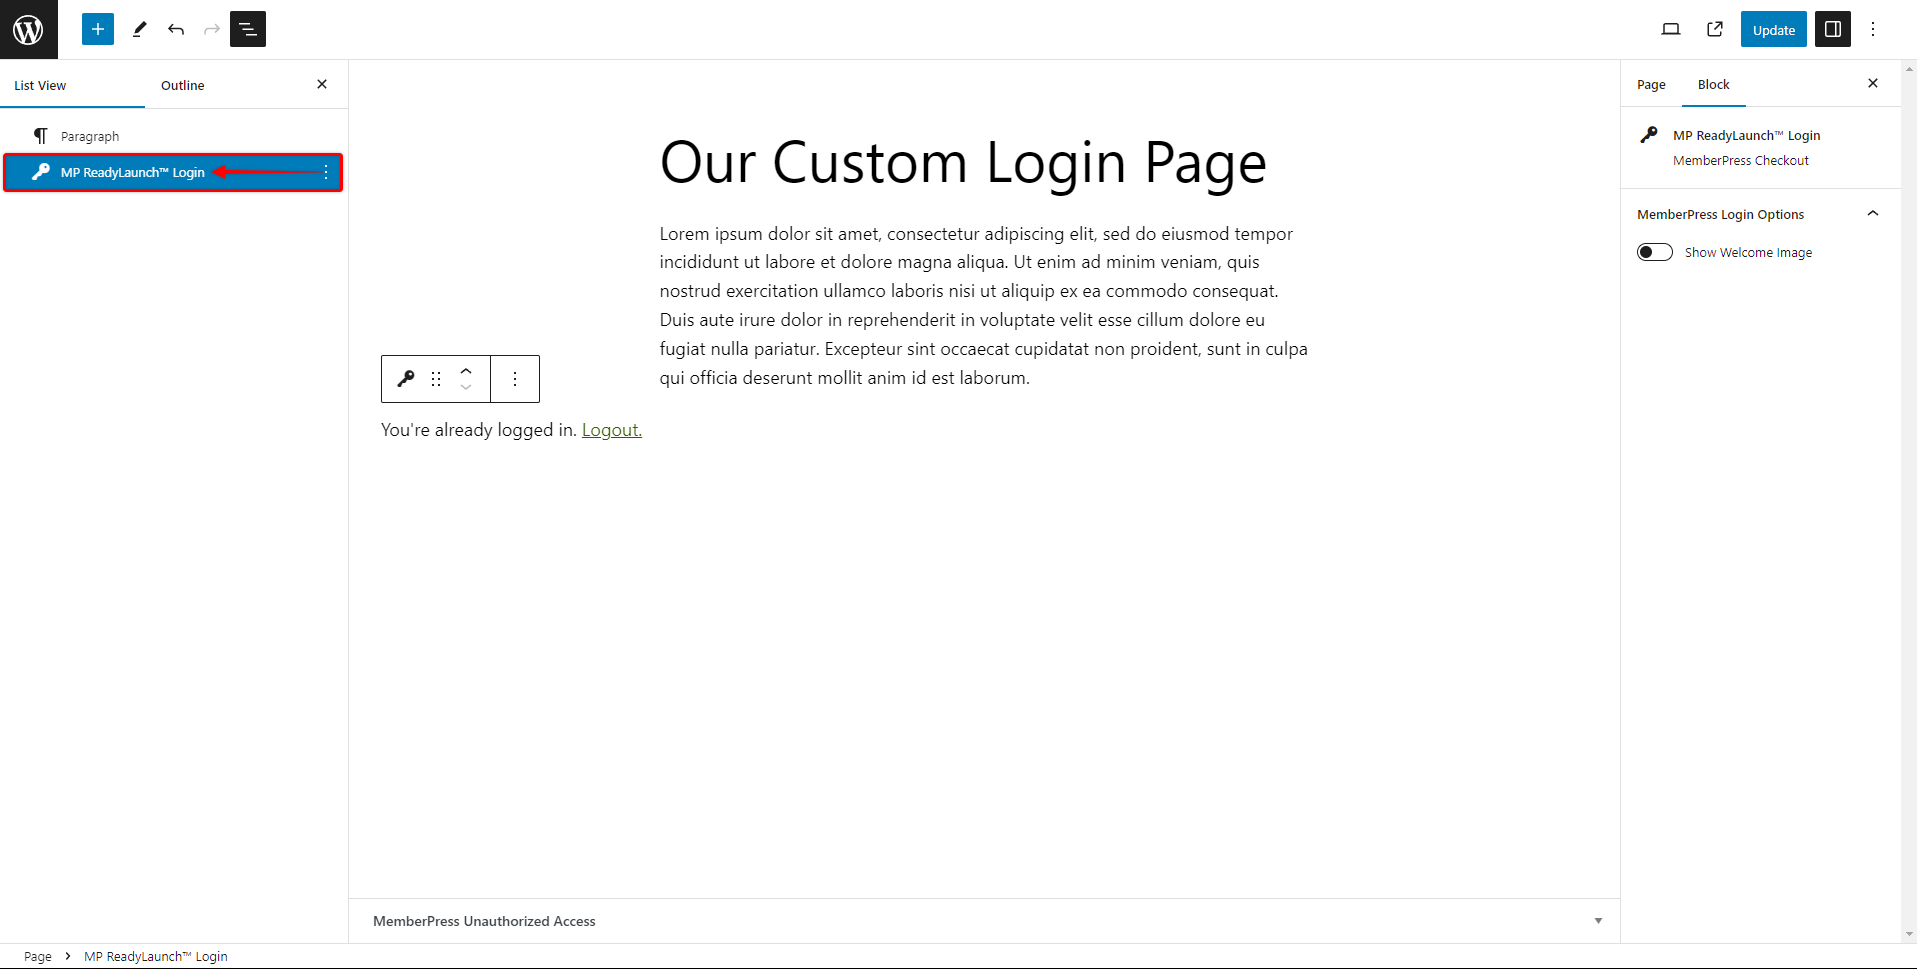
The ReadyLaunch™ Login block comes with additional options:
- Show Welcome Image: Enabling this option will show the welcome image you added at Dashboard > MemberPress > Settings > ReadyLauch™ tab.
This way you can design the custom login page based on your needs and add any content. Also, this way you can use your site header and footer, while our ReadyLaunch template will be nested in the content section.
Using Shortcodes
Currently, the ReadyLaunch™ Login template can’t be embedded into custom pages using our login shortcodes.
If you encounter a situation where you need to design a custom login page with classic MemberPress, you'll need to use the classic MemberPress login form and one of these shortcodes:
- Add the MemberPress login form:
[mepr-login-form]- Add the MemberPress login form with redirection enabled (you will need this shortcode if you set after-login redirection):
[mepr-login-form use_redirect="true"] Learn how to set up the Login in classic MemberPress here: Configuring and Using the MemberPress Login Page


