First, we need to create a new Zap by clicking “Create Zap” in the top right corner
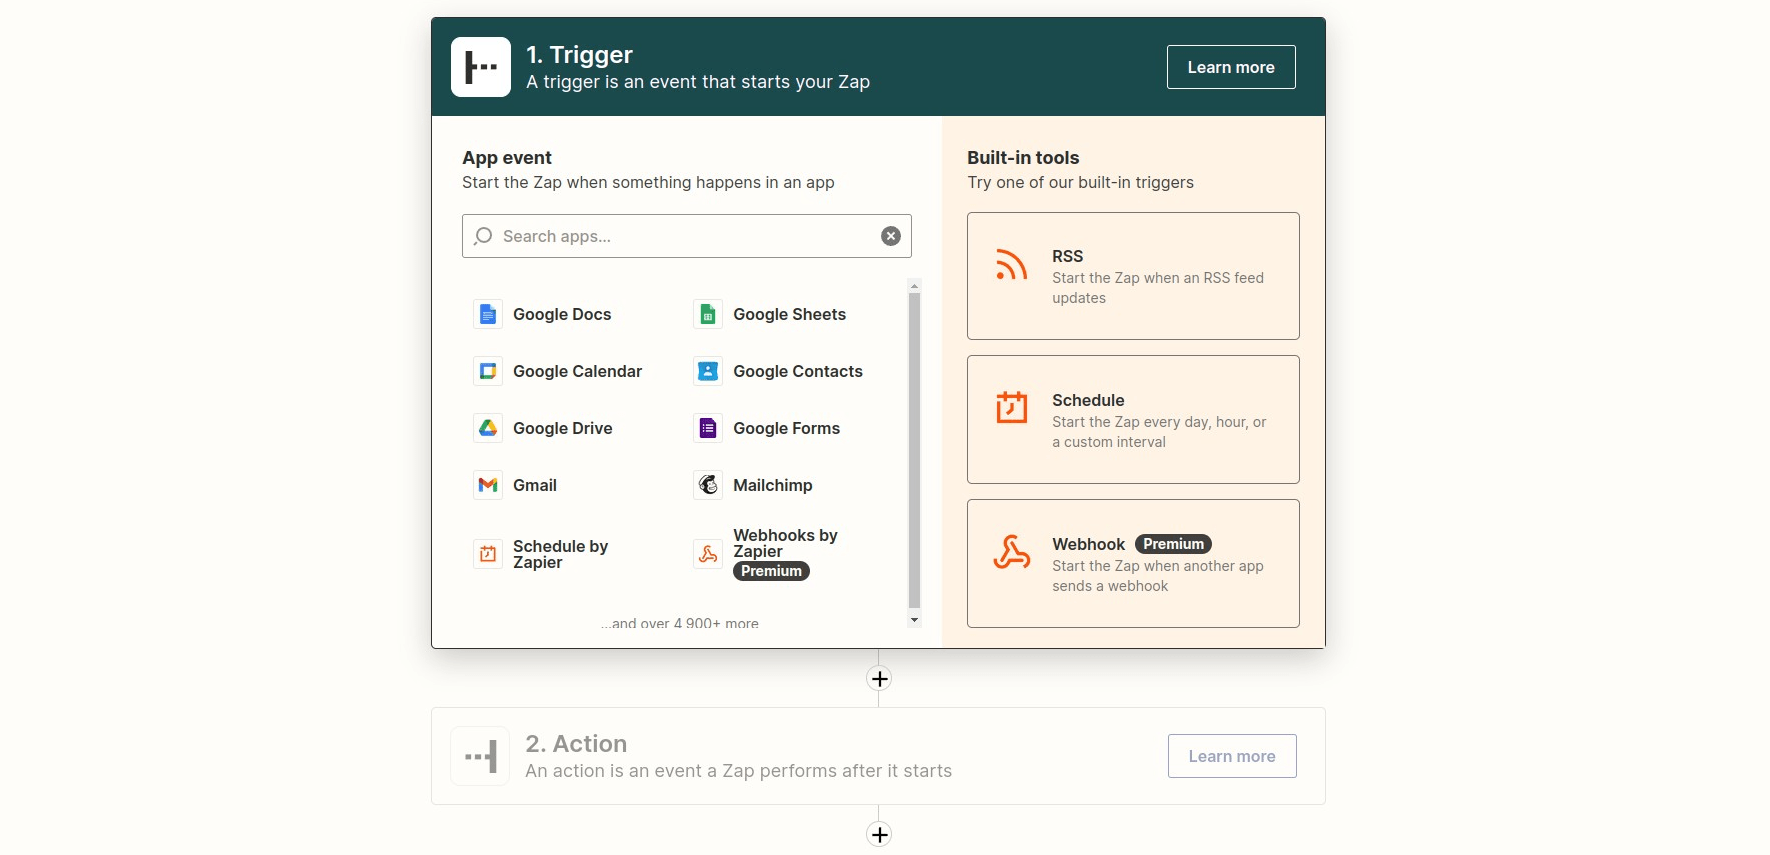
Choose MemberPress as the trigger app
Search for “refund” and choose “Transaction Refunded”, then hit “Continue”
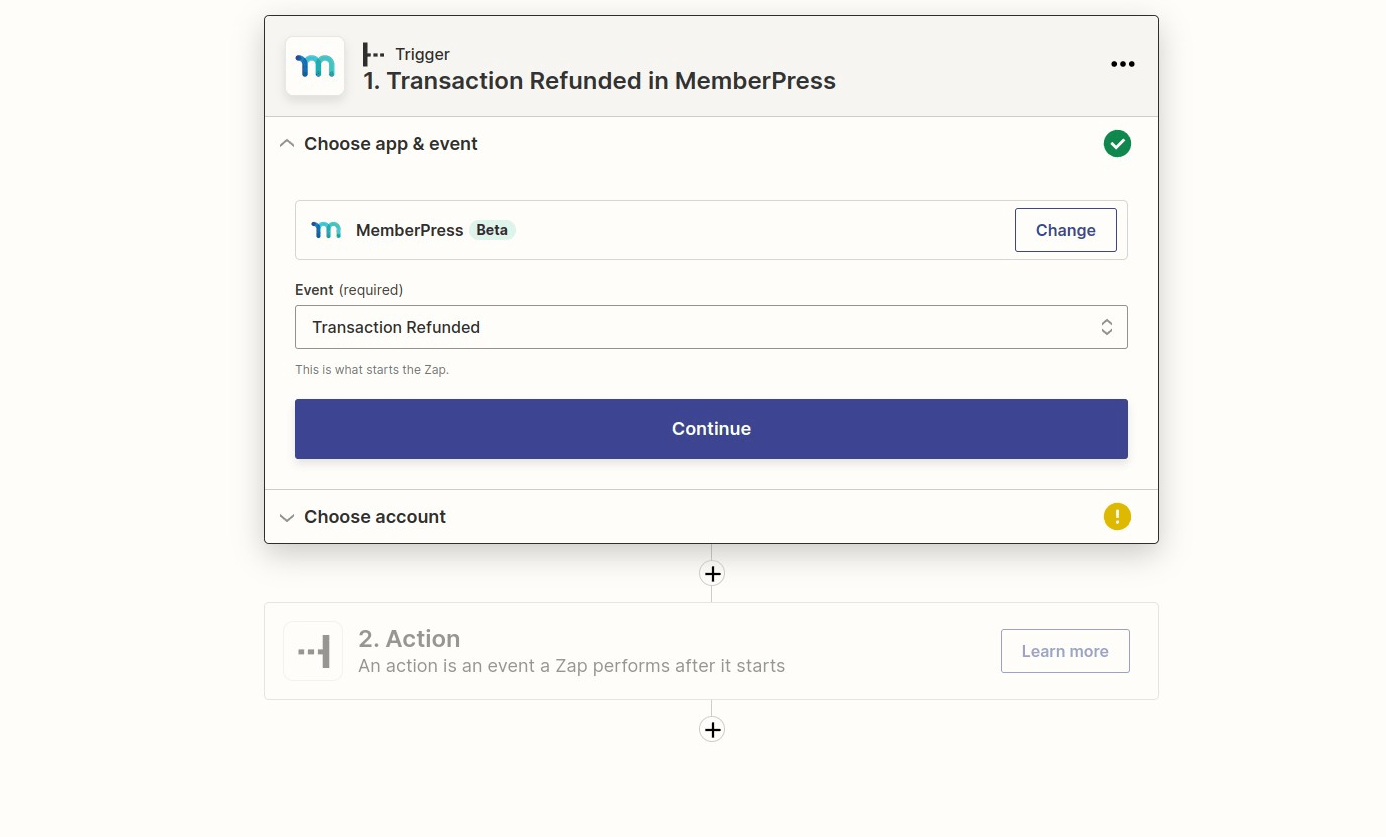
Choose your MemberPress account, or choose “Connect an Account” if you haven't done so before

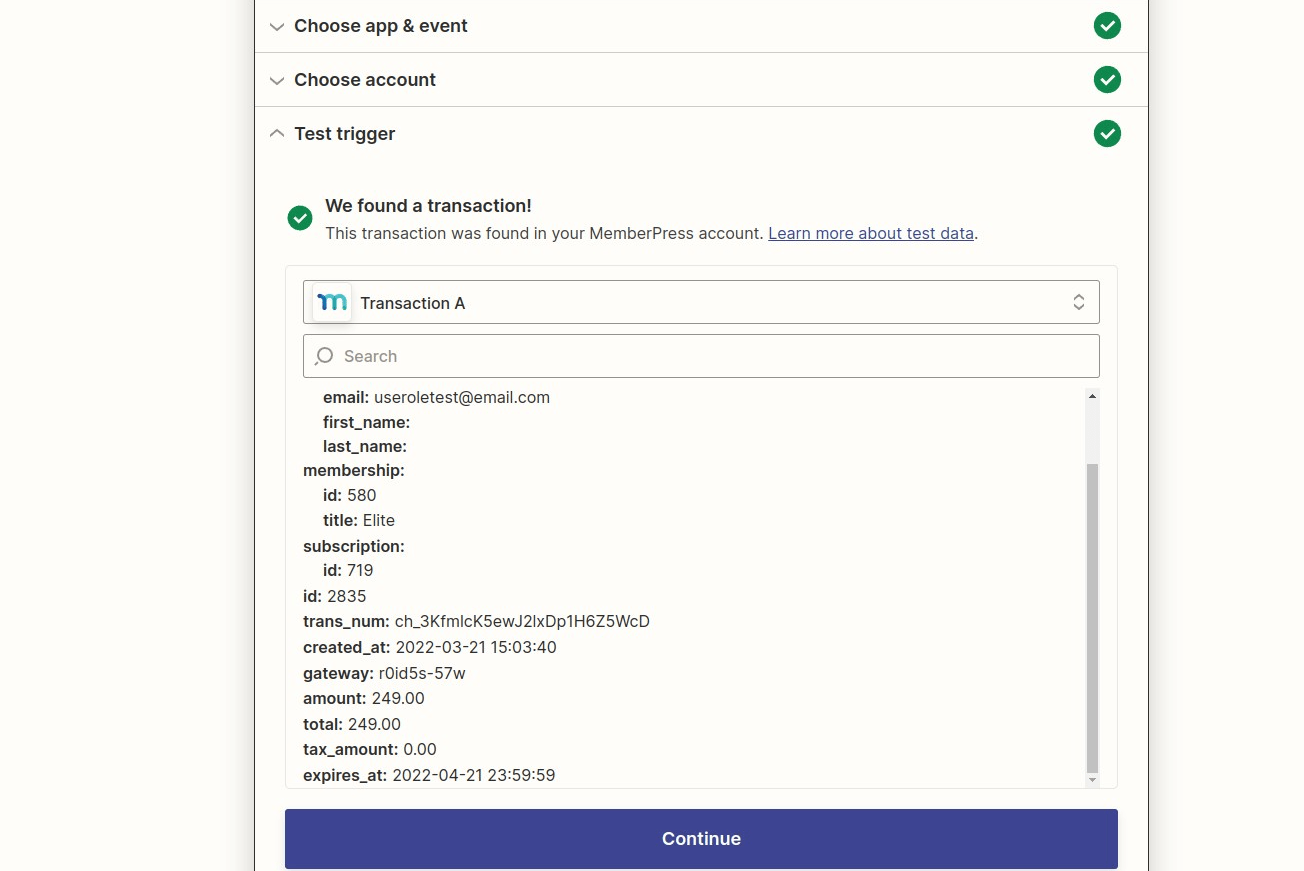
Test the trigger so Zapier can find a sample refund
Add an Action/Search Step
Choose QuickBooks Online
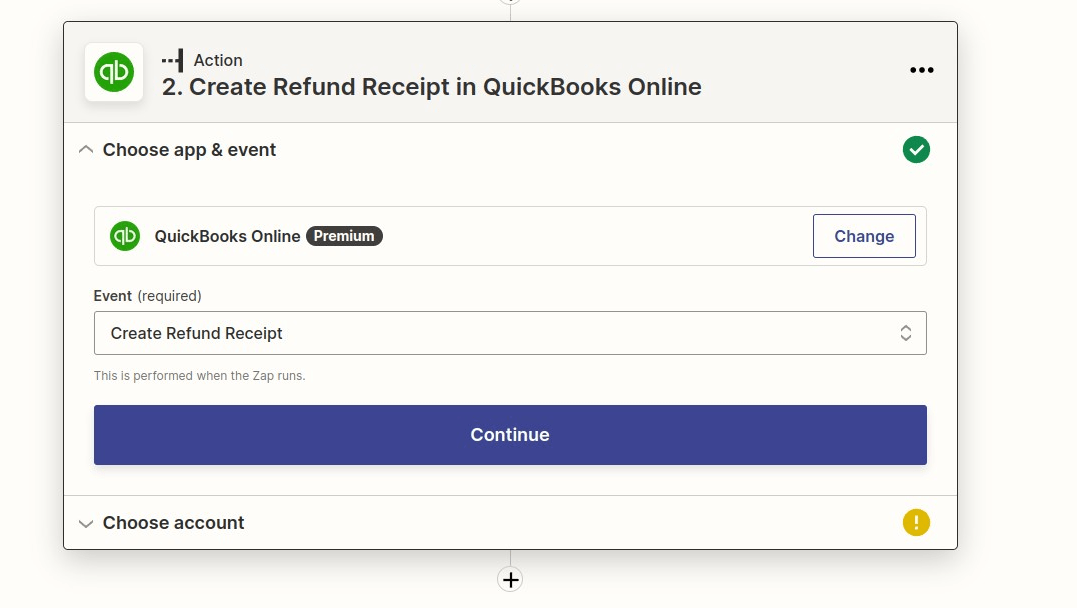
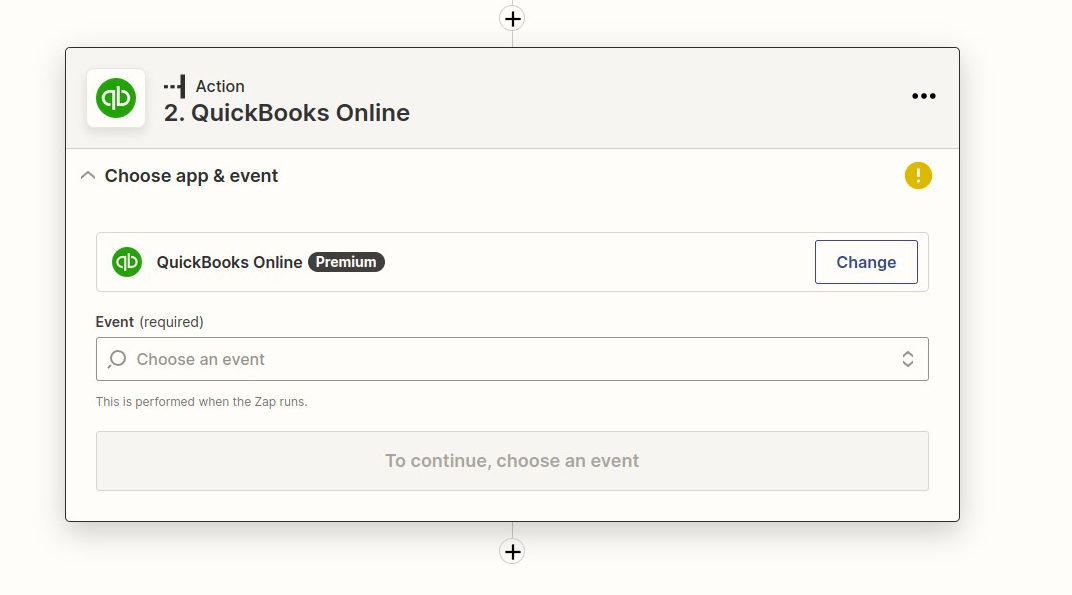 Search for “refund” and choose the “Create Refund Receipt” then continue
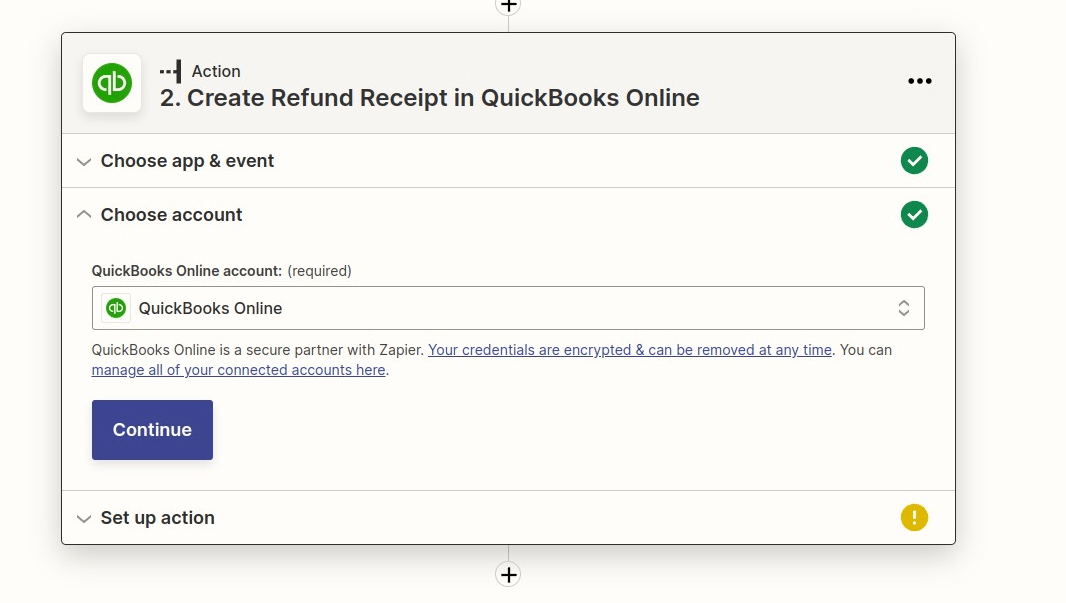
Choose your account you want the receipt sent to, or connect it then continue
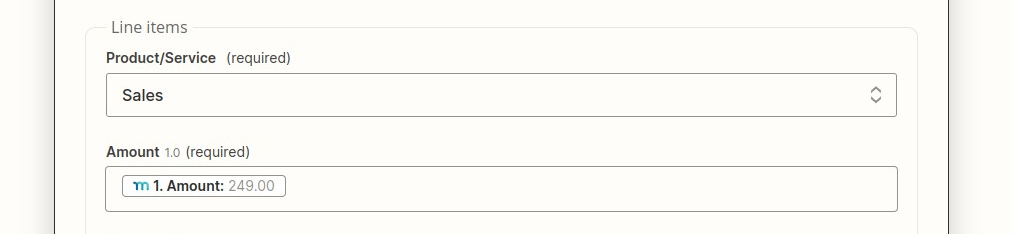
Choose the “refund from” dropdown, (I have just chosen “sales” for this example but you can choose anything you need, or use a custom field from MemberPress
That is the only one required before the line items, but you can fill out as much information as you need,
then you must choose the Product/Service and the amount I have chosen “sales” again, then loaded the refund amount from MemberPress
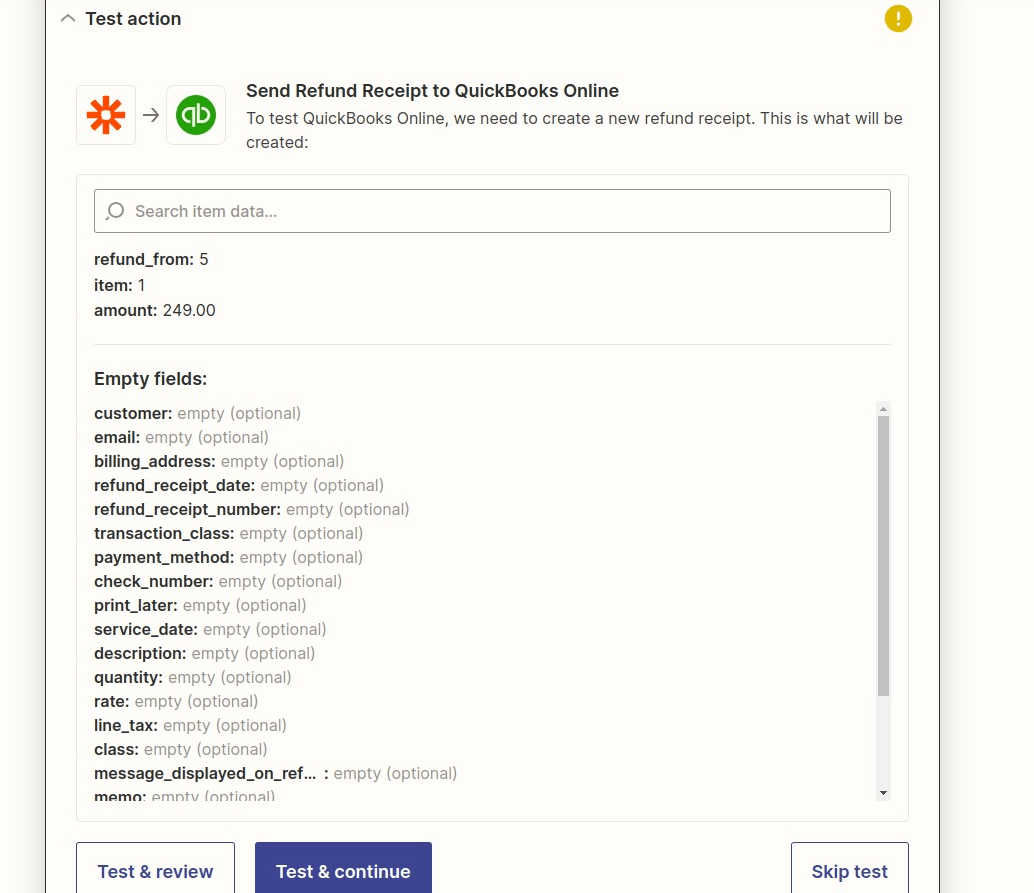
Test your Zap, testing will also let you know if there are any missing fields or errors
Finish and turn on your Zap, then you are all set!


