Your WordPress membership site’s design affects how users will respond to it. However, unless you’re willing to pay for a custom WordPress theme, your options for tweaking your site’s look may seem limited. Even if you can find a theme that does everything you want, your site may end up looking similar to other websites.
Fortunately, you can more fully customize your WordPress site by creating a child theme. This enables you to take a theme you like and make your own changes, including altering fonts, adjusting colors, and much more. In fact, it’s possible to dramatically change the look of a theme by using this technique.
In this guide, we'll explore how to create a child theme in WordPress, and explain why doing this will help make your membership site stand out. Let’s get started!
Why You Might Want to Create a Child Theme
A WordPress theme is a collection of code that determines the appearance and layout of your site. This feature enables you to easily give your site a brand-new look, without needing to know any code. However, popular WordPress themes are often used by hundreds of websites, which means yours risks looking ‘cookie cutter' if you're not careful.
Using a custom design can help your site stand out, by creating a unique look that visitors will associate with your brand. This can also help to set you apart from your competition. If every site a person visits has a similar design, but yours has an attention-grabbing look that makes it feel unique, that visitor is more likely to take notice and remember your site.
However, it can be very challenging to design a theme from scratch as a beginner. Plus, it's quite expensive to hire a designer to build you a completely custom theme. Fortunately, there's a third option. Creating a child theme is a way of borrowing elements from an existing theme and adding your own changes.
A child theme is based on a pre-existing theme, which is called the ‘parent' theme. It’s possible to edit a theme’s files directly, but you risk breaking your site if you make the wrong change. Creating a child theme carries far less risk, since it's a safe copy of your theme that you can experiment with as much as you'd like.
How to Create a Child Theme for WordPress (In 5 Steps)
Now that you understand why you might want to use a child theme on your membership site, let’s go over how to set one up. To start, you'll need to make sure you have the right tools.
Step 1: Set Up a Development Environment
First, you need a workspace to use. A development environment (also known as a ‘testing site' or ‘staging site') is a local server that runs on your computer. This enables you to create private sites – either completely new ones or copies of your live site – so you can make any changes you want to them.
In other words, using a development environment helps you build sites ‘behind the scenes', so the changes don’t affect your real site until you’re ready. That way, you can create and customize your child theme before using it. For more help with this step, check out this guide to setting up a local WordPress site. Throughout the following steps, we'll be using MAMP as our development tool.
Step 2: Choose a Code Editor
Once you have your development environment set up, you'll need a code editor that you can use to work with your theme's files. A code editor is a simple tool that helps you write code. Many will even automatically detect mistakes, so you can fix them quickly.
There are plenty of popular, free code editors you can try, such as Atom and Visual Studio Code. Once you've chosen a solution, install it on your computer so you can easily edit your child theme files.
Step 3: Install WordPress on Your Test Site
At this point, you’re ready to get your test site set up. To start, download the latest version of WordPress:

Unarchive the .zip file (double-click on a Mac; for Windows, right-click and choose Extract). Then create a folder on your computer (for example, Documents > Sites) and place the unarchived WordPress files within:
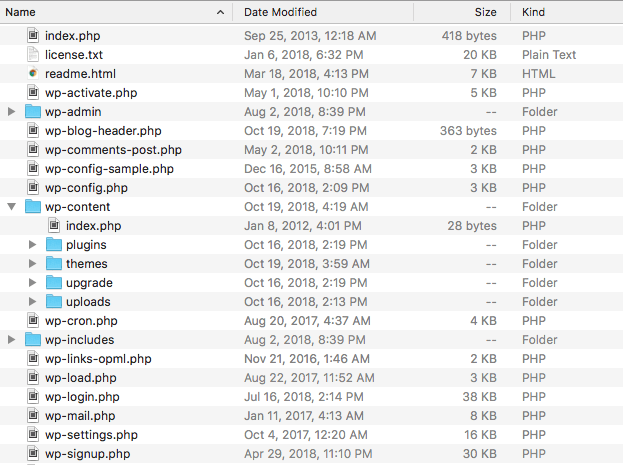
Next, you'll need to point your development environment to that folder. To do this in MAMP, open Preferences > Web Server. Under Document Root, click on Select and choose the folder with your WordPress install:
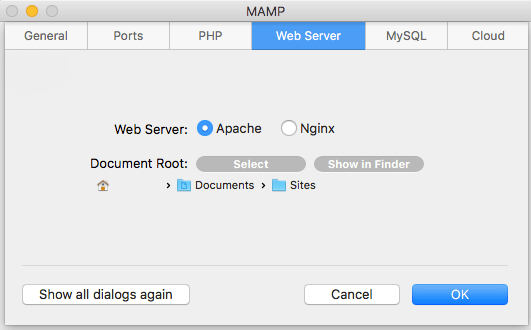
Then, from the MAMP home screen, click on Open WebStart page:
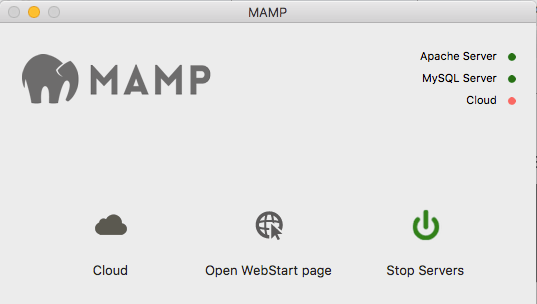
On the next page, visit Tools > PHPMYADMIN:
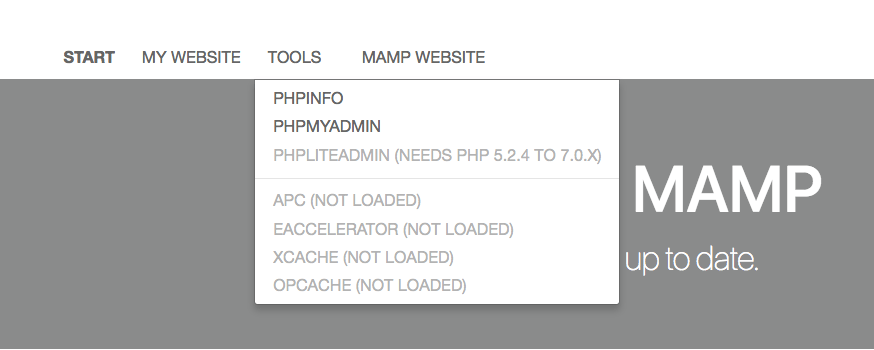
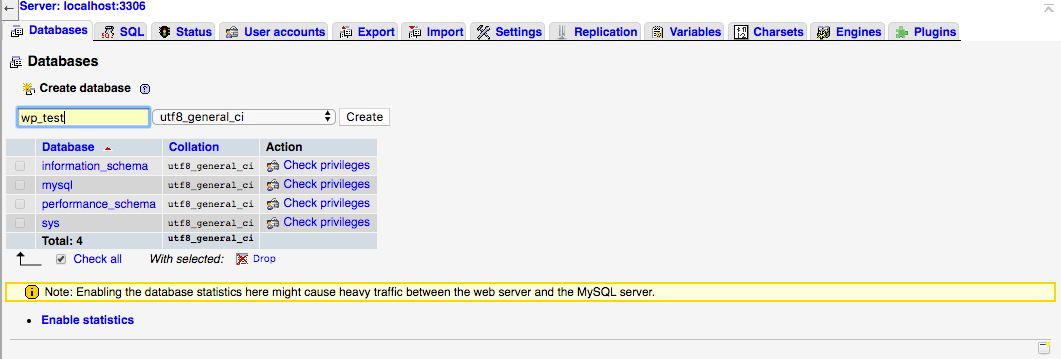
Set up a database, by entering a name like “wp_test” and clicking on Create:
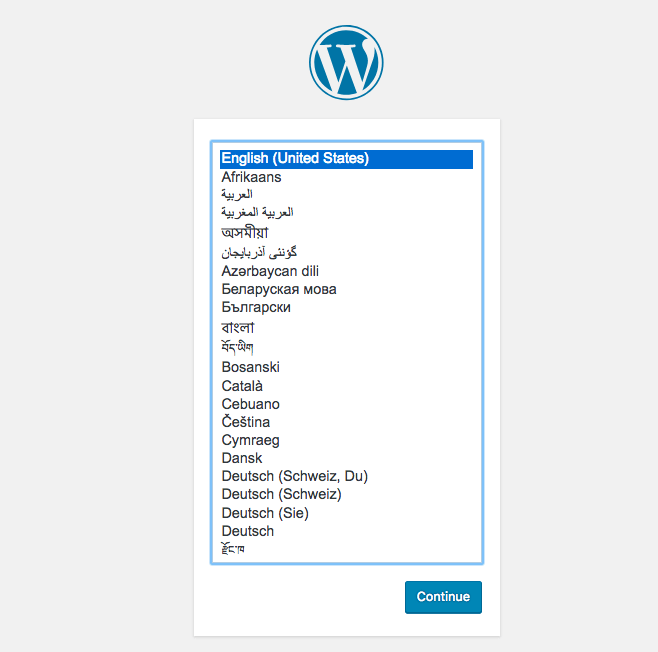
Next, visit localhost in a web browser. You should see the WordPress installation screen:
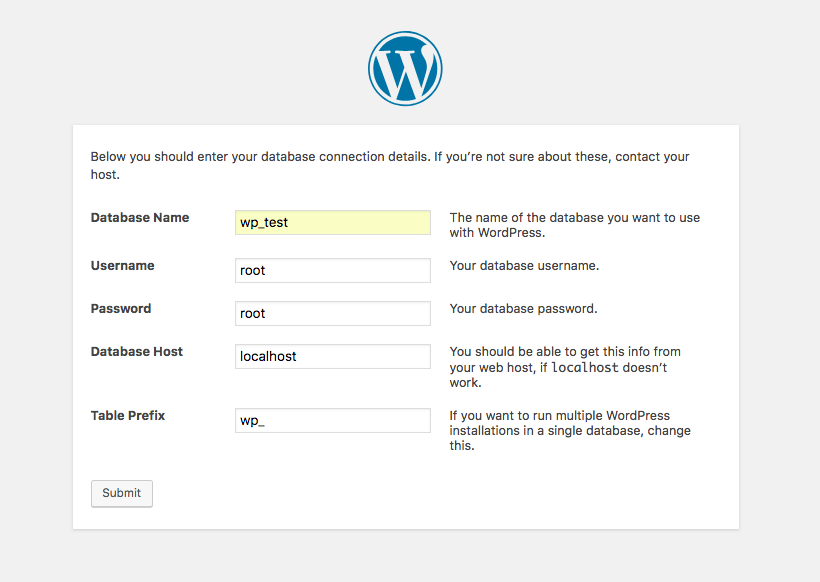
Press Continue and follow the prompts, entering “wp_test” as your database name, and “root” for the username and password:
Once your new site is set up, you can log into it using the password and username you set up during the install process.
Step 4: Create Your Child Theme
The next thing you'll need to do is install the theme you want to use as the base for your child theme. Then, in your chosen code editor, access your WordPress folder:
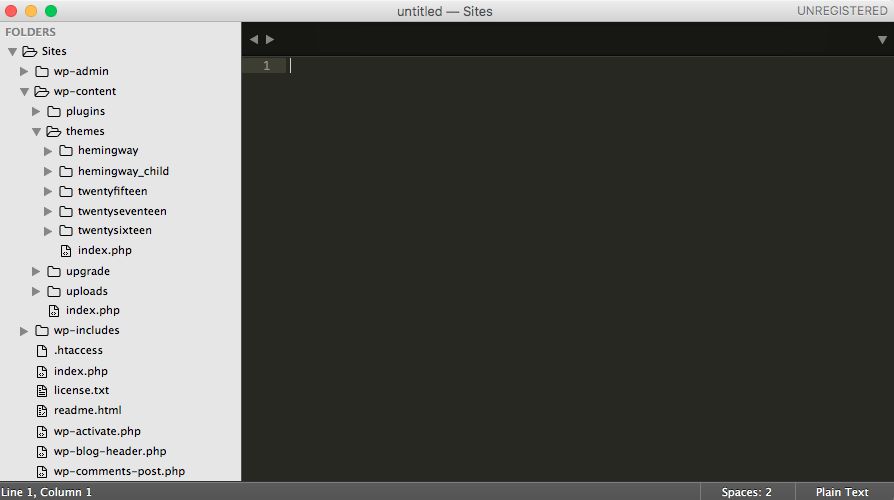
Open wp-content, right-click on the themes folder, and create a new folder within called “themename_childtheme” (replacing the first part with the name of the parent theme's folder).
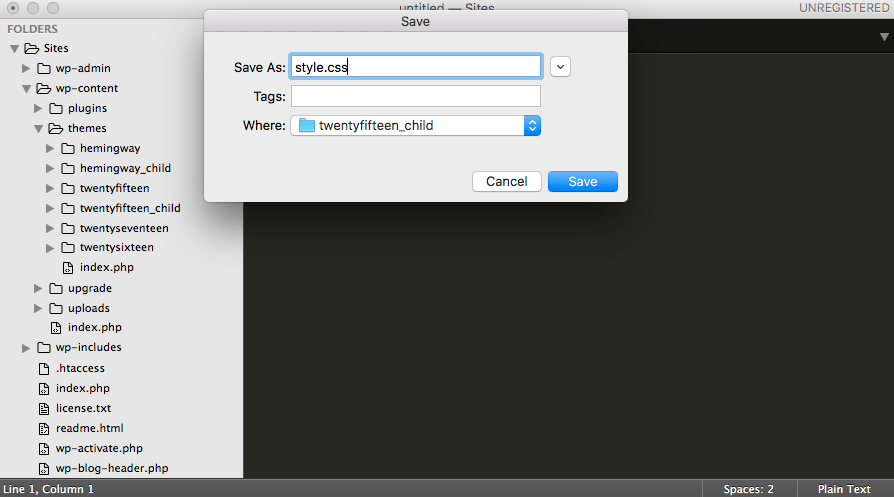
Next, create a new file called “style.css”, and save it in your child theme folder:
Set up your style.css file as shown below (replacing “TwentyFifteen” with the parent theme's name):
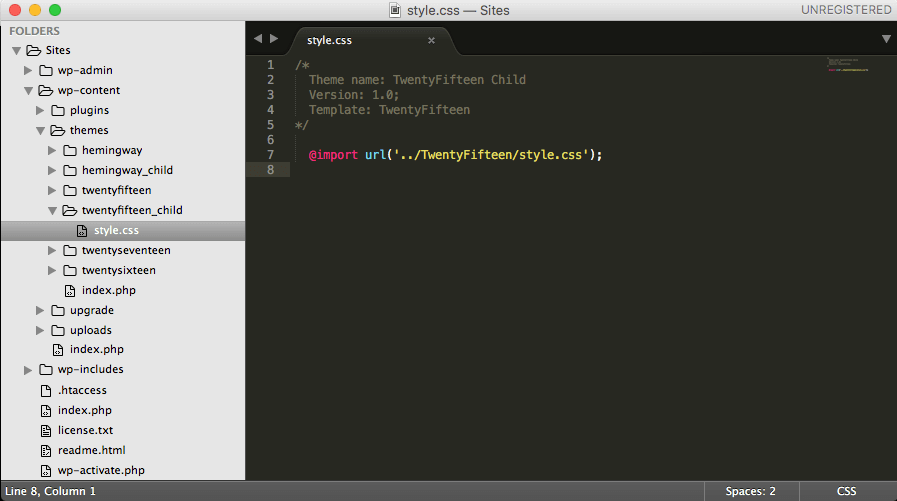
This will import all the necessary data from the parent theme.
After that, you can log into your local WordPress site. If you visit Appearance > Themes, you can see and activate your new child theme:

Of course, your site won't look any different until you make alterations to the child theme:
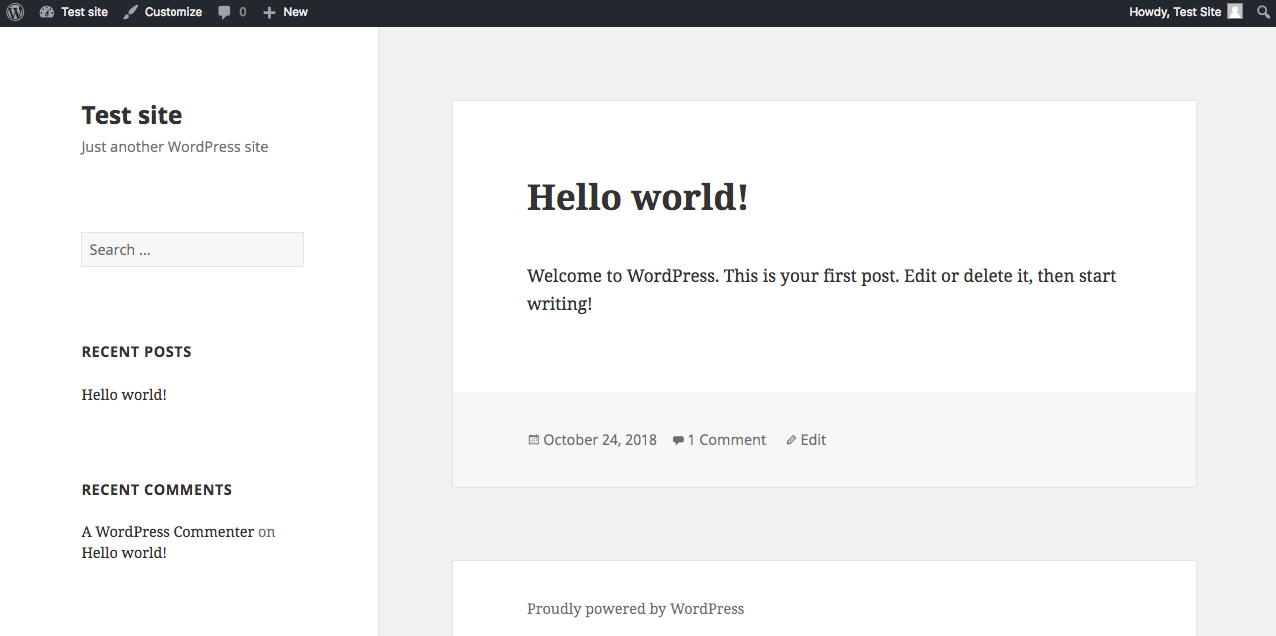
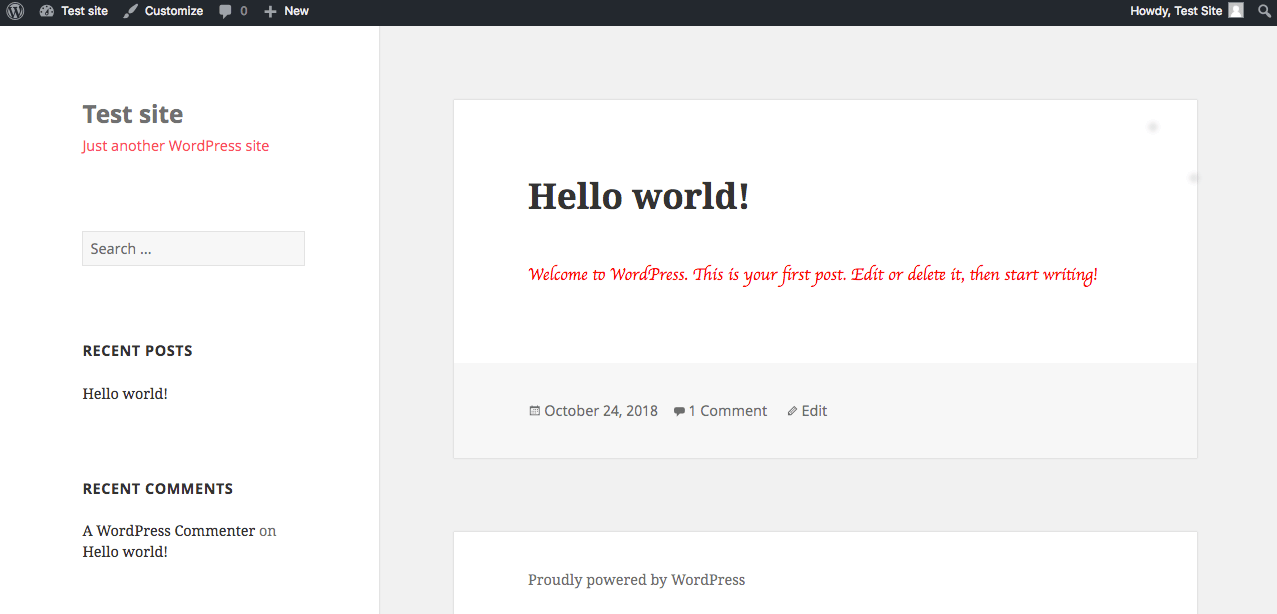
To test that it's working, you can make a small change to your site. Try adding a code block like “p {font-family: cursive; color:red;}” to the style.css file:
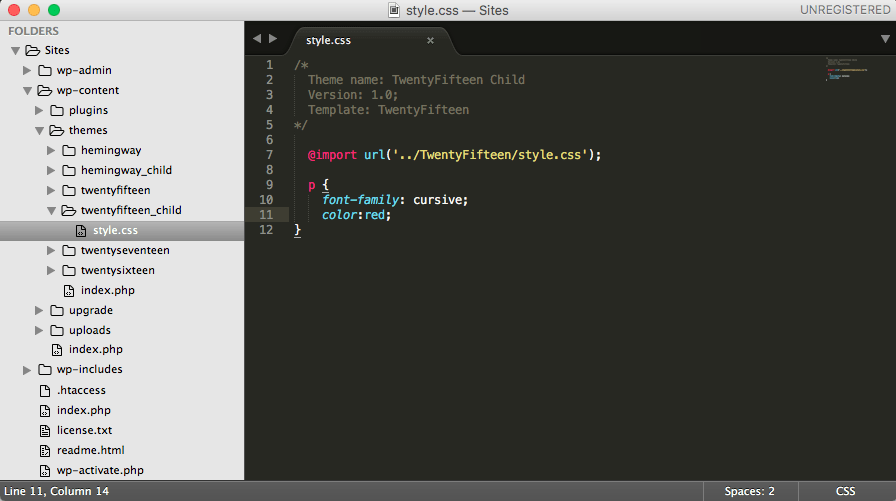
If your site’s paragraph text changes to red and cursive, you’ve successfully created a child theme:
After that, you can make whatever changes you'd like to your new child theme.
Step 5: Upload the Child Theme to Your WordPress Membership Site
Once your child theme is ready, you can upload it to your live WordPress website. First, back up your site (just in case). Next, compress the entire folder containing your child theme (on a Mac, right-click and choose Compress; on Windows, right-click and select Send to > Compress).
Then on your live site, visit Appearance > Themes. Select Add New, and then Upload Theme. Choose the zipped child theme file, and install it:

Once the upload completes, you'll need to select Activate:
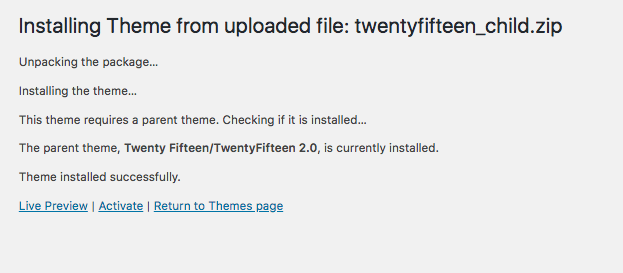
Your child theme will now be up and running on your live site!
Conclusion
If you have a limited budget and can’t afford to purchase a custom theme, it can be hard to make your WordPress membership site stand out. Fortunately, child themes are a relatively easy way to customize a ready-made theme.
You can create a child theme in just five steps, by:
- Setting up a development environment using a tool like MAMP.
- Downloading a code editor such as Visual Studio Code.
- Installing WordPress in your development environment.
- Creating a child theme and making changes to it.
- Uploading the child theme to your live WordPress site.
Do you have any questions about how to edit your child theme? Let us know in the comments section below!


Add a Comment