The directions below show an easy way to add a tag to a member in Active Campaign when their transaction is completed.
Step:1 Login and Start Creating a Zap
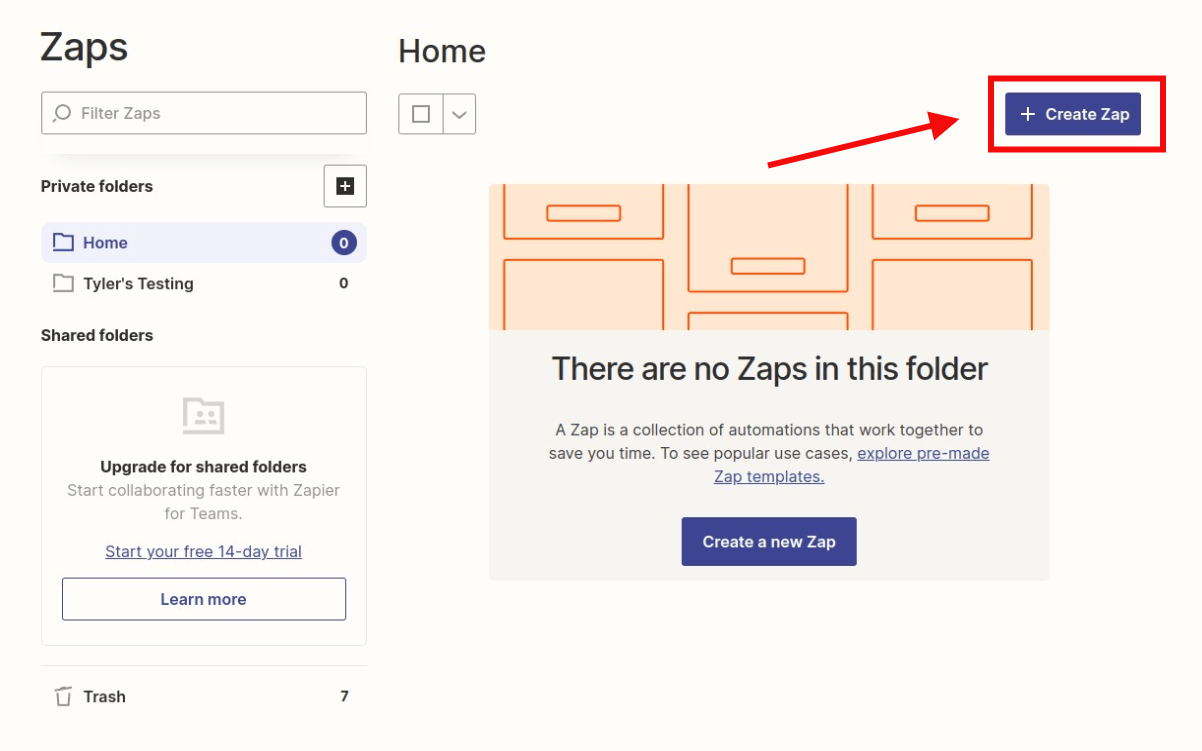
The first thing you will need to do is log in to your Zapier account and click on the “Create Zap” button.
Step 2: Creating a MemberPress Trigger
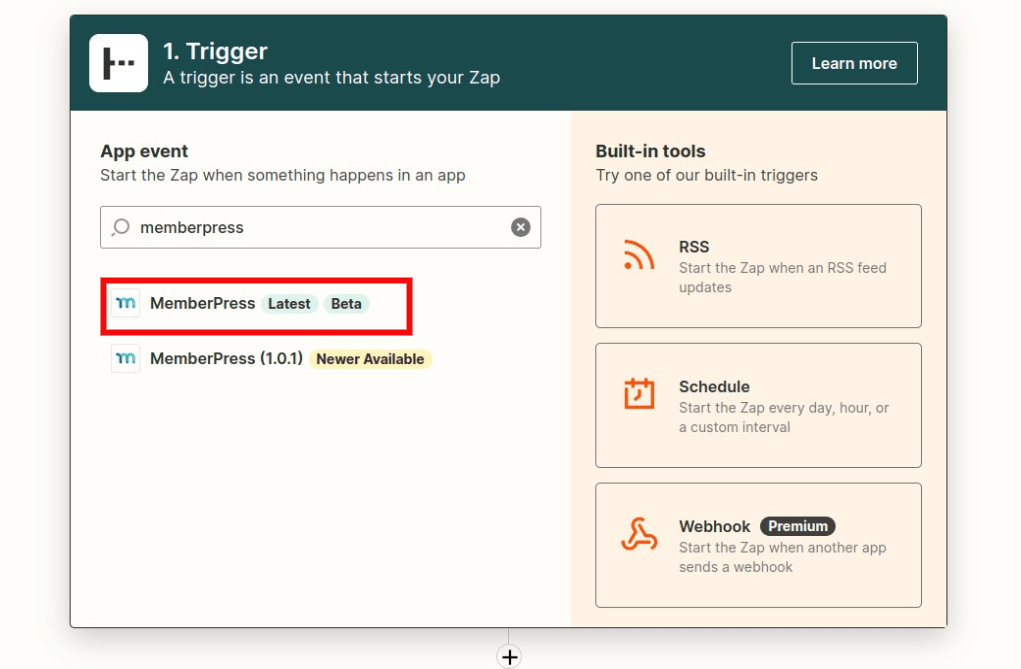
Search for MemberPress in the search bar and then click on it once you find it.
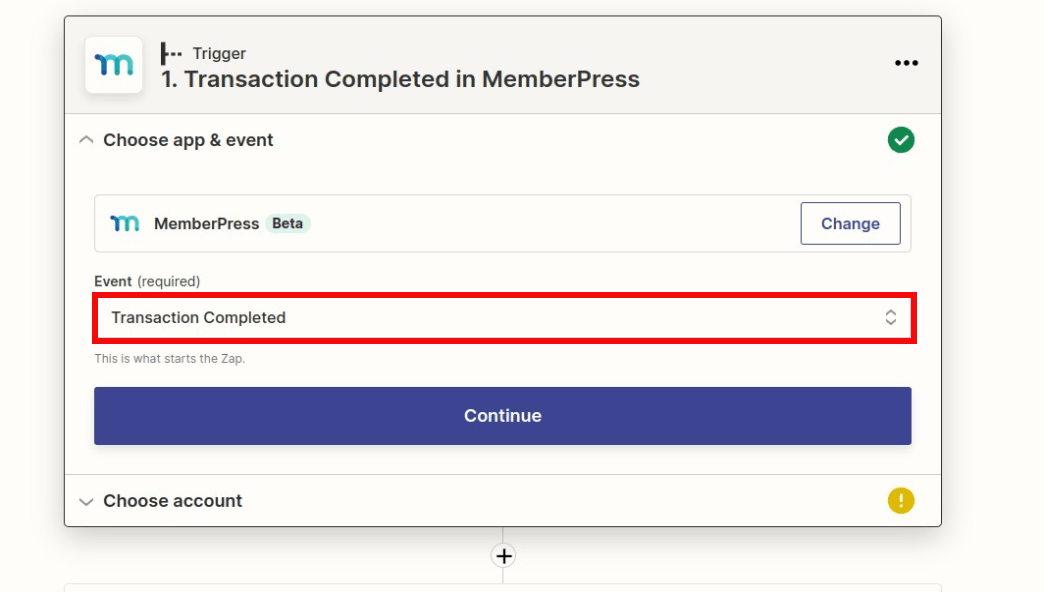
Select “Transaction Completed”. Then click the Save + Continue button.
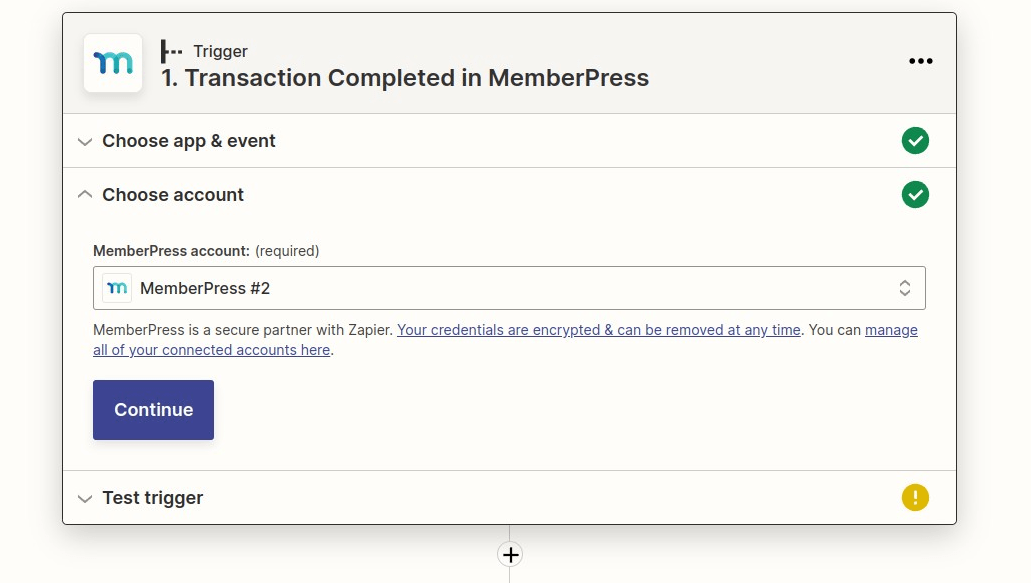
Connect your MemberPress account if you haven't done so already and then click continue.
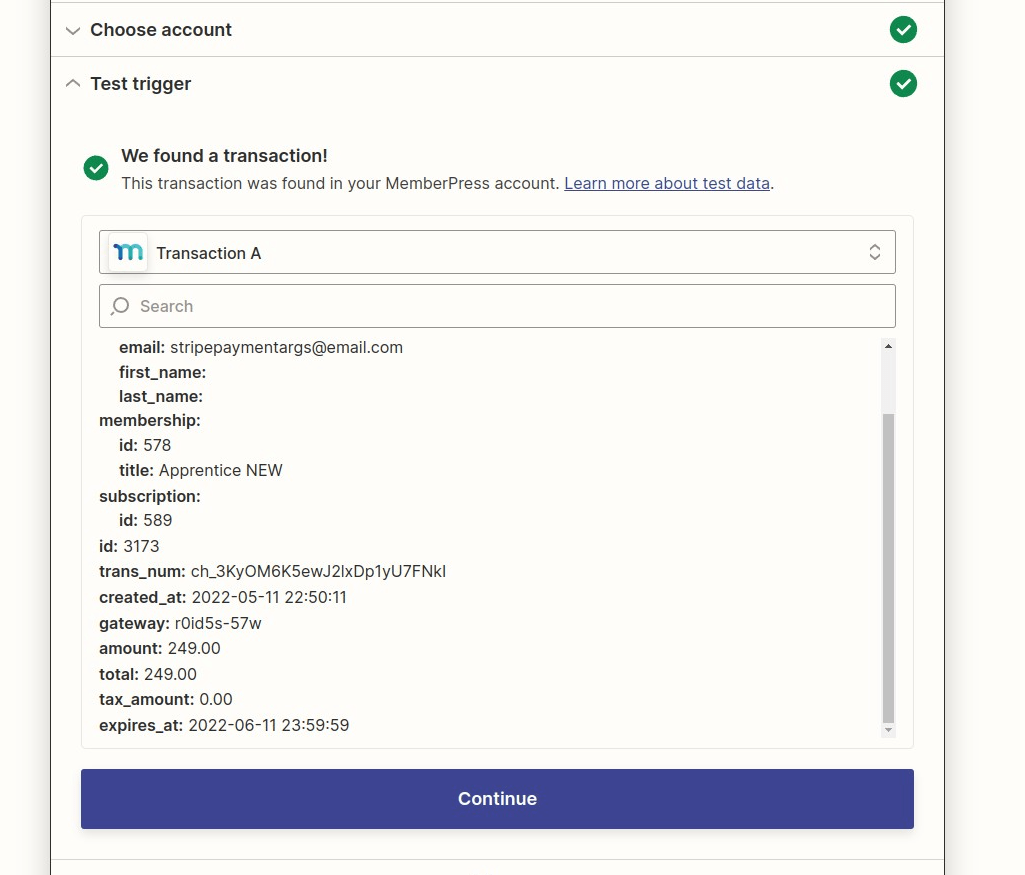
Test your trigger so that Zapier can pull in the latest transaction which has been completed on your site. When finished, click Continue.
Step 3: Creating an Active Campaign Action Trigger
Search for Active Campaign and select it.
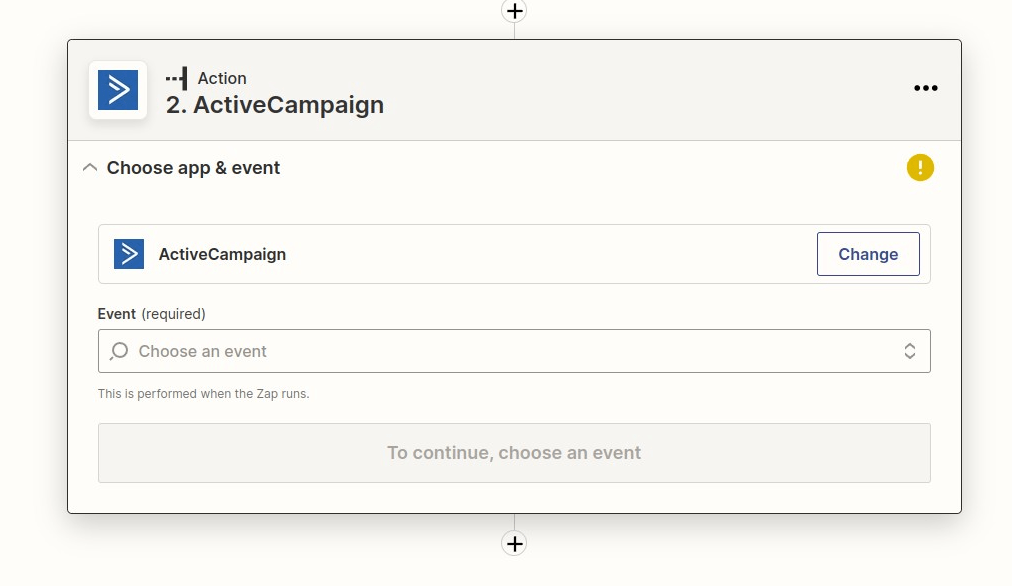
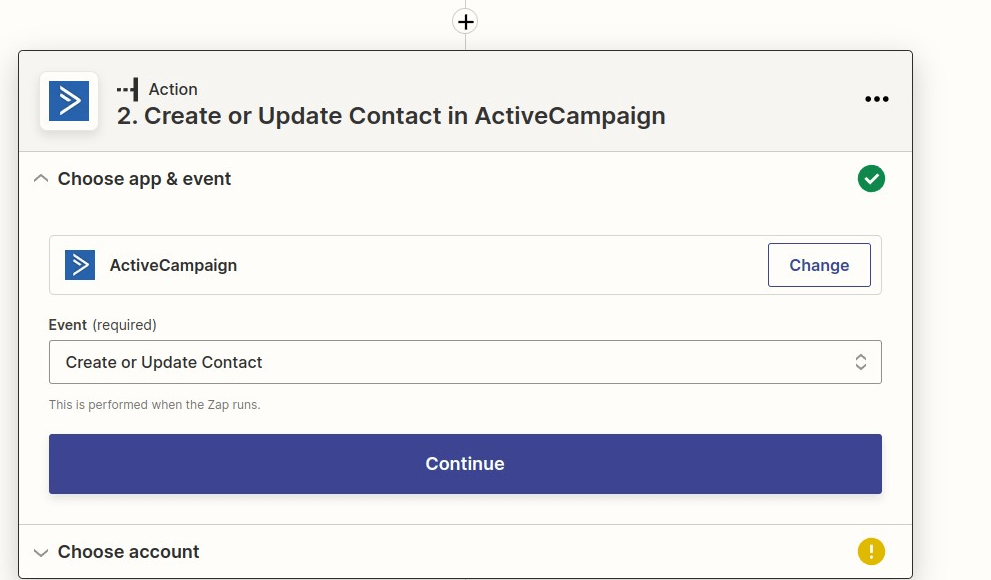
Select Create/Update Contact and click Continue.
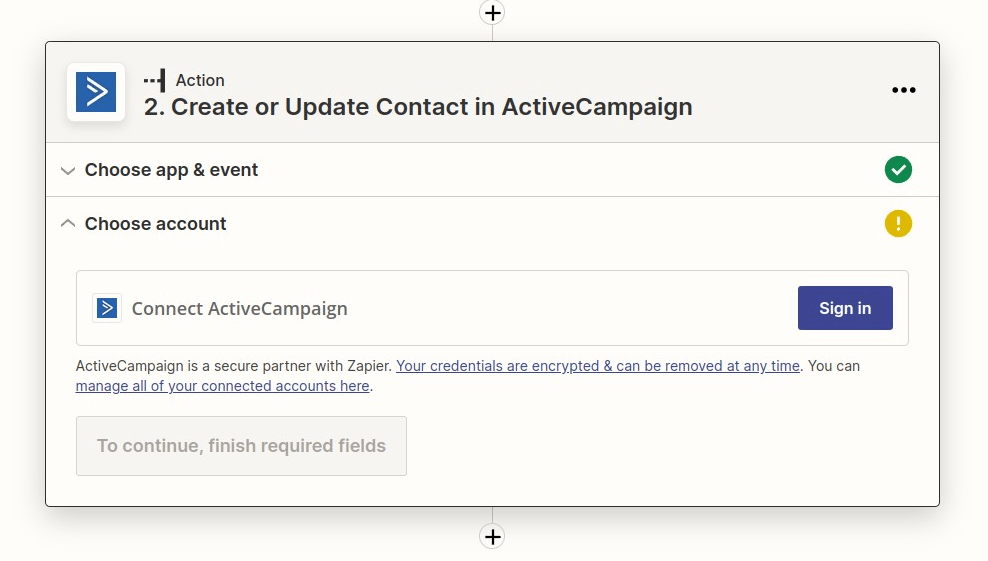
You will want to connect your Active Campaign account to the Zap if you haven't done so already and then click Continue.
This screenshot shows an example of setting up the tag and other required information. Click “Continue” once you have filled out the fields you would like to fill out.
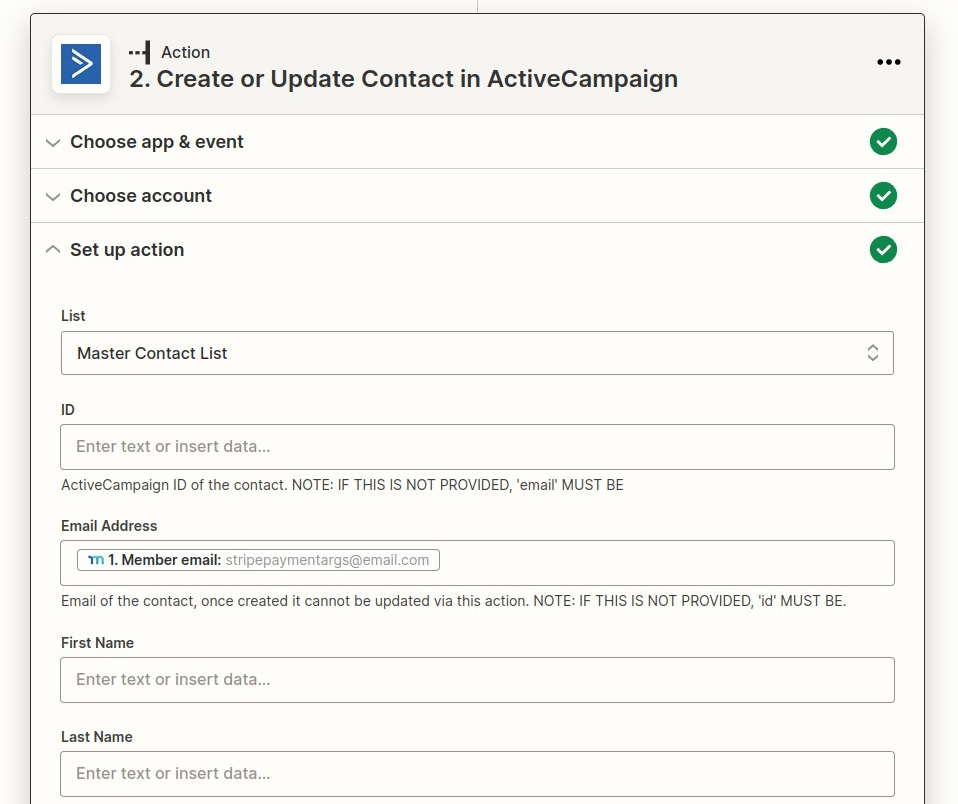
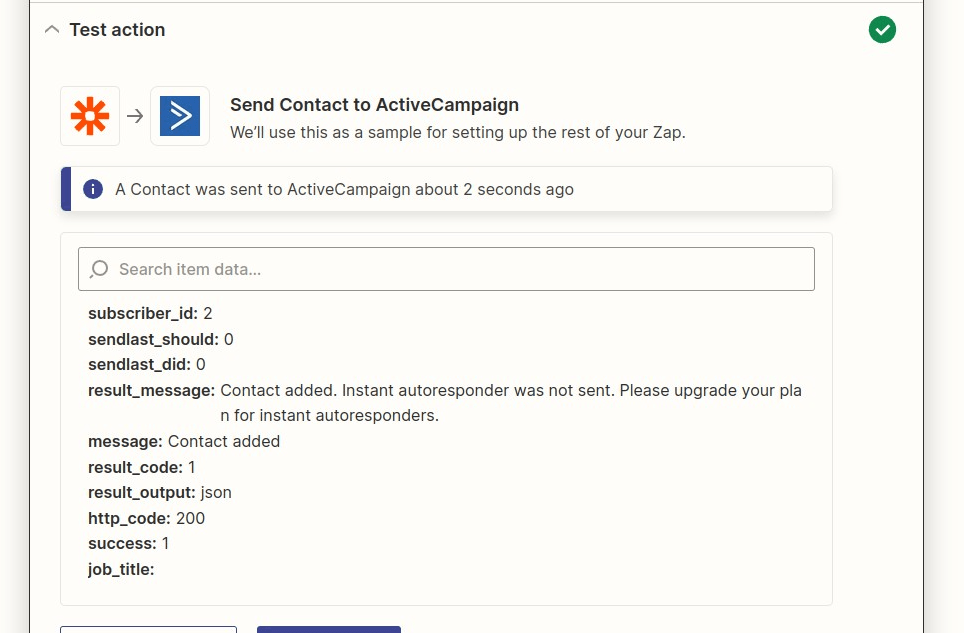
You can now test it and make sure everything goes through successfully.
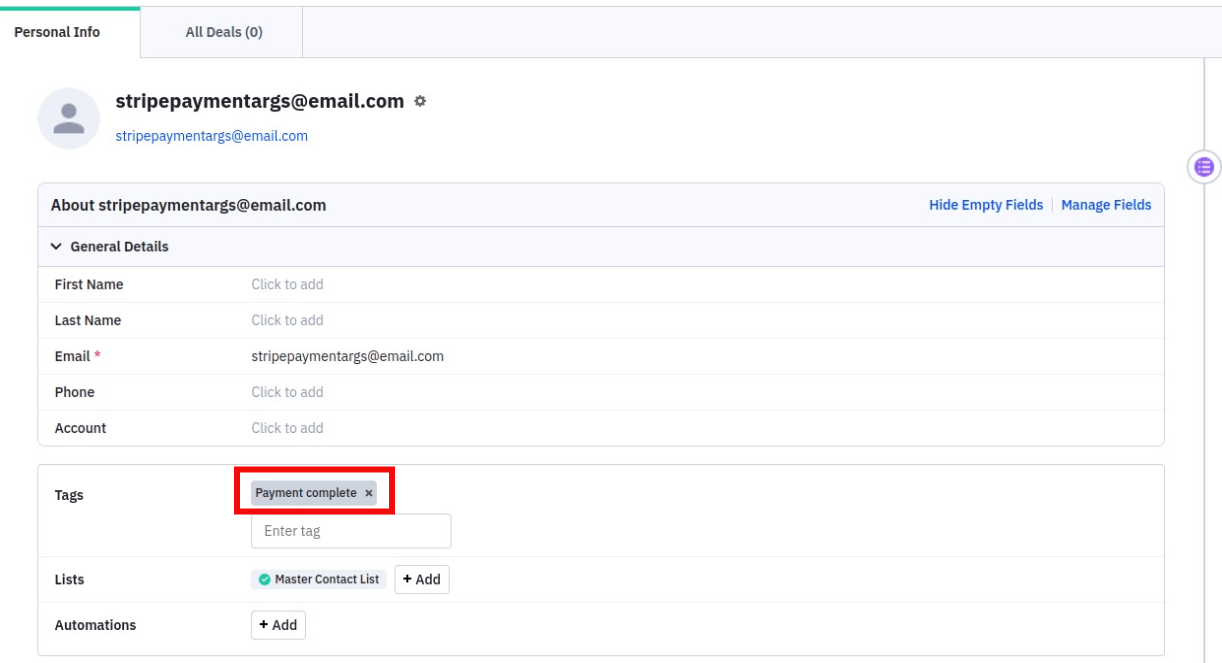
You will want to make sure the tag has been successfully added by logging in to your Active Campaign and checking to make sure the user has the tag.
Once you have confirmed, click Finish. Your last step is to name your Zap and then turn it on.
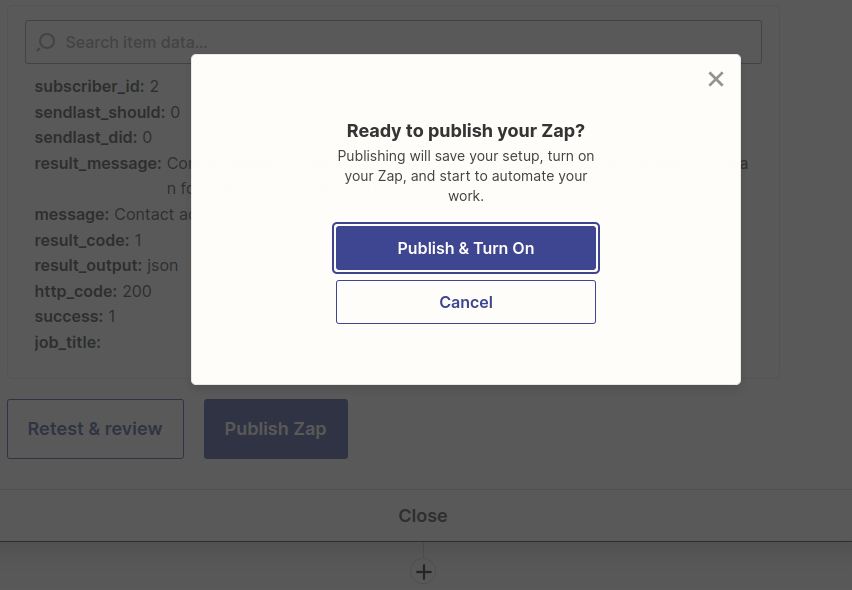
Once you turn it on, the Zap will automatically tag a user once their transaction is completed in MemberPress.


