If you're looking to have a simple login/logout link in your WordPress Menu, then there is an easy solution! We at MemberPress recommend that you use the Login or Logout Menu Item plugin because it is easy to use and it is reliable.
Step by Step Instructions
To add a conditional login/logout menu item to your WordPress site, please follow the steps below:
Important Note: to be able to see all the options available for your menu (including the login/logout menu item), you'll need to check those options in your Screen Options tab shown here.
- Navigate to your WordPress Dashboard > Plugins > Add New, and search for “Login or Logout Menu Item”. It is the one developed by cartpauj.
- Go to the WordPress Dashboard > Appearance > Menus page.
- Create your new menu or select the menu you want the item to appear on.
- Creating a new menu – if you need to create a new menu, under the Menu Structure option, enter the name for the menu and then click the blue Create Menu button to get started.
- Find your menu to edit – to edit an existing menu, use the Select a menu to edit drop down and click select.
- Within the Menu Settings for your selected menu, select the locations of your menu. Most prefer using Desktop Horizontal Menu.
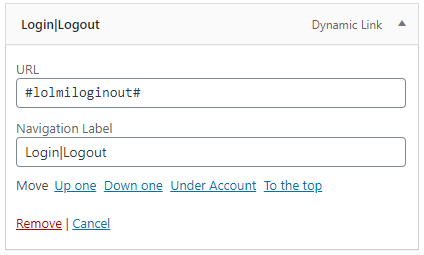
- With the Add Menu Items option on the left hand side, find the newly added Login/Logout option and then select the checkbox for the Log In|Log Out option, and click the Add to Menu button.
- IMPORTANT NOTE: because this plugin uses WordPress' /wp-login.php url by default, you will need to enable the Disable the standard WordPress registration form found in MemberPress > Settings > Account Tab.
Here is what it will look like:


