MemberPress comes with a set of default emails. These MemberPress emails are automatically sent to your members and website administrator to notify them when specific actions occur.
This document explains the settings for MemberPress emails and how to set up default emails based on your specific needs.
Setting Up MemberPress Emails
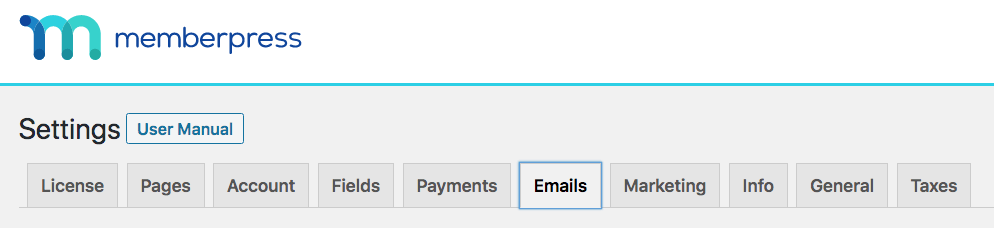
To access the email settings in MemberPress, navigate to Dashboard > MemberPress > Settings, and click on the Emails tab.
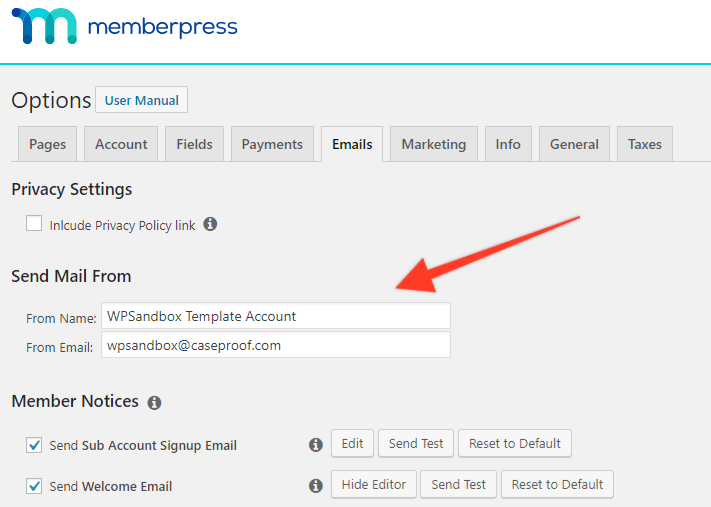
Send Mail From
MemberPress will send out emails on your behalf using the information found in the “From Name:” and “From Email:” fields as seen below. As a default, MemberPress will populate these fields with the Site Title and Email address located in your WordPress Settings > General page. If you are interested in using a third-party mailing system like SendGrid, Mandrill, MailGun, Amazon SES, or any other, please visit this
page where it is discussed in greater detail.
Member Notices
These emails are triggered and sent to a user when a certain event occurs.
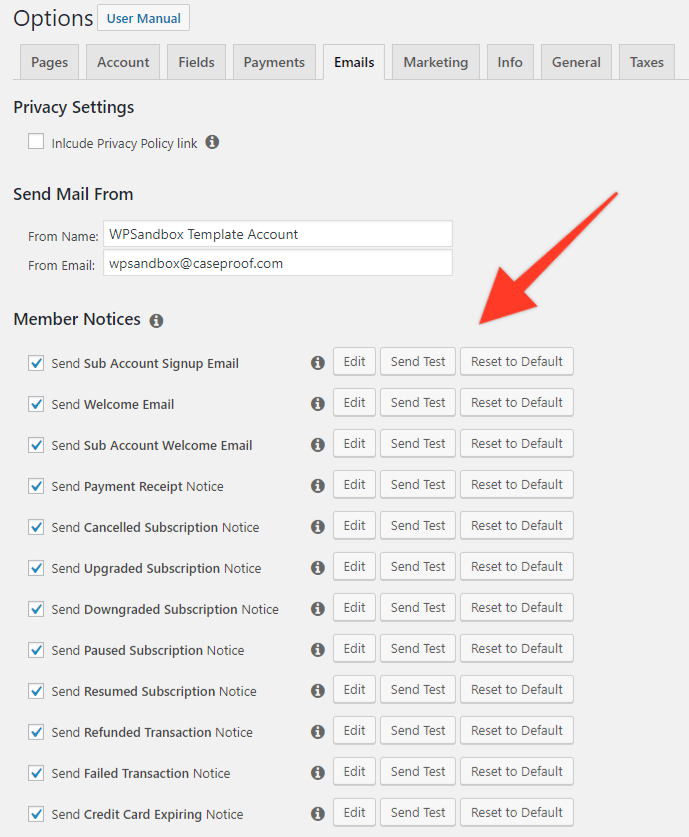
Send Welcome Email – This email is sent to Welcome new users when they sign up for your membership site after a completed purchase.
Check the Welcome Email Sample

Send Payment Receipt Notice – This email is sent to a user when a payment has been completed.
Send Cancelled Subscription Notice – This email is sent to a user when a subscription has been canceled.
Send Upgraded Subscription Notice – This email is sent to a user when they upgrade their subscription.
Send Downgraded Subscription Notice – This email is sent to a user when they downgrade their subscription.
Send Paused Subscription Notice – This email is sent to the user when one of their subscriptions is paused.
Send Resumed Subscription Notice – This email is sent to the user when they resume a subscription.
Send Refunded Transaction Notice – This email is sent to the user when a transaction has been refunded.
Send Failed Transaction Notice – This email is sent to the user when a transaction of theirs has failed.
Send Credit Card Expiring Notice – This email is sent to the user when their credit card is expiring.
Admin Notices & Emails
These emails are received by the admin when an event occurs for a user. As a default, the “Admin Email Addresses” field will be populated with the Email address located in your WordPress Settings > General page. However, you can put as many emails in the field as you want, separated by commas. This will email the list of Admin emails whenever a user does any of the selected options below.
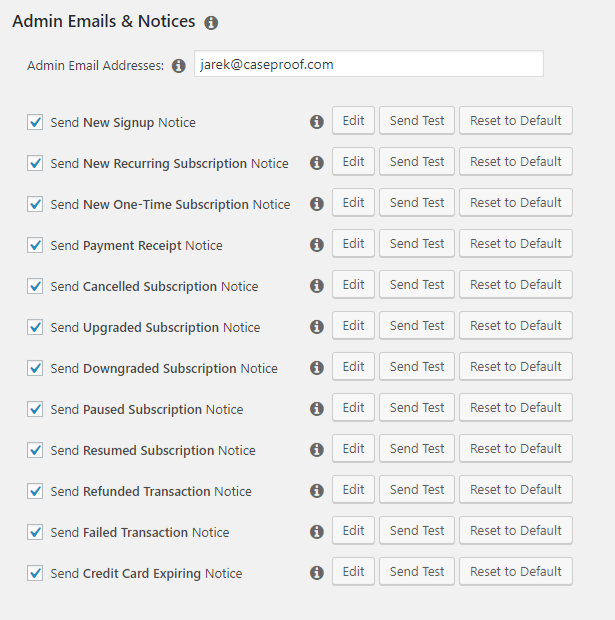
Send New Signup Notice – This email is sent to you when a user registers for your membership site and their first transaction completes.
Send New One-Time Subscription Notice – This email is sent to you when a non-recurring subscription is created.
Send New Recurring Subscription Notice – This email is sent to you when a subscription is created.
Send Payment Receipt Notice – This email is sent to you when a payment comes through your membership site.
Send Cancelled Subscription Notice – This email is sent to you when a subscription is canceled.
Send Upgraded Subscription Notice – This email is sent to you when a subscription is upgraded.
Send Downgraded Subscription Notice – This email is sent to you when a subscription has been downgraded.
Send Paused Subscription Notice – This email is sent to you when a subscription is paused.
Send Resumed Subscription Notice – This email is sent to you when a subscription is resumed.
Send Refunded Transaction Notice – This email is sent to you when a transaction is refunded.
Send Failed Transaction Notice – This email is sent to you when a transaction fails.
Send Credit Card Expiring Notice – This email is sent to you when a member's credit card is expiring.
Editing MemberPress Emails
You can edit the content of any MemberPress email. To modify the email content, please follow these steps:
- Navigate to Dashboard > MemberPress > Settings > Emails tab.
- Find the email template you wish to modify, and click the Edit button next to it. This will open an email template editor, where you can change the Subject and Body of the emails.
- Modify the email template content and add or remove email parameters as needed.
You can also modify the email font styling or change how your emails look by overriding default MemberPress templates.
Understanding MemberPress Email Parameters
MemberPress inserts member information into emails using unique email parameters.
These parameters are replaced by user-specific information when emails are sent. To illustrate, let's say the email template content looks like this:
Hi {$user_first_name},
Welcome to the membership area of the XYZ website.
Here, the email delivered to the user whose name is John will look like this:
Hi John,
Welcome to the membership area of the XYZ website.
Here are the most commonly used ones:
{$user_first_name}– Shows the member's first name{$user_last_name}– Shows the member's last name{$username}– Shows the member's username{$user_email}– Shows the member's email address{$blog_name}– Shows your WordPress site name{$product_name}– Shows the name of the purchased membership{$transaction_total}– Shows the payment amount{$login_page}– Creates a link to your login page
Keep these parameters in your email templates so that each member receives personalized information.
Adding Custom Fields in Emails
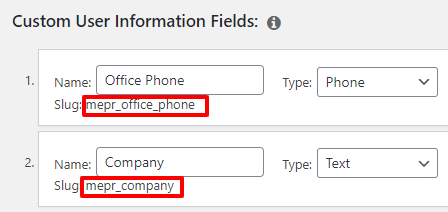
You can add any custom fields entered into your Options > Fields of MemberPress to emails sent to Members or to Admins. To do this you can use
{$usermeta:slug} where “slug” gets replaced with the slug of your custom field (e.g. {$usermeta:mepr_office_phone} for the custom phone field). The slugs of your custom fields can be found here: