Once you set up MemberPress Courses and create your courses, you can start enrolling students in your learning platform. Furthermore, MemberPress Courses allow you to track students' progress and manage your courses. This document provides detailed information on running an online learning platform with MemberPress Courses and effectively tracking your student's progress.
Managing MemberPress Courses
You can easily update your courses anytime by updating the course information and managing your course items.
You can manage your course items (lessons, quizzes, and assignments) within your curriculum editor. Alternatively, you can access your course content by using dedicated Lessons, Quizzes, or Assignments pages.
Editing Sections And Course Items Via Curriculum
You can edit any lesson, quiz, or assignment via the curriculum by following these steps:
- Navigate to the Curriculum tab and expand the Section where the course item is located.
- Hover over the lesson, quiz, or assignment you wish to edit to show additional options.
- Click the Edit option (the pencil icon) to edit the course item.

- Click the Update button to save changes to the Curriculum.
Quizzes and assignments can be edited without limitations until the first student submits the quiz or assignment.
Following the first submission, you must delete all existing submissions before editing that quiz or assignment. When you try to edit such a quiz or assignment, MemberPress will request your confirmation to delete quiz attempts.
To edit the section, click the section name and rename the section.
Move Sections and Course Items
Furthermore, you can modify the order of your sections and course items or move an item to a different section:
- Hover over the section or a course item you wish to move. The six-dot icon will appear on the left side of that section or item.

- Click and hold the six-dot icon.
- Drag the item to the new position.
- Release the six-dot icon.
Removing Sections And Course Items From the Curriculum
Similar to editing, you can remove any lesson, quiz, or assignment from the curriculum.
To remove a course item, hover over the item in the curriculum editor and click the Remove option (x icon).

To permanently delete any content item, hover over it in the sidebar of the Curriculum editor. Then, click on the trash bin icon (Delete), which will appear.
To delete a Section from the Curriculum, hover over the section name and click the trash bin icon (Delete).
Managing Course Items Outside of the Curriculum
Course items can be created, edited, previewed, and deleted as any other WordPress post. Outside of the Curriculum editor, you can access and manage your course items through their dedicated pages.
To access and manage any lesson you created, navigate to the Lessons page (Dashboard > MP Courses > Lessons). Hover over a lesson to access the Edit, Trash, and View options. In addition, you can Duplicate your lessons here.

Also, all your quizzes will be available on your Quizzes page at Dashboard > MP Courses > Quizzes. Quizzes have Edit, Trash, and View options.

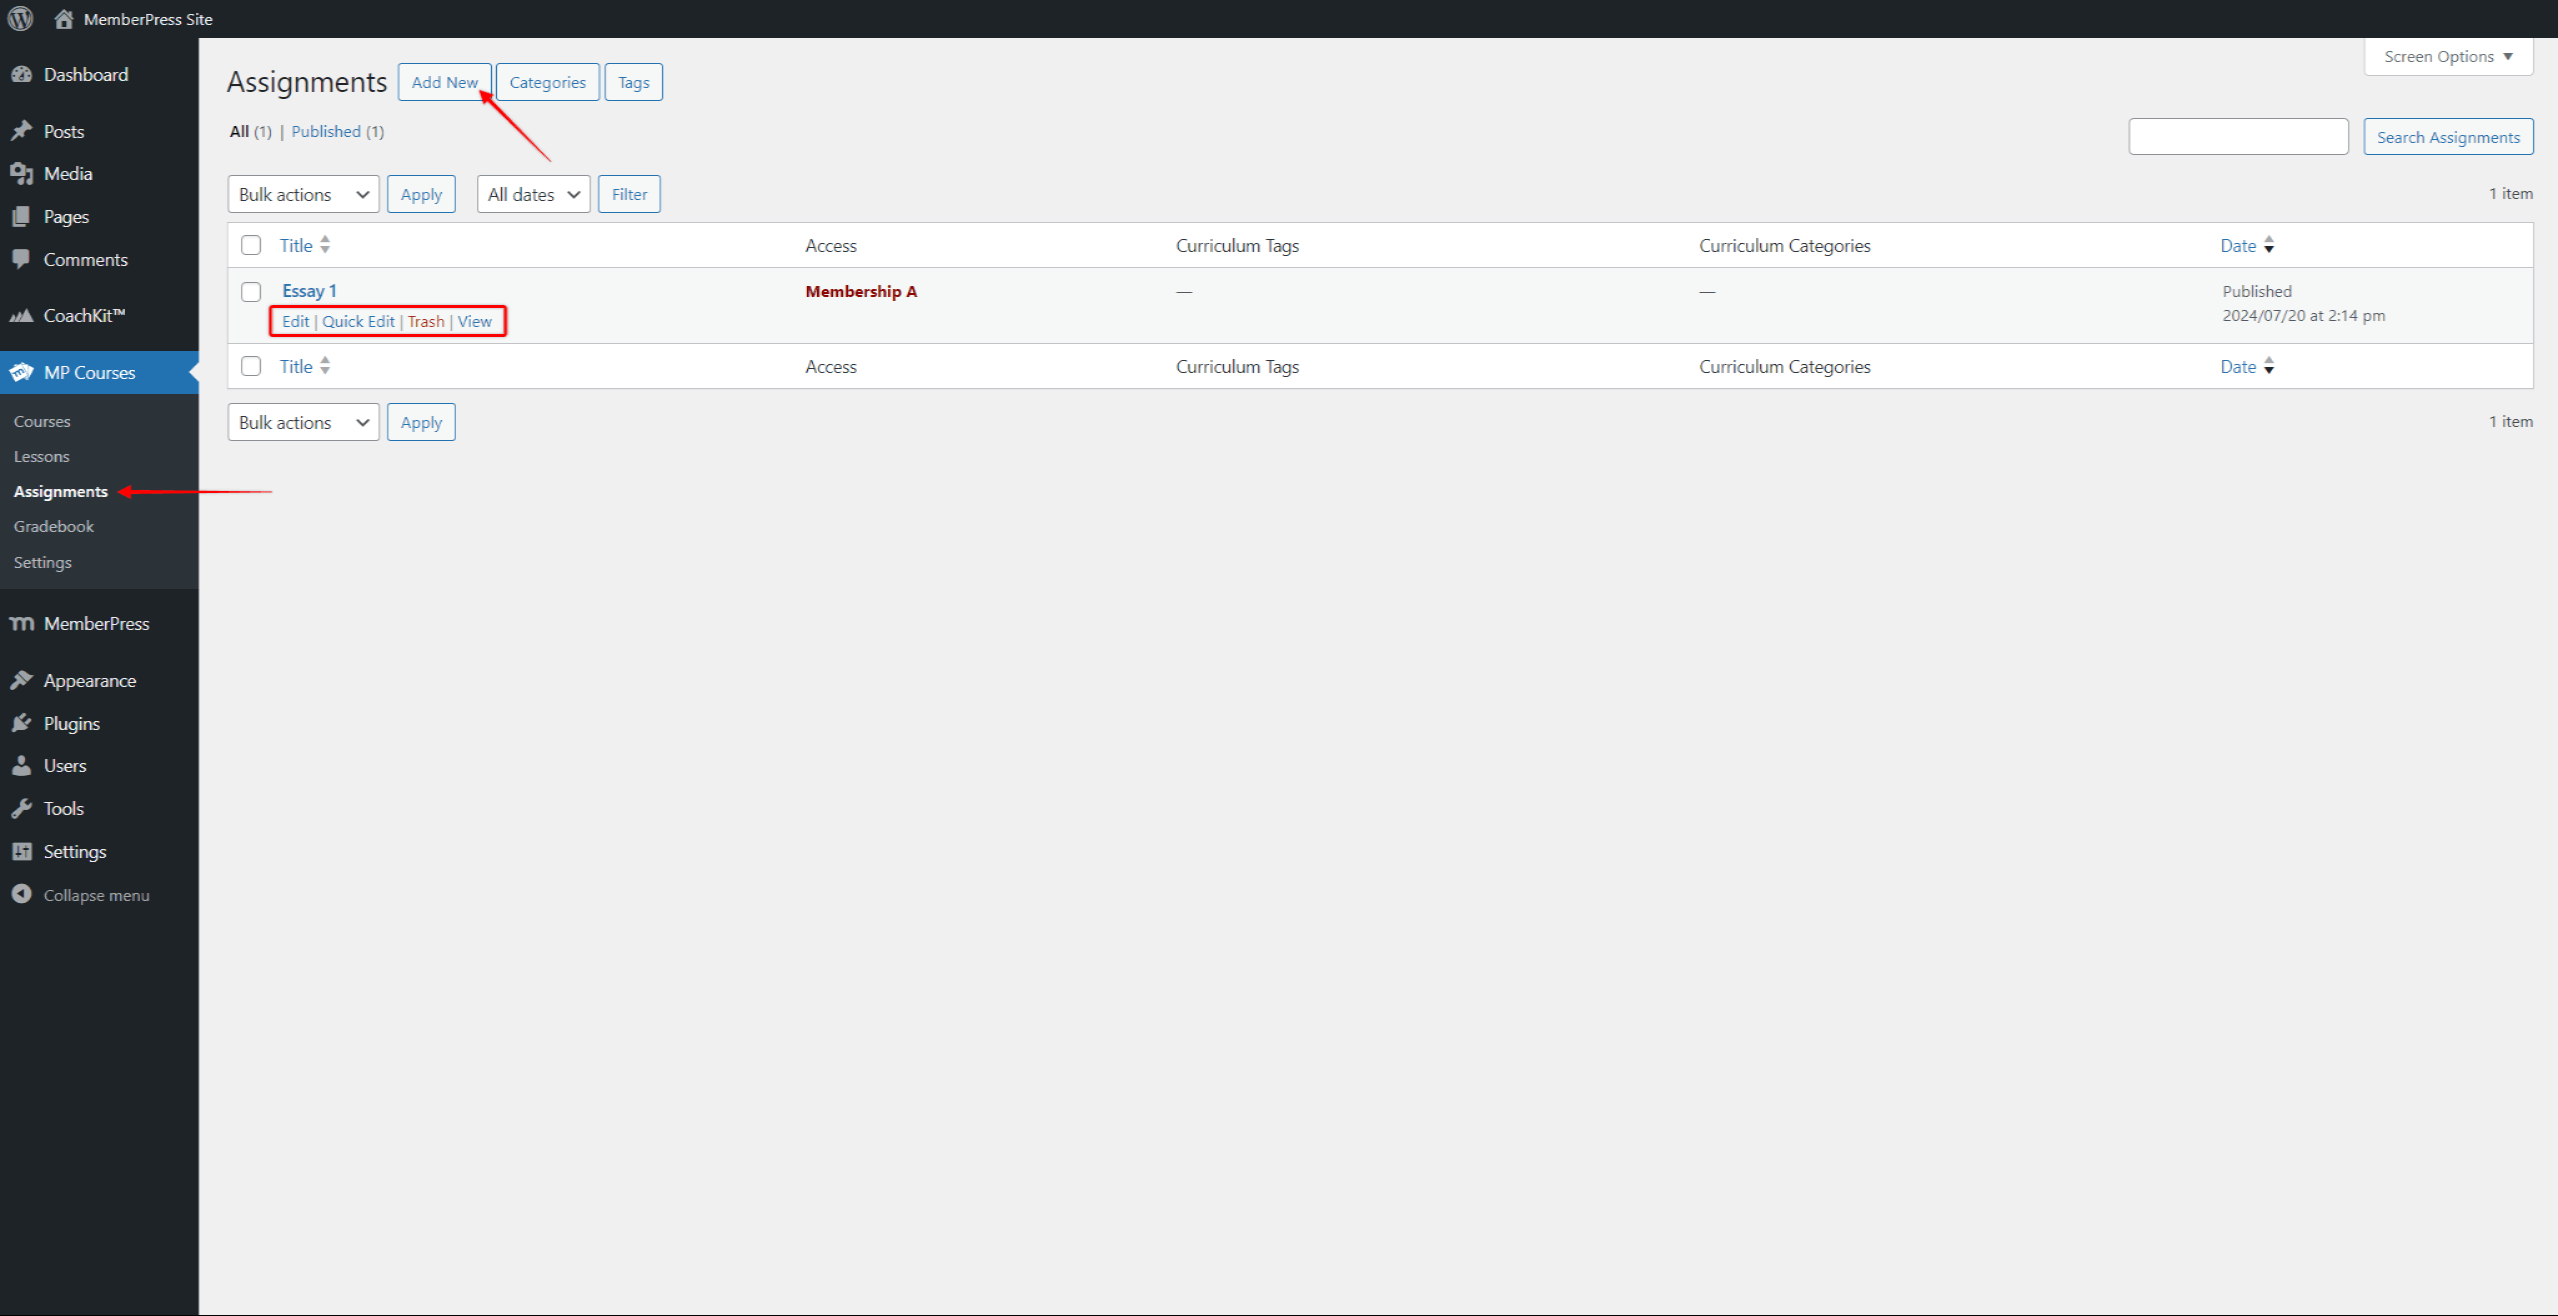
Similarly, all your assignments will be available on your Assignments page at Dashboard > MP Courses > Assignments. Assignments also come with the Edit, Trash, and View options.
Dripping Courses
Protecting course content and setting up the drip schedule allow you to manage your students' experiences and learning paths. You can deliver your courses section by section or item by item using the built-in course dripping.
The built-in dripping feature can drip in regular intervals. Setting dripping by section, will drip all course items (lessons, quizzes and assignments) within each section. Dripping by item will drop course items one by one following the order of items set in curriculum.
Furthermore, you can drip courses using MemberPress rules. This allows you to use irregular dripping intervals and more granular dripping control. Here, you must set a rule for each section and item separately.
By dripping content, you ensure your students don’t skip the course content. Furthermore, this way, groups of students can also follow the same schedule and order of learning.
Dripping can also be used to limit exam periods and provide time for grading students. If needed, it can also be used to schedule learning breaks (e.g., holidays).
Student Progress
When running a learning platform, you’ll want to track your students' progress. The student's course progress is available in their user profiles.
You can check the list of all students enrolled in a specific course:
- Navigate to Dashboard > MP Courses > Courses and find the course you want to check.
- Under the Participants column, you will find a number of students currently enrolled in the course. Click on the number to access the list of enrolled students.

- In the list, click on the username of the student whose user profile you wish to access.

Alternatively, you can search for the student in the user list at Dashboard > Users page. When you find the user in the list, hover over the user, and click Edit to access the user’s profile.
Once you access the student’s user profile, scroll down until you see the Course Information section. Here, you’ll find the student’s progress for all the courses on your site:

Reset Student's Progress
You can also reset a student's course progress within the user's profile. To do this for any course the user started, click the Reset Progress link next to the course name.

Resetting students' course progress will permanently remove their progress on the specific course. Thus, when students access the course next time, they will have to redo the entire course.
Tracking Student Progress
You can preview, edit, and view students' quiz answers and assignment submissions by accessing the course's curriculum of that course.
To access the Qizz Attempts or Assignment Submissions pages, follow these pages:
- Navigate to Dashboard > MemberPress > Courses.
- Find the course you wish to manage, and click the Edit link under the course name. This will open the course editor.
- Click on the Curriculum tab.
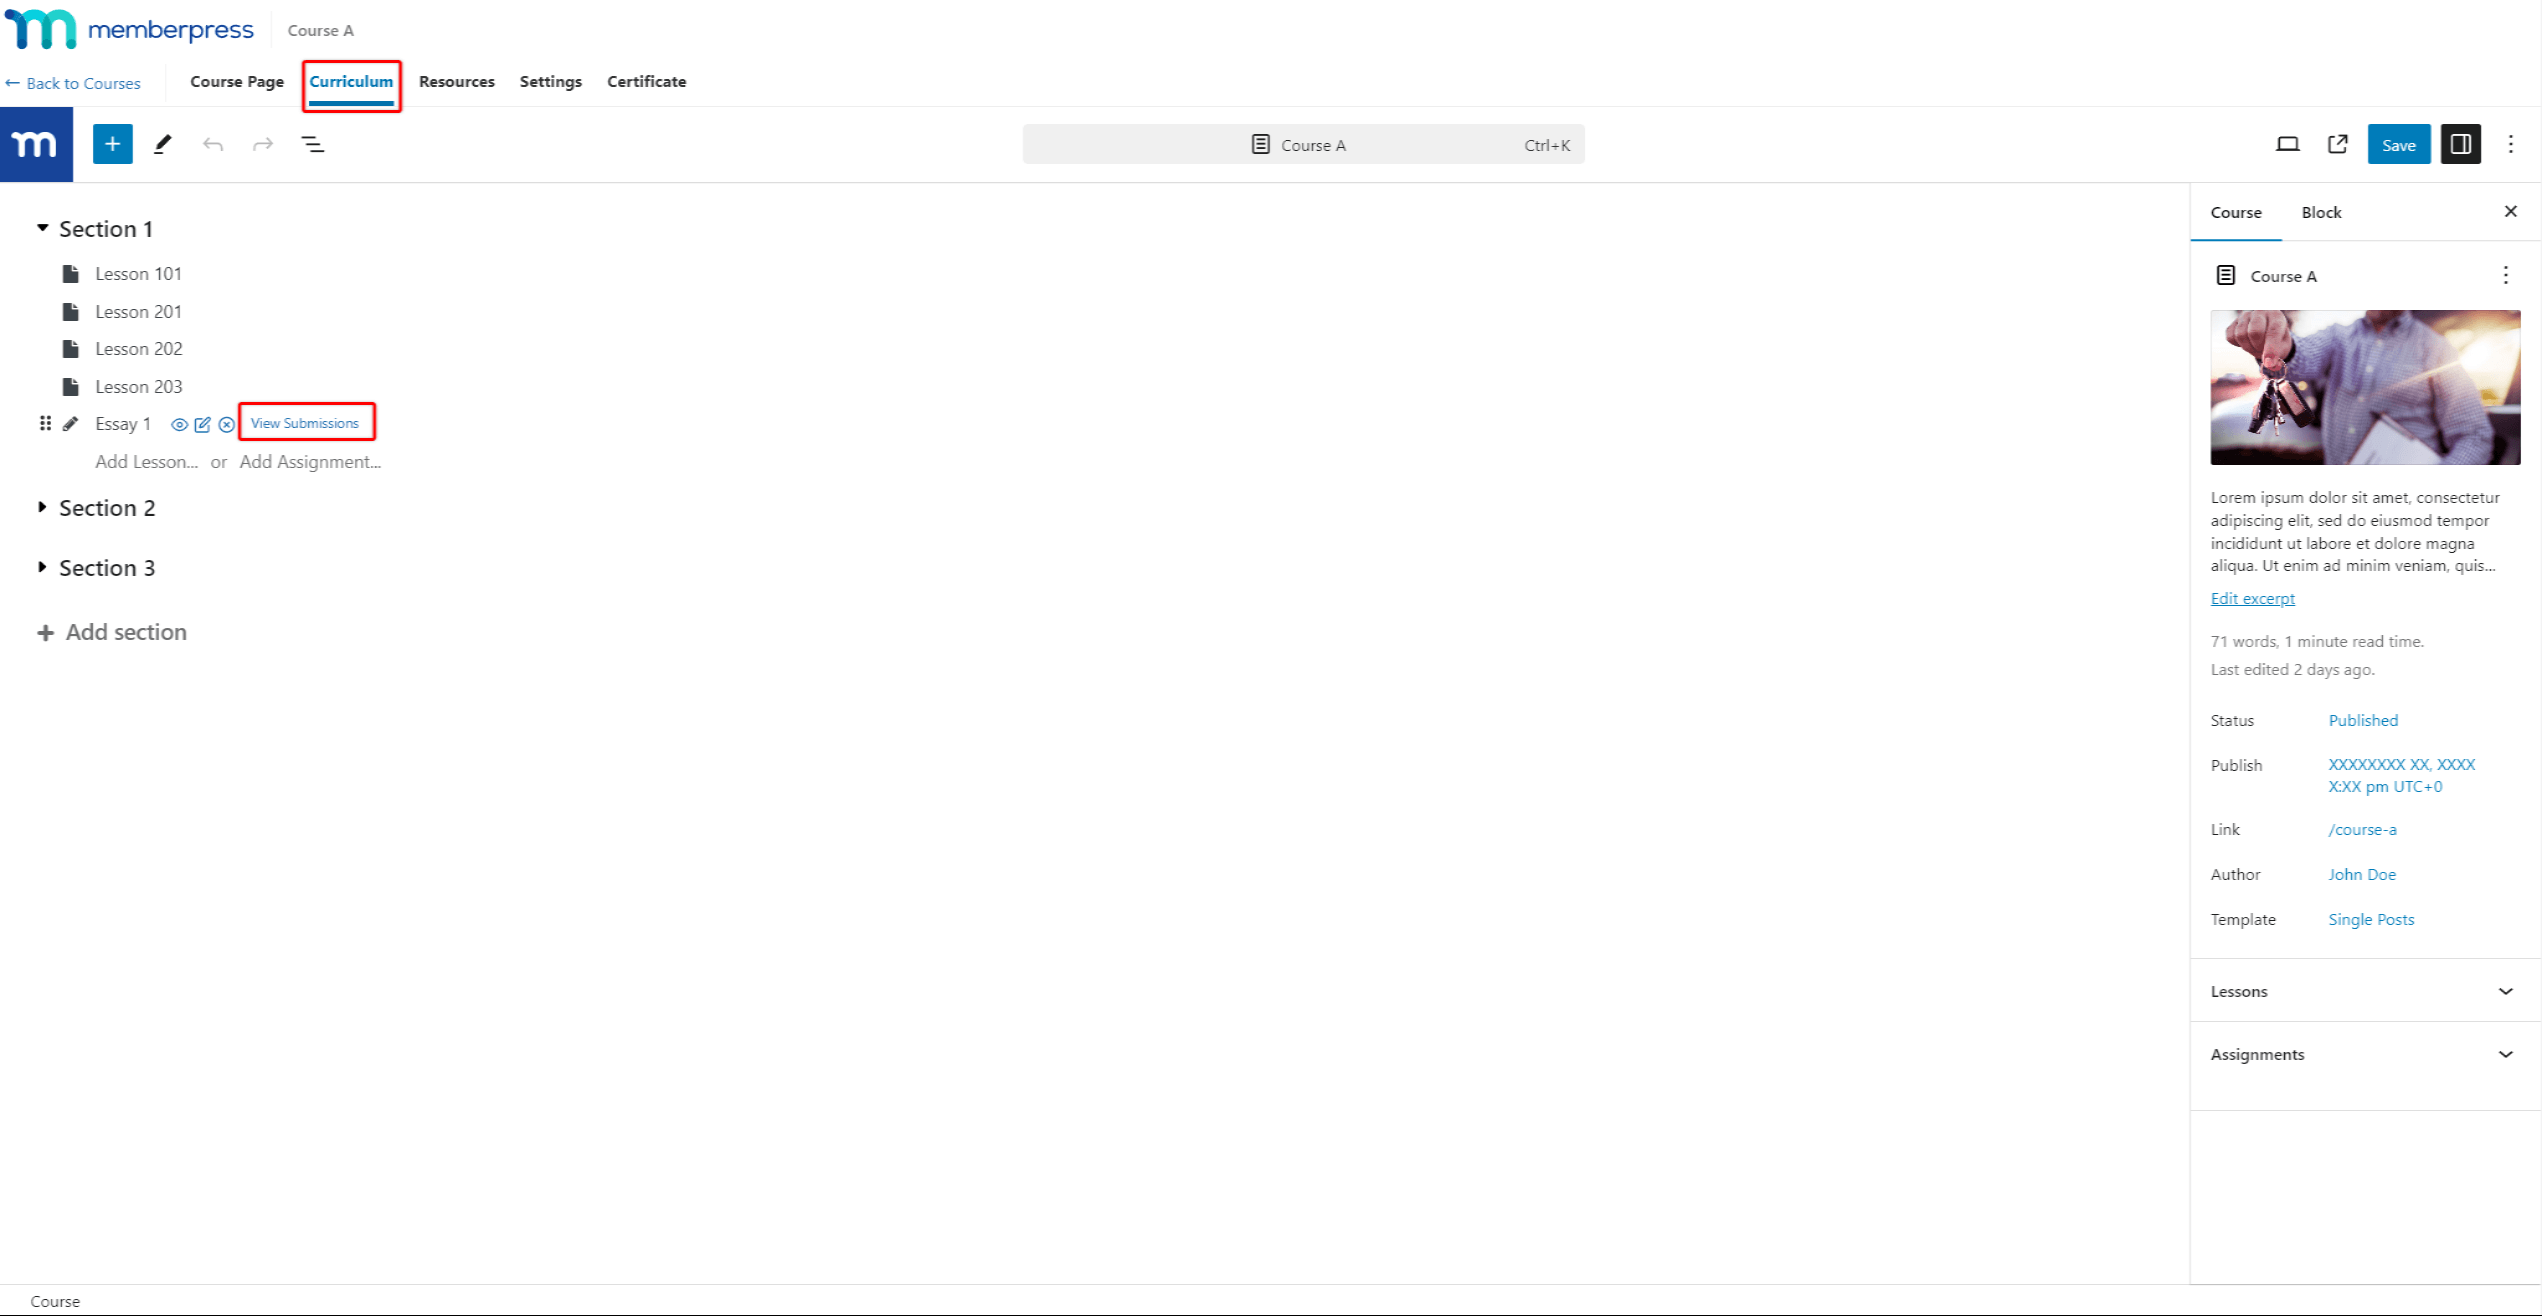
- Hover over the quiz or assignment name to access their options.
- Click the View Attempts for your quizzes or the View Submissions link for your assignments.

Tracking Quizzes
When a student submits quiz answers, this will be recorded as a quiz attempt. Each quiz attempt will be added to the student's progress.
Furthermore, you can review and reset quiz attempts for each student.
Quiz Attempts
You can access students' quiz attempts for any quiz through the course Curriculum. The View Attempts link next to every quiz will open the Quiz Attempts page for that specific quiz.
If a student submits answers for the quiz, the student will be listed on the Quiz Attempts page.
View Student Answers
You can access the answers of each student who submitted the quiz on the quiz's attempts page:
- Access the Quiz Attempts page of the specific quiz.
- Find the student in the attempts list.
- Hover over the student's name, and click the View link.

- This will trigger a popup, showing you the quiz answers that the student submitted.

When students submit a quiz, they won’t have access to their answers, nor will they be able to modify them.
Reset Quiz Attempts
As mentioned, it's possible a student reached the quiz attempt limit without reaching a passing score.
In this case, the student will be blocked, and you'll need to remove the attempts to enable additional attempts:
- Access the Quiz Attempts page of the quiz that is blocking the student.
- Hover over the student's name and click the Reset Attempts button in the popup to reset the student's attempts. This will unblock a student, allowing additional retakes.

- Alternatively, you can completely delete the answers a student submitted by clicking the Delete link.
Tracking Assignments
If you activate the Assignments add-on on your website, you can manage assignments similarly to Quizzes.
Similarly to Quiz Attempts, you can also access students' assignment submissions:
- Access the course's Curriculum editor
- Hover over the assignment and click the View Submissions link.
- Find the specific student's name in the list. Next, hover over the student's name and click the View link.
Grading Quizzes and Assignments
Furthermore, if the MemberPress Gradebook add-on is activated, you can preview submitted quiz answers and assignments in the Course Gradebook. This add-on will also allow you to grade quizzes and assignments.


