If you just installed your MemberPress plugin and might be wondering how to start building your membership website, this document will help you set things up with as little effort as possible.
Onboarding Wizard
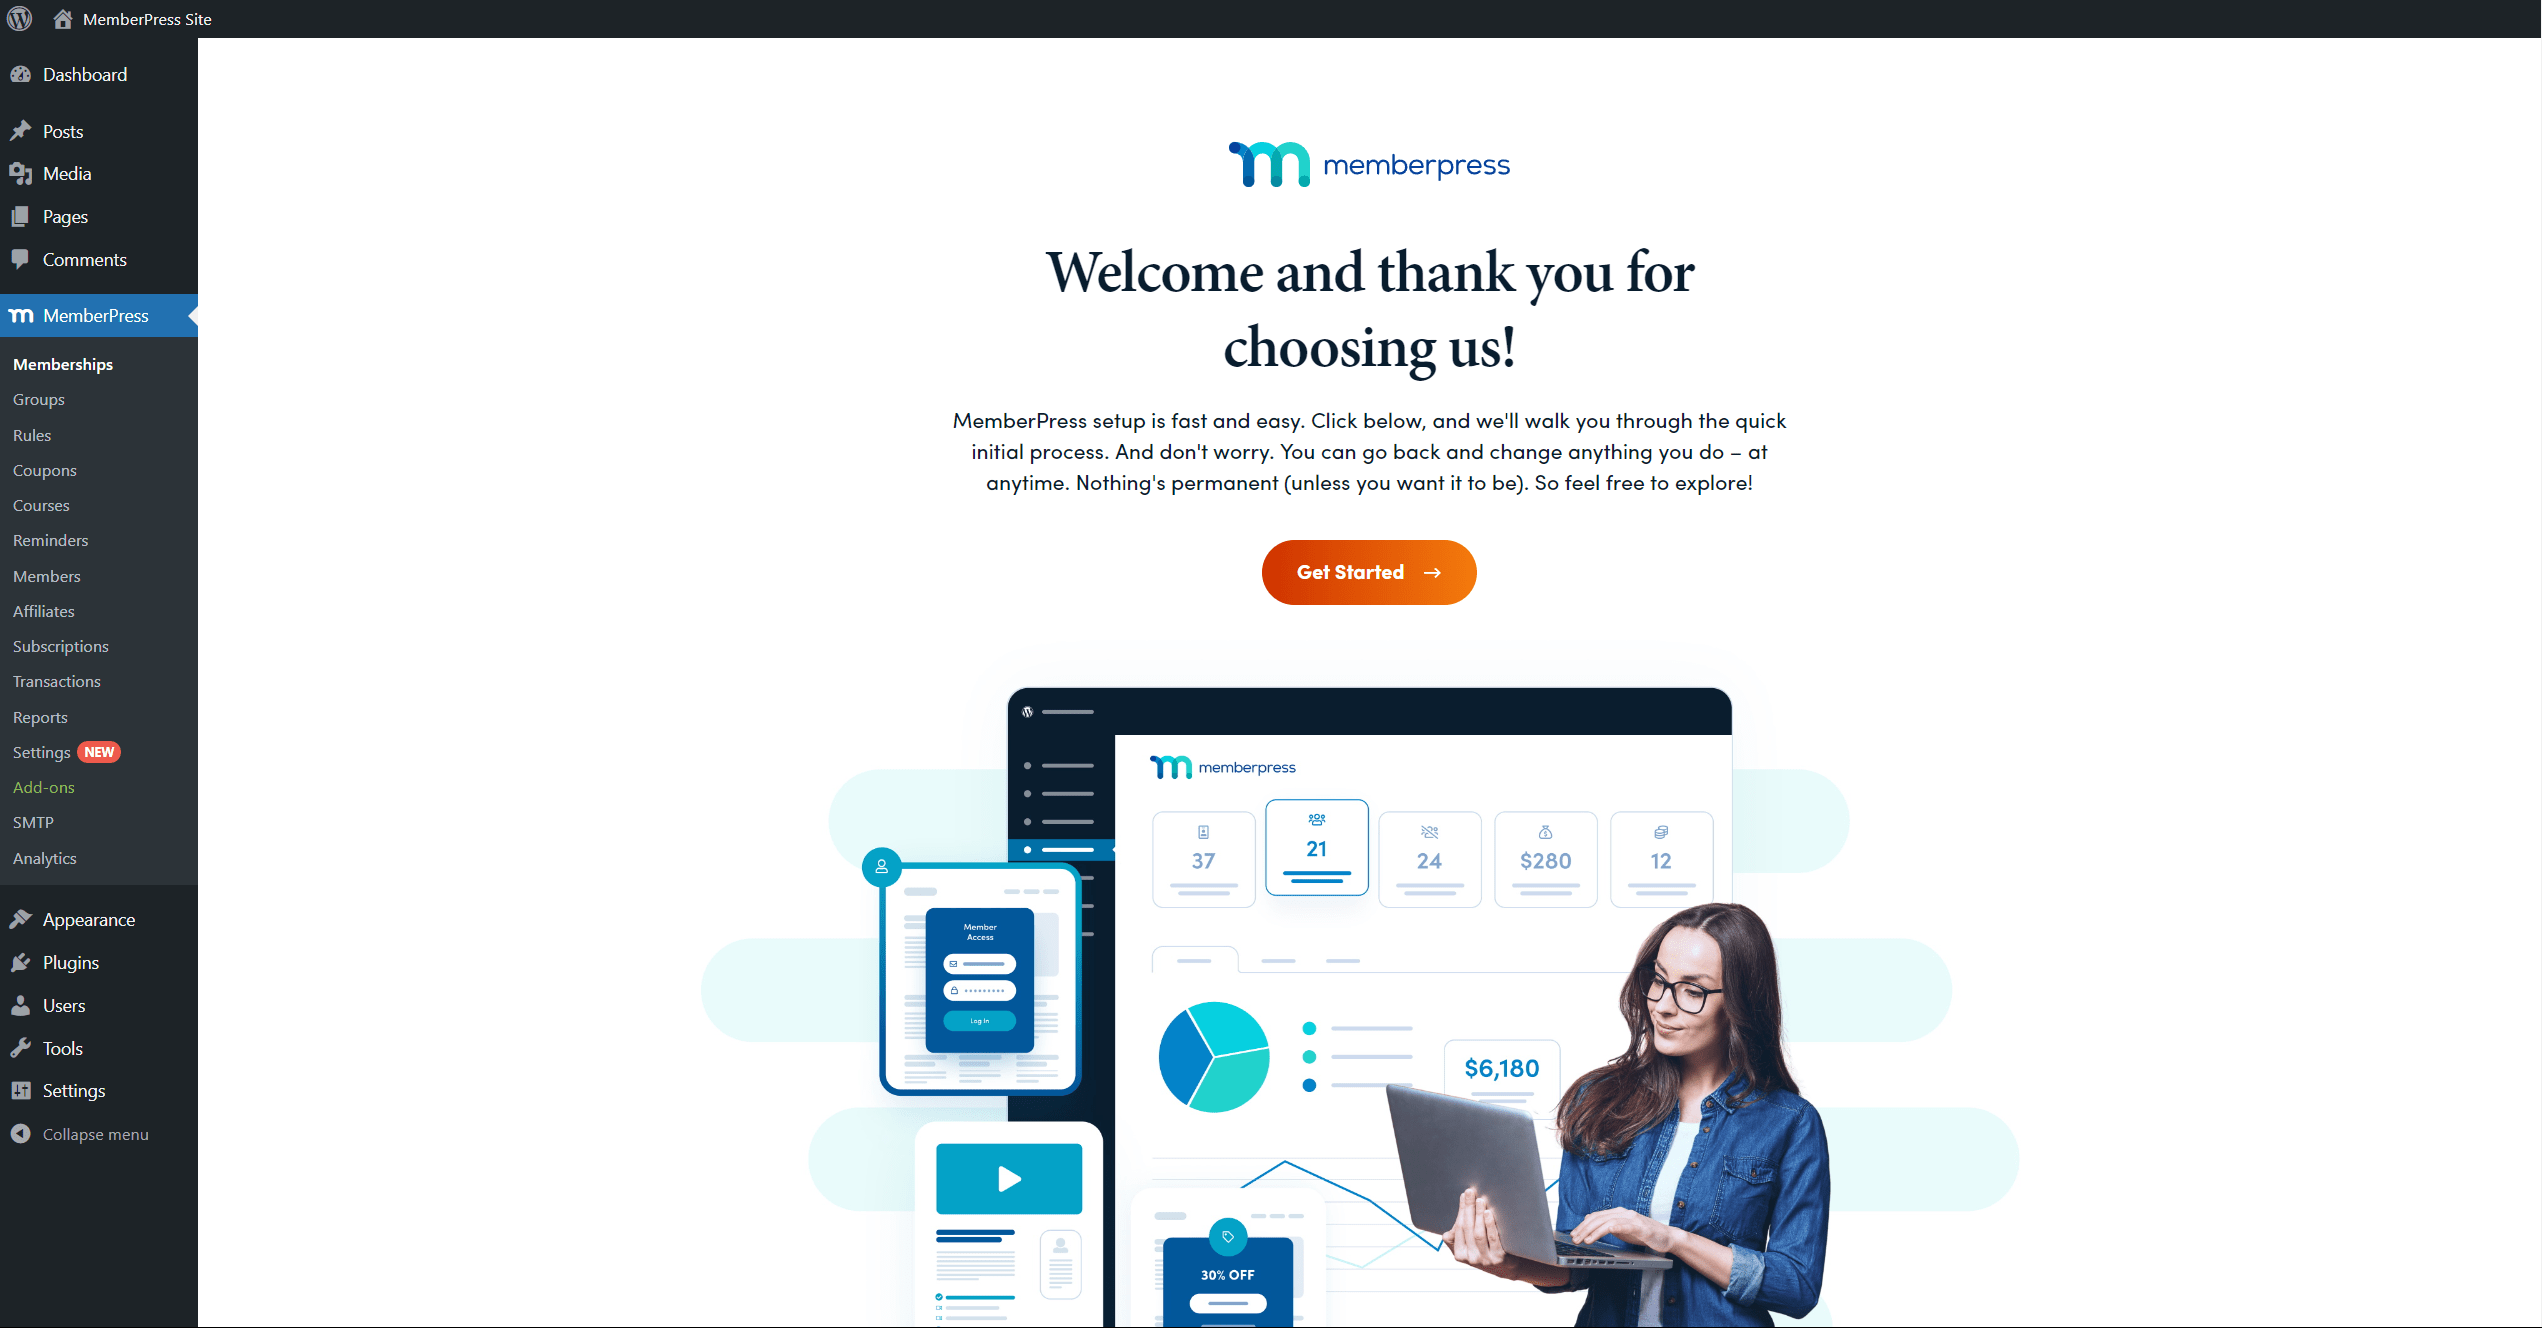
When you first install and activate the MemberPress plugin on your site, and navigate to Dashboard > MemberPress, you will encounter the MemberPress Onboarding Wizard.
This wizard will take you through some basic settings and show you how to protect your first piece of content. The wizard will cover the following points:
- Activate License
- Enable Features
- Create or Select Content
- Create Membership
- Protect Content
- Payment Options
Click on the Get Started button to start the wizard.
Activate License
The MemberPress plugin requires activation to function properly. So, the first step of the wizard is activating the license:

- This will take you to the next page prompting you to log into your MemberPress account. Fill in your MemberPress account credentials and continue with the login.
- MemberPress will automatically check for your license and activate the plugin on your site.

- Click Continue to progress to the next step.
Enable Features
In your second step, you can activate additional features of MemberPress. Additional features of MemberPress are called Add-ons. Each add-on is a separate plugin that will be installed on your site.
In this step, the list of the available add-ons comes with a short description of their features. Here, you will have a selection of the most commonly used add-ons. For instance, enabling the Courses add-on will allow you to create courses with MemberPress. Similarly, the Downloads add-on will allow you to add downloadable protected files, and available only for your members.
To enable any feature (add-on), simply click the check box next to it. You can enable the features you need now, or at a later date.

Once the wizard is finished, you can check the full list of available add-ons at Dashboard > MemberPress > Add-ons. Here, you can enable all add-ons available for your MemberPress plan anytime. Also, you can disable addons on this page, including the ones you enabled in this wizard step.
Click the Continue button to move to step 3. MemberPress will automatically install and activate all the add-ons you selected.
Create or Select Content
The third step, together with your fourth and fifth steps, will cover the basics of protecting your content. The wizard will show you how to protect one piece of your content (e.g. a page).
Namely, MemberPress comes with a tool that controls access to any content based on a set of criteria for members. This tool is called Rules. A Rule can be configured to provide access to content only to members who are registered for a specific membership. In short, this and the following steps will take you through this process.

Hence, in this step, you need to select the first content you want to protect:
- Click the Choose Existing Content link.
- Select the content you want from the list presented.
- Click Save.
Also, you can create new content here:
- You will be prompted to add the title of your new page. If you activated the MemberPress Courses in the previous step, you will have an option to choose between creating a new course or page.

- Click Save. MemberPress will now create a new empty page with the page title you added.
Click Continue to move to the next step.
Create Membership
Now that you have selected the content to protect, you need to create your first membership:

- Here, you need to add the basic data required to create a membership, starting with the Membership Name. This name will be visible on your backend, but also to your users on the frontend.

- Under the Billing section, choose whether this should be a one-time or recurring payment (monthly or yearly).
- Also, you need to specify the Price your users will need to pay when registering for this membership. Your memberships can also be set as free by setting a price to zero.
- Click Save to create the membership.
This membership will be used to create a rule. Click Continue to create a new rule on your next step.
Protect Content
MemberPress Rules are used to define conditions a user needs to fulfill to access specific content.
Click on the Create Rule button.

This will open a popup showing the page (or course) and membership you created in previous steps.

Click Save to generate the rule.
Now, your users must register for the membership you created to gain access to the content you previously chose.
When a membership is created, MemberPress will automatically generate a registration page with a specific URL for that membership. Your users can register by navigating to this page and submitting the registration form.
Click Continue to set your payment options.
Payment Options
You need to set your payment methods to charge your users for membership registrations (subscriptions). MemberPress includes built-in Stripe integration by default.
If you're subscribed to the MemberPress Growth or Scale plan, you can also use additional payment solutions. Out of the box, you can connect to PayPal and Square payment processors via built-in integrations.
In addition, with the Scale plan, you can activate the MemberPress Authorize.net add-on. This addon will allow you to connect the Authorize.net payment processor to MemberPress.
Furthermore, with Growth and Scale plans, MemberPress has the option to collect offline payments. The offline payment gateway must be enabled if you don't enable any online payment options.
The wizard provides an option to connect your Stripe account with MemberPress.

Click the Add Stripe button and follow the instructions to configure the Stripe connection.
Once connected, you will be prompted to enable Stripe Tax if you wish to enable automatic tax calculations and collection.

Completing Setup
After the “Payment Options” step, the wizard will finish the setup process. Once completed, you will be presented with the URL for the registration page for the membership created in the process. Also, it will provide you with the URL of your default member’s login page. You can now link these pages to your menu items and elsewhere on your site.
There is no need to memorize these URLs. You can find the URLs of all membership registration pages at Dashboard > MemberPress > Memberships. Also, your MemberPress login page slug will be /login by default (e.g. yourdomain.com/login).

What’s Next?
The wizard will cover the basics. It will help you set your first membership, content, and a rule to protect that piece of content.
Most often, your business will require multiple memberships and your content will be more complex. Thus, once the wizard is finished, some additional settings may be needed to get your site fully set.
To create additional memberships and configure advanced membership options, navigate to Dashboard> MemberPress > Memberships. Each membership you create will have its own separate registration page. Each registration page has a unique URL that can be linked anywhere on your site. You can configure default registration pages or create custom membership registration pages.
Creating memberships will not automatically protect your content. To protect any content, navigate to Dashboard > MemberPress > Rules and create a rule for it.
Once done, your membership site will be ready to register the first members.


