Online courses are rapidly growing in popularity. If you’re planning to release your own, it’s important to consider how you can make your lessons stand out as unique, high-quality learning opportunities.
Fortunately, MemberPress Courses offers several ways to customize your course and help it attract students. With the built-in ReadyLaunch™ page maker, you can select colors, add course logos, and even incorporate your own CSS while keeping your classes easy to navigate.
In this article, we’ll introduce MemberPress Courses and walk through all the customization options available. Let’s dive in!
An Introduction to MemberPress Courses
MemberPress Courses is a learning management system (LMS) enables you to easily create and sell online classes. With it, you can craft your lesson content using a simple interface similar to the default Block Editor.
It also includes a visual curriculum builder so you can clearly see how your modules are organized.
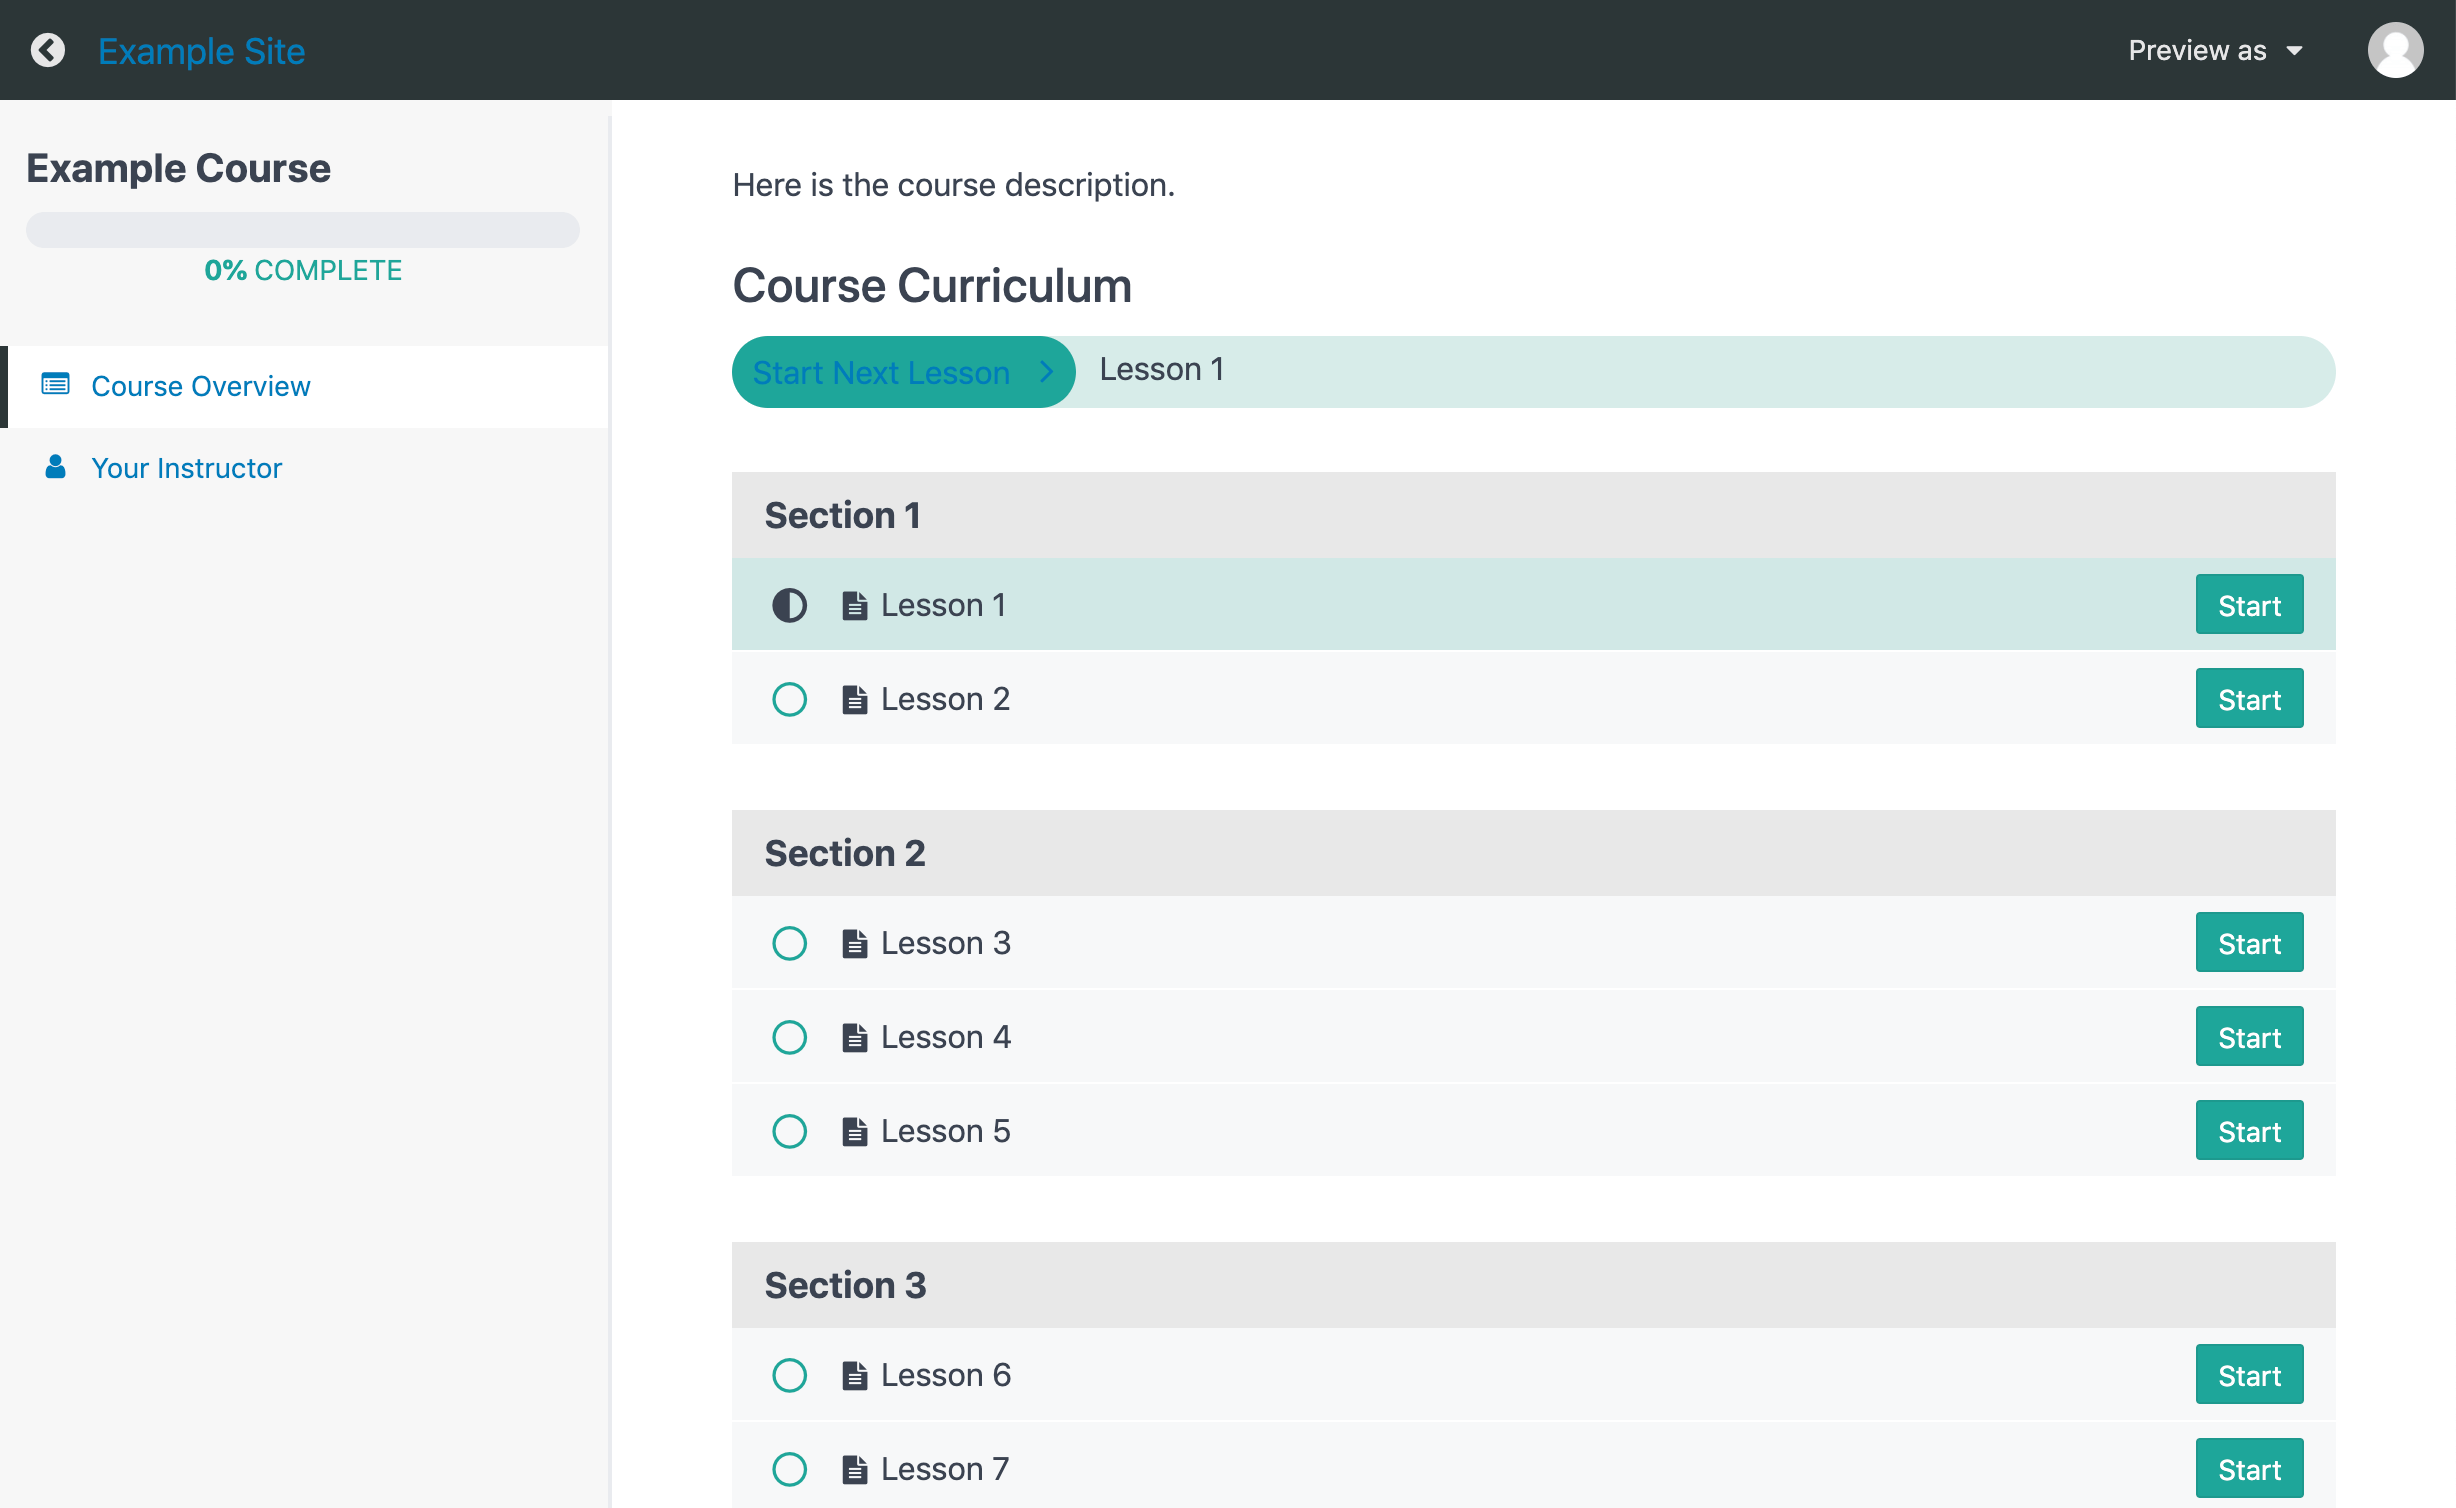
MemberPress Courses is also customizable thanks to ReadyLaunch™, which displays your lessons in a self-contained interface:
ReadyLaunch™ gives your course pages an easy-to-navigate style that enables your students to follow along without distractions.
This is the feature you'll use to customize the look and feel of your classes.
How ReadyLaunch™ Works with Courses
ReadyLaunch™ is enabled by default when you install MemberPress. You can use it to customize the styling of all your MemberPress pages:
- Courses
- Login
- Account
- Pricing
- Registration
- Thank You
Once MemberPress installation is complete, to customize your courses you just…
- Click the ReadyLaunch™ tab
- Toggle Courses to the on position
- Set your customizations
ReadyLaunch™ Tutorial Video
This full tutorial video shows you…
- How to style your online courses in flash
- How to style all your MemberPress pages
- How to add branded elements to all your site pages
AND, you'll learn how you can get your entire site up, running, and ready to sell in under a day!
Conclusion
Whether you’re preparing to launch your first course, or you're looking to refresh an existing one, MemberPress Courses has you covered.
Not only is it simple to create your lessons and structure your curriculum, it’s also easy to customize your course to speak to your audience.
Do you have any questions about customizing your MemberPress course? Let us know in the comments section below!

Get MemberPress Today!
Start getting paid for the content you create.


Question, how do I change the access on a course that I already created?
Hi Crystal, there are a few ways change the access to the course you’ve already created.
1. You can go to your existing rule that you have set on the course by going to Memberpress > Rules and find the rule you want to edit. There, you can change who has access to it.
2. Or, also have the option to delete any existing rule that’s protecting a specific course and create one. To do this, go to MemberPress > Rules > Add New page, and select the “Single Course” type from the drop-down. Then search for your Course by title and select it. Lastly, select which Membership(s) you want to provide access to this.
I hope this helps! You can visit this doc for a more in-depth walkthrough for MemberPress Courses. 🙂
Hello can I add custom HTML to the course page
Hi Jim, yes, you can override the template files and customize it. Here’s a how-to-guide: https://docs.memberpress.com/article/165-how-to-override-template-files. Hope that helps!
Question, how can I visualize any custom shortcode into in a content course created?