Selling online courses can be a great way to earn money from your expertise. However, if you don’t have a background in teaching or education, you might not know how to create a course curriculum from scratch.
Luckily, with a bit of guidance and a few handy tools, just about anyone can design an online course. As long as you think carefully about your target audience and the structure of your material, you’ll be able to develop a valuable digital course.
In this article, we will give an overview of the planning, creation, and marketing phases so you can get started designing your online course. Let’s begin!
Why You May Want to Design an Online Course
Offering online courses is a great way to diversify your content, no matter your goals.
Whether you’re a professional blogger or store owner, or you run a membership site, creating premium, educational content can help you make a name for yourself.
If you’re just getting started, online courses can help you grow your audience and establish your credibility. You can offer brief courses for free to create buzz about your brand.
On the other hand, if you already have a decent amount of authority in your field, you can create more elaborate, premium courses. This way, you can leverage your expertise to earn money.
Once you’ve finished making your online course, you’ve essentially created a form of passive income.
After just a few sales, you can likely gain back the time and cost it took to produce the course. Then, any subsequent purchases are pure profit. And you won’t have to lift a finger.
How to Design an Online Course (In 3 Steps)

Designing an online course may sound like a daunting task, but in fact, it can be relatively easy for those with a thorough understanding of a certain topic. So let’s take a look at the steps you can take to create your own course.
1. Identify Your Subject and Audience
Being crystal clear about your subject and target audience is important before diving into creating any course.
If you don’t spend enough time on the planning phase, you may end up needing to change directions during the process, which can be time-consuming and costly.
Understanding your target audience will give you direction and focus when designing your course. For example, you may want to consider the following questions:
- What level of education should you design your course for?
- Will your audience want in-depth write-ups or mixed media lessons?
- How much experience will your students be coming into your course with?
Knowing the answers to these questions will help you create more relevant content.
Also, be sure to research your niche.

Above all, you’ll want to be sure your course is giving unique value to your students.
The key here is to find a topic and target audience combination big enough to make a profit (or grow your audience) but not so large that the market is saturated.
If you need a little more guidance, you can check out what the competition is doing. There might already be something similar out there, but if that’s the case, you shouldn’t get discouraged.
Instead, you might consider switching gears or covering topics they missed. If you can’t find any similar courses, you can look at a non-competitor in your area for inspiration.
2. Structure Your Content and Design
Once you’ve identified your subject and target audience, the next step is to decide on the structure of your content.
You’d be wise to make a thorough outline of the information you’d like to teach. This should introduce concepts in a logical order.
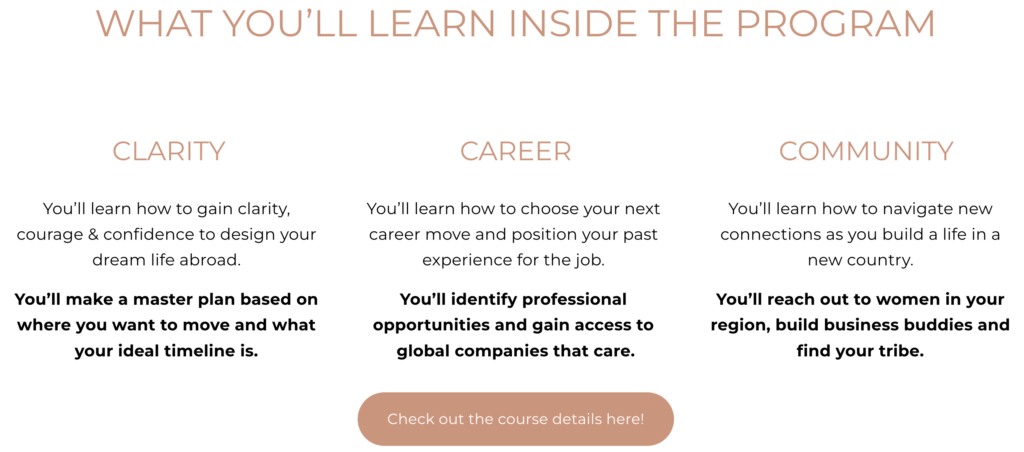
You’ll want to think about the bigger picture when you’re organizing your content. Depending on the length of your course, you may want to divide it into larger units (or chapters) and then sub-lessons within those.
For instance, if you’d like to teach your students how to master the art of cupcake making, you may want to split your course into units that cover the following areas:
- Baking tools
- The basics (classic batter and frosting)
- Holiday recipes
- Tutorials

Also, keep in mind that you should present your course content in a way that suits both…
- your topic
- your ideal student
In our cupcake example, you might want to use video guides as a supplement to your recipes and images.
Also, if your demographic is busy, working moms, you’d be wise to keep the videos short. After all, your students will likely be strapped for time.
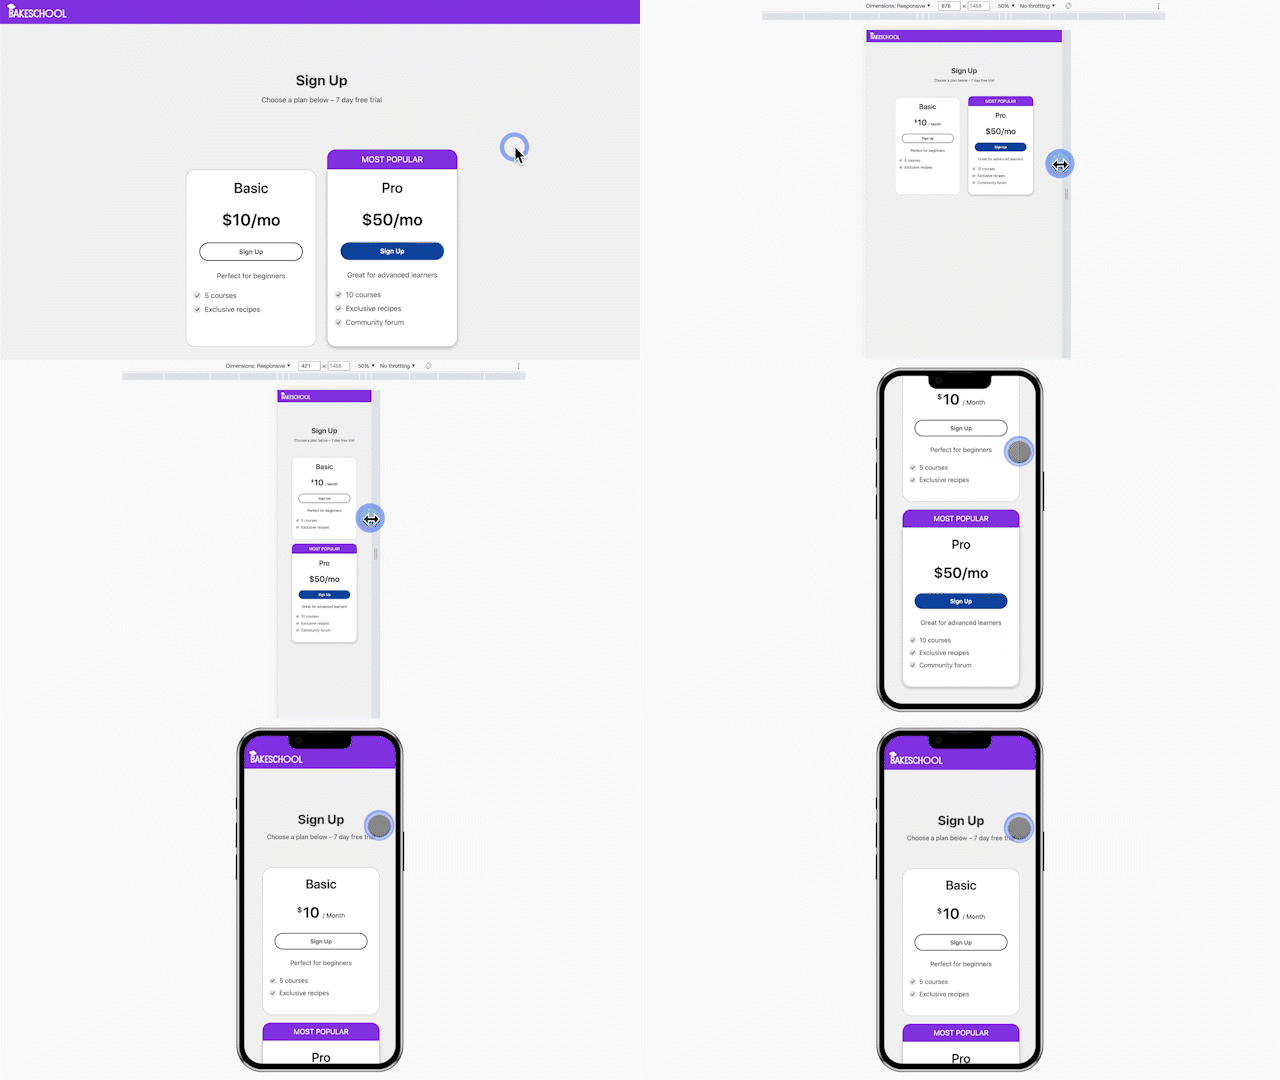
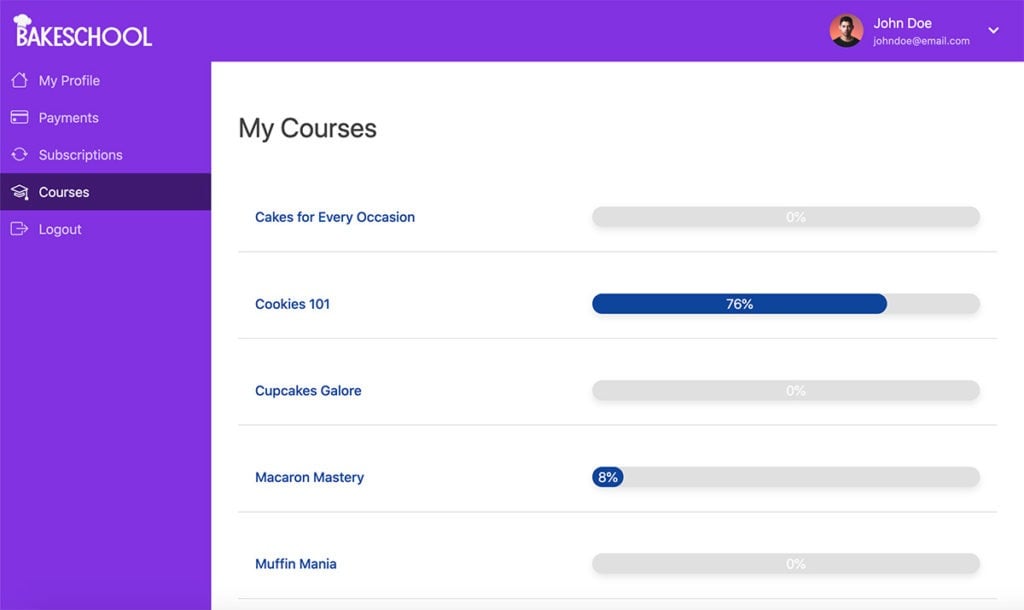
Our MemberPress Courses add-on can be a huge help when you’re creating your course curriculum:
It provides you with all the tools you need to structure your content. You can add things like:
- Interactive quizzes
- Images
- Videos
- Forums
- Live chats
- Certificates of completion.
And if you ever want to make content and formatting updates to optimize your course after it’s created, you can do so anytime.
You can also use MemberPress to set up payment options. You’re able to choose between a subscription model with recurring payments or a simple one-time purchase.
While designing your course with MemberPress Courses, you also have the option to set start and end dates for your certificates.
This feature is particularly useful in any field where information and best practices are continuously evolving and advancing.
For example, in scientific fields such as fitness, nutrition, and healthcare, the latest advice is ever-changing. In technology, and even social media marketing, knowledge can quickly become outdated.
This is a great opportunity for you to invite students to take refresher courses and be rewarded with an updated, easily shareable certificate.
A note on design
Regardless of its topic, your course needs to look attractive and have modern design elements. Otherwise, students won’t stick around (if they even come around in the first place).
But creating a professional-looking course doesn’t necessarily require complex design skills. As long as your colors and fonts are standardized, and your images aren’t low-quality, you should be good.
Even better, if you use MemberPress, you get access to its built-in ReadyLaunch™ pagemaker.

Just toggle a few options, upload some images, and choose your colors. The pagemaker does the rest for you.

3. Market Your Online Course
Once you’re happy with your course, the last step in the design process is to market it. Chances are you’ll be selling it on your website, but there are many other ways you can promote it.
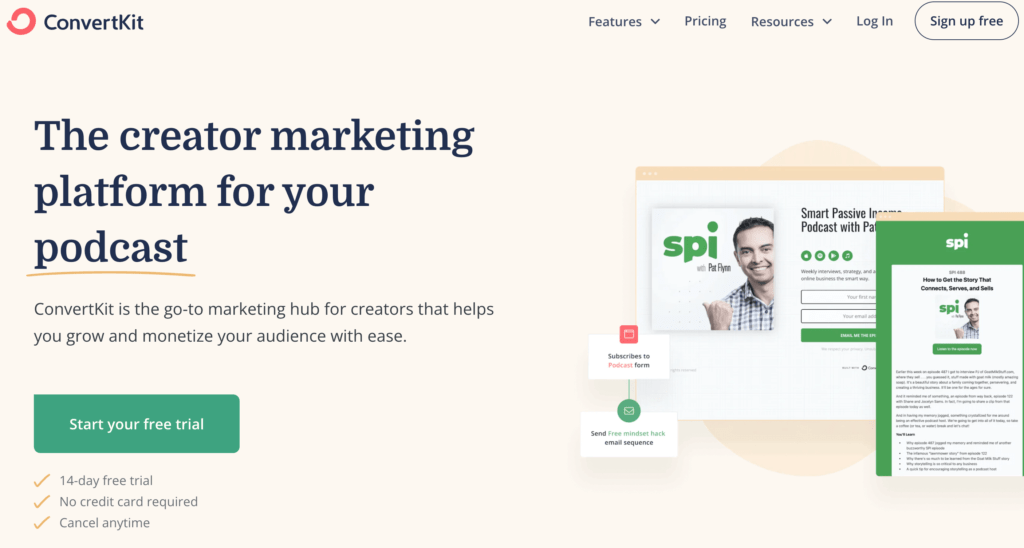
Email marketing and social media are great options for driving traffic to your course page. You can use an email marketing tool like ConvertKit, Active Campaign, or Mailchimp to create email campaigns with ease:

You might not have a strong social media presence or email list well-suited for your course. In that case, affiliate marketing and a referral program are effective alternatives.
The Easy Affiliate plugin allows you to create links that affiliates can use to market your course for you (in exchange for a commission).
While commission rates for digital products are usually pretty high (around 20%), this can be well worth it if you work with experienced, high-performing affiliates.
Conclusion
You may not think you’re totally qualified to create an online course, or that you lack the technical expertise to design one.
On the contrary! With a little planning and a few simple tools, just about anyone can develop an online course based on their personal expertise.
To review, here’s how you can design an online course in three steps:
- Identify your topic and target audience.
- Structure your content and design with MemberPress Courses.
- Market your online course using tools like ConvertKit and Easy Affiliate.

Get MemberPress Today!
Start your online course, and start getting paid for what you know. Get set up and ready to sell in under a day!
Do you have any questions about designing an online course? Let us know in the comments section below!


Add a Comment