Setting up a monetized membership website is an effective way to deliver your weight loss programs to people who prefer to work out at home. Fortunately, it’s very easy to do this with the MemberPress plugin.
Increasingly fewer people are hitting the gym. With more people than ever choosing home workouts over gym sessions, the virtual fitness market is expected to increase 30% by 2026.
If you’re a personal trainer or nutritionist, you may find that your in-person business and consequently your earnings start declining.
In this guide, we’ll look at the benefits of starting a members-only website for dieting and fitness. Then we’ll walk you through how to start an online weight loss business with MemberPress in just 5 steps. Let’s get started!
Why a Membership Site Can Benefit Your Weight Loss Program
A monetized membership site requires subscribers to pay for access your content. Unlike a regular website, your fitness plans and advice will be behind a paywall, and not accessible to the general public.
That means members will subscribe and then use your advice to reach their fitness and health goals.
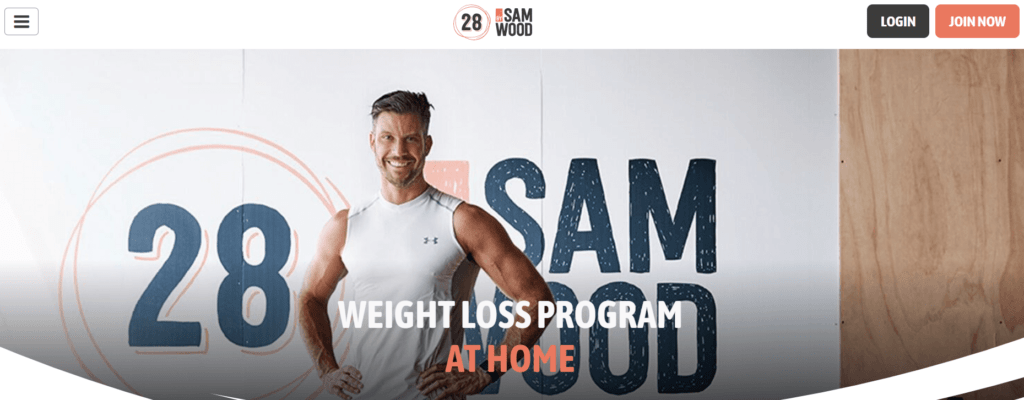
For example, the 28 by Sam Wood monthly subscription program provides users with workouts, meal plans, and motivation:
The global weight loss market is predicted to reach a value of approximately $213 billion by 2025. There’s an excellent opportunity to direct traffic to your site and make ongoing profits from your health and fitness programs. With an online program, you have access to a massive worldwide audience.
Once you start a MemberPress site, you can also begin generating passive income from your subscriptions. You’ll need to create and upload your content, but signup fees or recurring payments will generate profits far into the future.
Additionally, you can use your members-only site to generate income through affiliate marketing.
With inbound affiliate marketing, you sign up as an affiliate for products you trust. Then you make a commission when your customers buy products through your links.
With outbound affiliate marketing, your run a self-hosted affiliate program where affiliates sign up to sell your products and services for you.
MemberPress Weight Loss Business Example – Gymtime PT
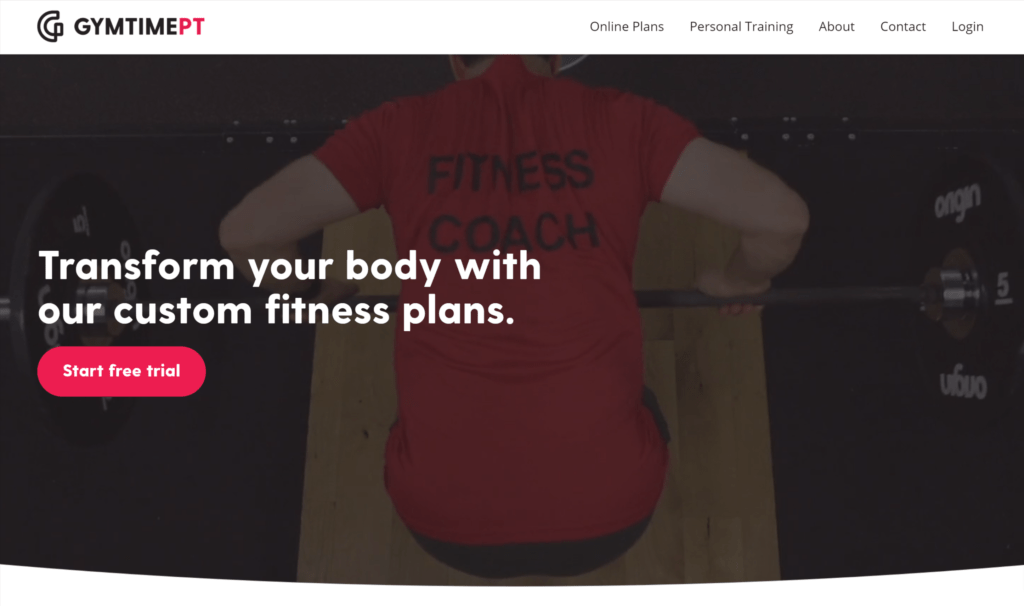
For inspiration, check out the online fitness program Gymtime PT. This company provides users with totally customized plans as well as access to thousands of videos and other fitness and weight loss resources.
The site uses MemberPress to manage access to and paywall these programs and resources.
How to Start an Online Weight Loss Business with MemberPress (In 5 Steps)
Before starting this tutorial, you’ll need a live WordPress site. If you don’t have one already, no worries. Setting up a WordPress site is easy. Check out this Getting Started resource to get rolling.
You’ll also want to choose a theme for your WordPress site. One of the great things about WordPress is that you can find a theme built specifically for just about any business model.
Check out this list of 12 themes designed especially for weight loss websites to get some ideas.
Once your site’s framework is in place, you can transform it into an online weight loss business by implementing the following steps.
Step 1: Design Your Weight Loss Program
Before starting your business, you’ll want to plan and create the weight loss content you’ll offer to your subscribers. Your customers will be paying for access to your programs, so it’s important that you consider how you can provide value to them.
PRO TIP: Keep in mind that you don’t have to create all your content before you launch your site. As your business grows, you can chip away at adding more resources. Just start with a plan outline, then create one or two elements (like a video and a downloadable meal plan) to kick things off.
Following are some great types of content to add to your plan outline (and MemberPress supports them all!)
Videos and downloadable files
As mentioned in our Pro Tip, you may decide to upload videos with different kinds of workouts. To accompany this visual content, you might also offer a downloadable file such as menu plans or weekly workout schedules.
Consultations
Consider including personal calls or Zoom consultations with yourself or other licensed health professionals for more focused weight loss. This type of content is extremely valuable to consumers and can set your program apart from the rest.
Members-only forum
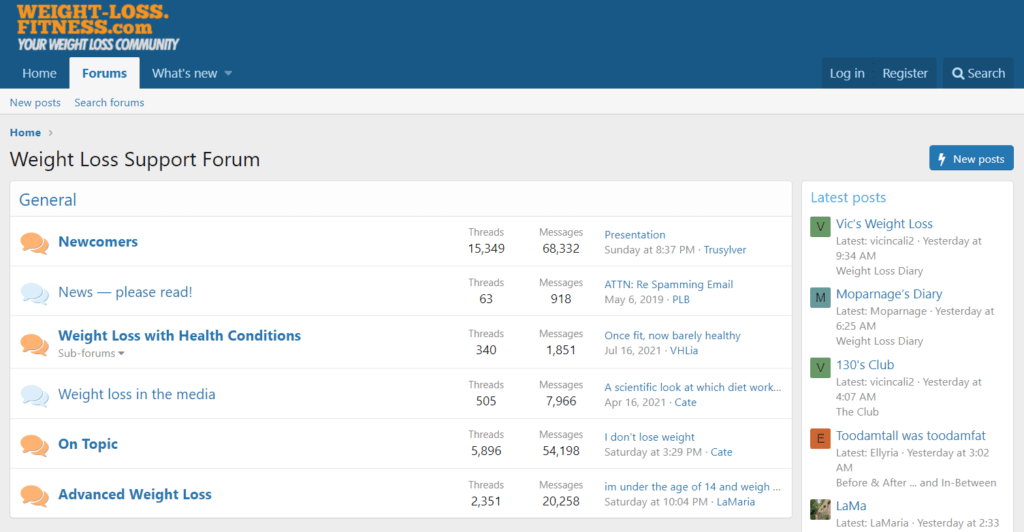
A members-only forum can enable subscribers to share their stories and find inspiration. For example, the Weight Loss Support Forum facilitates discussions between people who are trying to lose weight and live healthier lives.
Forums are proven to improve member retention, especially when it comes to goal-based memberships.
Ecommerce store
You might also sell products through an ecommerce store. For example, you could market vitamins, supplements, workout gear, and related items to your subscribing customers. This would be a great place to pull in affiliate marketing, as we mentioned above.
Online Courses
Finally, you should definitely consider offering online courses as part of the mix. Courses are a great way to package weight loss content, and they’re designed to maximize recurring revenue.
Plus the MemberPress Courses Add-on is included with MemberPress Launch, Growth, or Scale plans. It makes building and protecting courses super easy!
With CoachKit, you have the power to design and deliver a diverse array of weight loss content, ensuring that your subscribers receive the best possible experience on their journey towards healthier lives.
Step 2: Install and Activate the MemberPress Plugin
First, choose your desired MemberPress plan and sign up for an account. If you’re just getting started, the Basic plan should have everything you need.
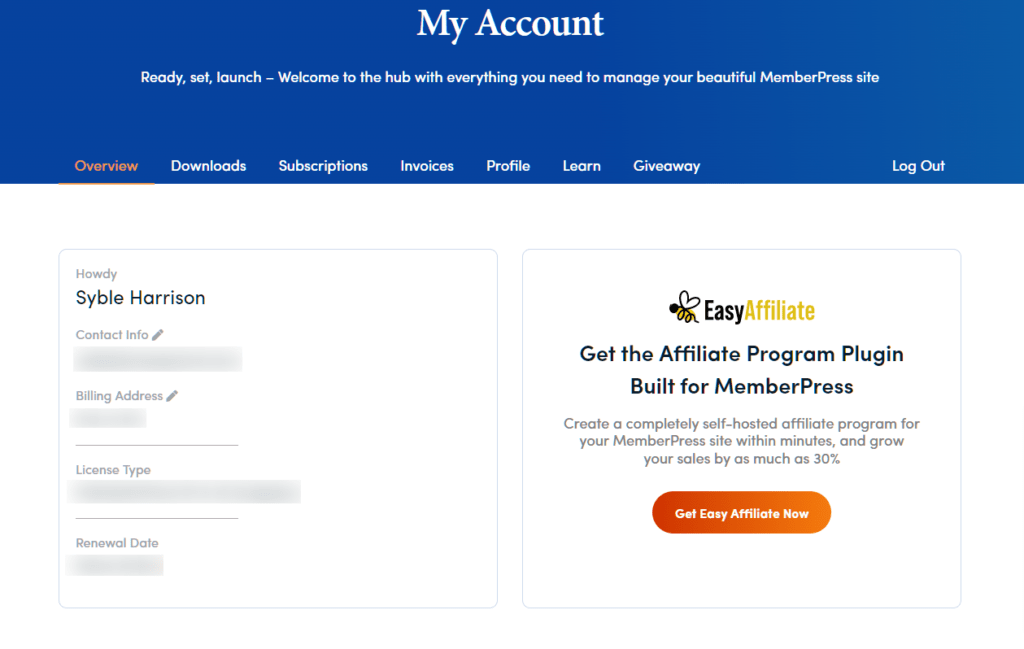
Once you’ve made your purchase, you’ll be directed to your account dashboard:
You can download the MemberPress files in a .zip format. You should also keep this dashboard open, because you’ll need your license key to complete the plugin registration.
Log in to your WordPress admin dashboard and navigate to Plugins > Add New > Upload Plugin > Choose File:
Select the .zip MemberPress file and upload it. Once it is installed, click on Activate. Then enter your license key to complete the registration and gain access to the plugin’s premium features.
You may also want to configure your general MemberPress settings and customize them to meet your needs.
Step 3: Set Up Your Weight Loss Membership Plans
Next, you can set up your membership plans. These will be the different subscriptions you offer to your customers.
For example, you may offer a cheaper plan that includes videos and meal plans, and a more expensive option with one-on-one coaching calls and personalized workouts.
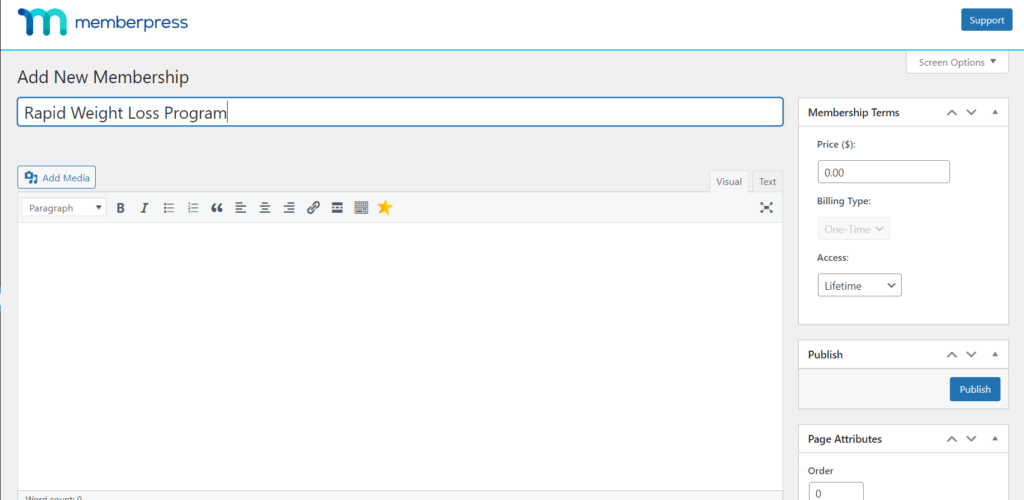
In your WordPress dashboard, navigate to MemberPress > Memberships > Add New. You will then have the option to name your plan and enter its details:
You can customize various settings, including your plan’s price, access duration, billing type, and (if relevant) trial period.
If you scroll down the page, you can also adjust more advanced membership options, such as the price box information and whether you will send an automated welcome email to new members.
Once you’re happy with your settings, click on Publish. You can also come back to this same location at any time to edit existing plans.
Step 4: Configure Your Weight Loss Membership Rules
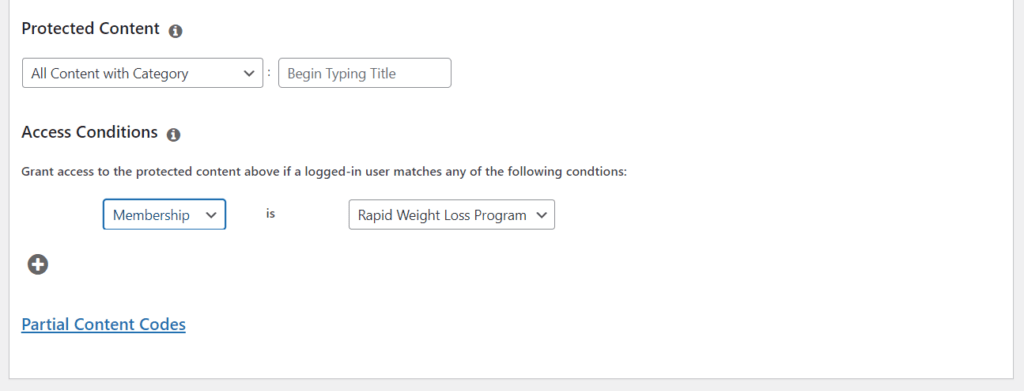
Now you can adjust which pages and content are available to different membership plans. Head to MemberPress > Rules > Add New. Then scroll down to Protected Content:
You can choose the restricted content according to its category, tag, page type, or post type. Then you can assign access according to membership level, member name, role, or capability.
For example, you may make all of your content available to members who are paying more to lose weight faster.
Conversely, subscribers on budget plans who want a slower weight loss process may only be able to access your base-level videos and downloadable workouts.
Once you’ve set up your rules, click on Save Rule. You can come back here and change access conditions at any time if you update your strategy.
Step 5: Add Your Membership Site’s Registration Link and Login Page
Now, you’ll need to set up a menu that users can click on to register for your membership site.
Navigate to Appearance > Menus > Manage with Live Preview. In the editing window, click on Menus > All Pages > Add Items. Scroll down to Memberships and click on the plus (+) symbol next to your membership’s name:
Then click on Publish to save the changes. When users navigate to this menu, they will find the sign-up information for your plans. There, they can register and pay to become members of your site.
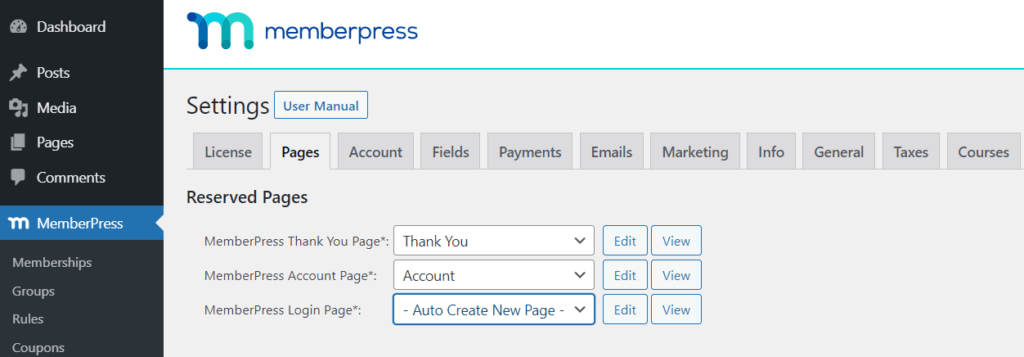
The final step of the process is to add a login page for your existing members. Go back to your WordPress dashboard and navigate to MemberPress > Settings > Pages.
Click on the drop-down menu next to MemberPress Login Page, and select Auto Create New Page:
You can customize this page by clicking on the Edit button next to the menu and adjusting the settings. When you’re happy with it, click on Update Options to save your selection.
There you go! You just created the beginnings of a successful online weight loss business!
Conclusion
The online fitness and weight loss industry is booming, with more and more people preferring to work out at home.
If you have the health qualifications and a little creativity, you can easily capitalize on this market with the help of a subscription-based membership site.
Here’s a recap of how you can start a membership site for weight loss programs in just 5 steps:
- Design your weight loss programs.
- Install and activate the MemberPress plugin.
- Set up your membership plans.
- Configure your membership rules.
- Add your registration link and login page.
Do you have any questions about starting a members-only website for weight loss programs? Let us know in the comments below!
If you liked this article, be sure to subscribe to the MemberPress blog!






Great content.
Can the contents be in arabic?
I enjoyed reading your blog.